Getting started with Roxio Creator
Completing a typical task
33
■
Next to that is the Make Bootable button. Use it to create a
bootable disc that can be used to start your computer if
something should ever go wrong with the Windows operating
system.
Before burning your data disc, look along the bottom of the project
window. Here you will find several project status indicators. The
information presented varies from project to project and is updated
when you change discs or destination drives.
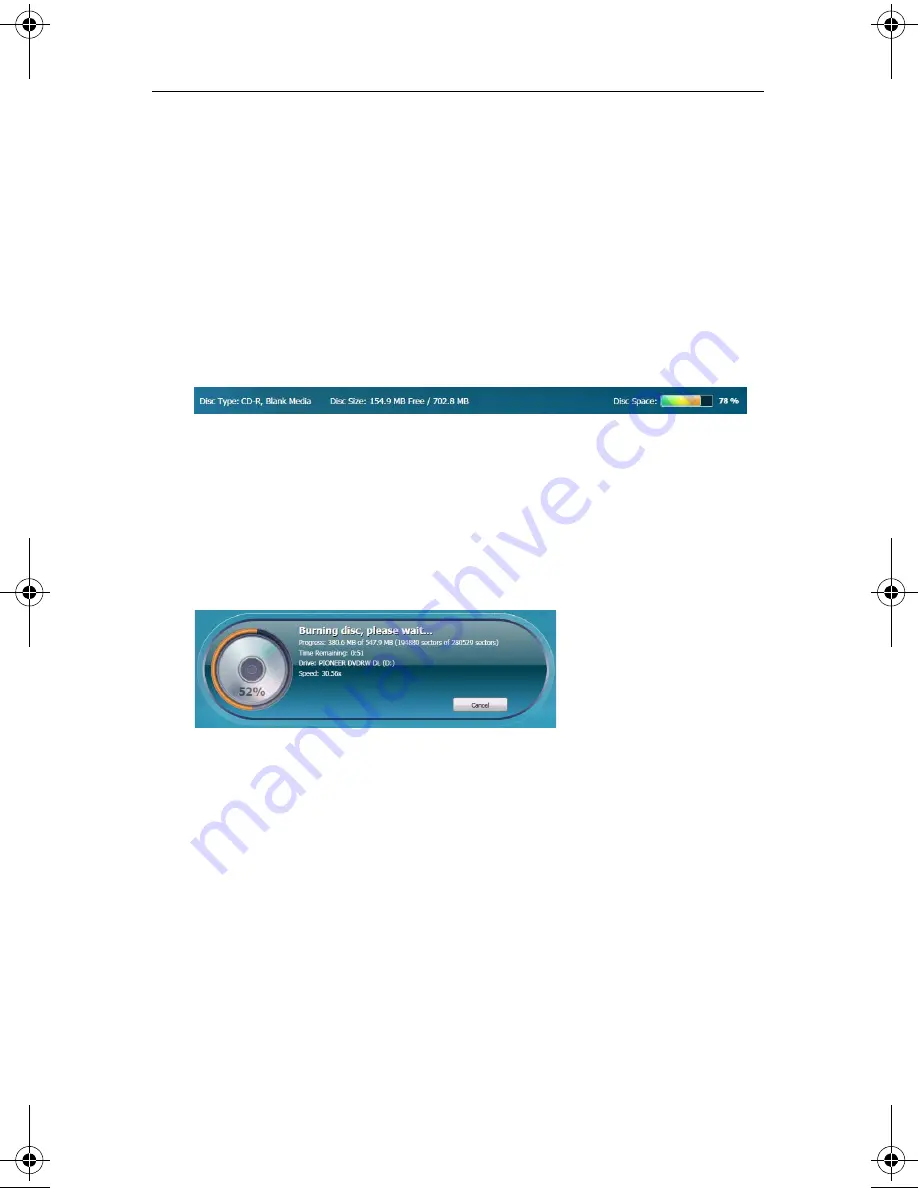
Project information is displayed along the bottom of the window.
In this case, the indicator shows the project size, the type of disc in the
drive, and the available disc space.
7
Now you are ready to burn a disc. To begin, click the large green
Go
button on the bottom right corner of the project window. A progress
indicator appears, and your files are copied onto the disc.
The progress indicator shows a burn in progress.
You don’t have to wait for this project to finish before starting one of
the other projects in Roxio Creator. But you can only have one project
of each type running at a time.
When the project is finished, remove your disc and click
Finish
. If you
would like to save this project so the same file set can be easily burned
in the future, click the
File
menu and select
Save
.
C12_UserGuide.book Page 33 Friday, July 31, 2009 9:21 AM
Summary of Contents for Creator
Page 1: ...Roxio Creator User Guide ...
Page 18: ...Roxio Creator User Guide www roxio com xviii ...
Page 36: ...Roxio Creator User Guide www roxio com 36 ...
Page 62: ...Roxio Creator User Guide www roxio com 62 ...
Page 80: ...Roxio Creator User Guide www roxio com 80 ...
Page 116: ...Roxio Creator User Guide www roxio com 116 ...
Page 134: ...Roxio Creator User Guide www roxio com 134 ...
Page 148: ...Roxio Creator User Guide www roxio com 148 ...
Page 162: ...Roxio Creator User Guide www roxio com 162 ...
Page 170: ...Roxio Creator User Guide www roxio com 170 ...
Page 176: ...Roxio Creator User Guide www roxio com 176 ...


