WORKSHOP MANUAL BULLET
Page 25
The chain should be adjusted so
that there is 1/4" up and down
movement at the centre of the top
run of the chain. Remember to
check the chain tension at 3 or 4
places and then adjust accordingly.
Ensure that the chain tensioner pad
moves freely and the lock nut of the
adjuster
is
retightened
after
carrying out the adjustment. The
chain is to be renewed if its length
has increased by 3/4" than the
length of a new chain.
After replacing the chain cover,
remember
to
replenish
the
chaincase with oil (SAE 20) up
to
the level plug in outer chain case
(approx. quantity 430 to 450 ml.)
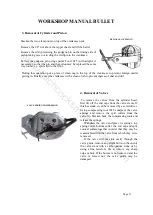
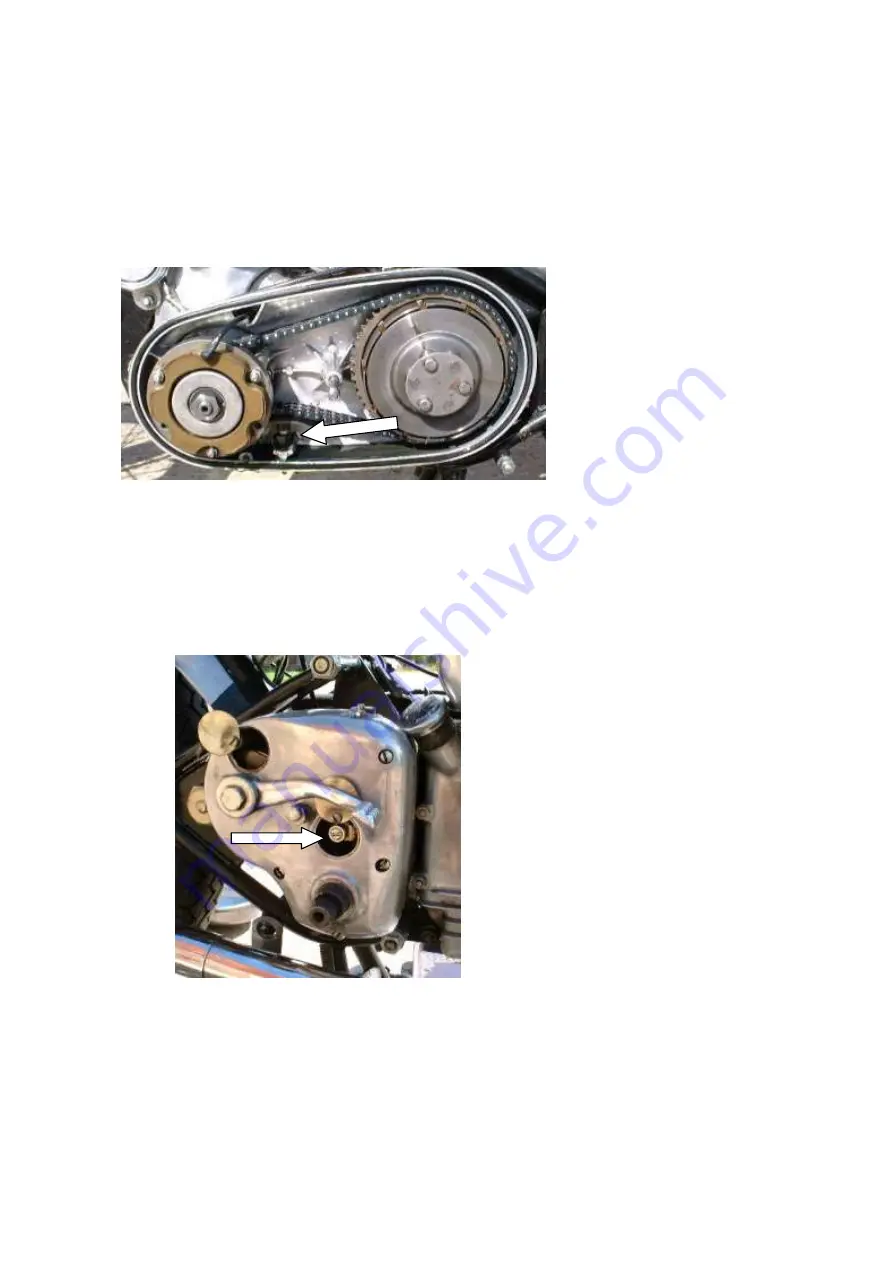
PRIMARY CHAIN ADJUSTMENT
To make the adjustment, remove the inspection cover, slacken the locknut and turn the central
screw in, to get the desired free play on the clutch lever at the handle bar end. Tighten the locknut after
adjustment has been made.
14. Adjustment of the Clutch control
It is essential that there should be about 3 to 4mm free movement in the clutch cable, to ensure that
all the spring pressure is exerted on the plates.
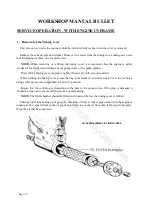
There are 2 points of adjustment on the clutch cable. The first is the midway adjuster at the middle
CLUTCH ADJUSTMENT ON GEARBOX
of the cable just above the chain case. The
adjustment is made by screwing the adjuster
screw in or out of the adjuster body. Tighten
the locknut on the screwed collar after
adjustment has been made.
The other point is at the handle bar end.
Loosen the lock nut and thread in the
adjuster to increase play and vice versa to
reduce play. Tighten lock nut after carrying
out adjustment. However if the adjusters
have reached their maximum position then
the adjustment can be carried out in the gear
box outer cover. Before proceeding on the
adjustment, turn in both cable adjusters to
their fully closed position (fully in position).
www.hitchcocksmotorcycles.com
Summary of Contents for 350 BULLET 1989
Page 9: ...WORKSHOP MANUAL BULLET Page 9 w w w h i t c h c o c k s m o t o r c y c l e s c o m ...
Page 17: ...w w w h i t c h c o c k s m o t o r c y c l e s c o m ...
Page 34: ...WORKSHOP MANUAL BULLET Page 34 w w w h i t c h c o c k s m o t o r c y c l e s c o m ...
Page 37: ...w w w h i t c h c o c k s m o t o r c y c l e s c o m ...
Page 41: ...WORKSHOP MANUAL BULLET Page 41 w w w h i t c h c o c k s m o t o r c y c l e s c o m ...
Page 58: ...WORKSHOP MANUAL BULLET Page 58 w w w h i t c h c o c k s m o t o r c y c l e s c o m ...
Page 69: ...WORKSHOP MANUAL BULLET Page 69 w w w h i t c h c o c k s m o t o r c y c l e s c o m ...
Page 73: ...w w w h i t c h c o c k s m o t o r c y c l e s c o m ...
Page 77: ...w w w h i t c h c o c k s m o t o r c y c l e s c o m ...
Page 103: ...w w w h i t c h c o c k s m o t o r c y c l e s c o m ...
Page 105: ...w w w h i t c h c o c k s m o t o r c y c l e s c o m ...
Page 107: ...WORKSHOP MANUAL BULLET Page 107 w w w h i t c h c o c k s m o t o r c y c l e s c o m ...
Page 108: ...WORKSHOP MANUAL BULLET Page 108 w w w h i t c h c o c k s m o t o r c y c l e s c o m ...
Page 109: ...WORKSHOP MANUAL BULLET Page 109 w w w h i t c h c o c k s m o t o r c y c l e s c o m ...
Page 110: ...WORKSHOP MANUAL BULLET Page 110 w w w h i t c h c o c k s m o t o r c y c l e s c o m ...
Page 111: ...WORKSHOP MANUAL BULLET Page 111 w w w h i t c h c o c k s m o t o r c y c l e s c o m ...
Page 113: ...WORKSHOP MANUAL BULLET Page 113 w w w h i t c h c o c k s m o t o r c y c l e s c o m ...

