FINISHING THE MODEL
On its substantial parts your model have already been lined with the ironing foil.
The glider is ready to fly right after the installation of the RC set.
1, Fuselage and wing installation
Make the marked holes for the wing-fixing dowels and steel wires and enlarge them to 18 mm
diameter. All the appropriate holes in the fuselage must fit those in the wing, therefore, first
assemble all parts together without glueing them. Glue the brass tube for the fixing wire into the
fuselage. Be carefull not to glue the wire or the wing halves themselves to the fuselage by using
an excessive amount of glue. Temporarily fix all parts together and let the glue dry.
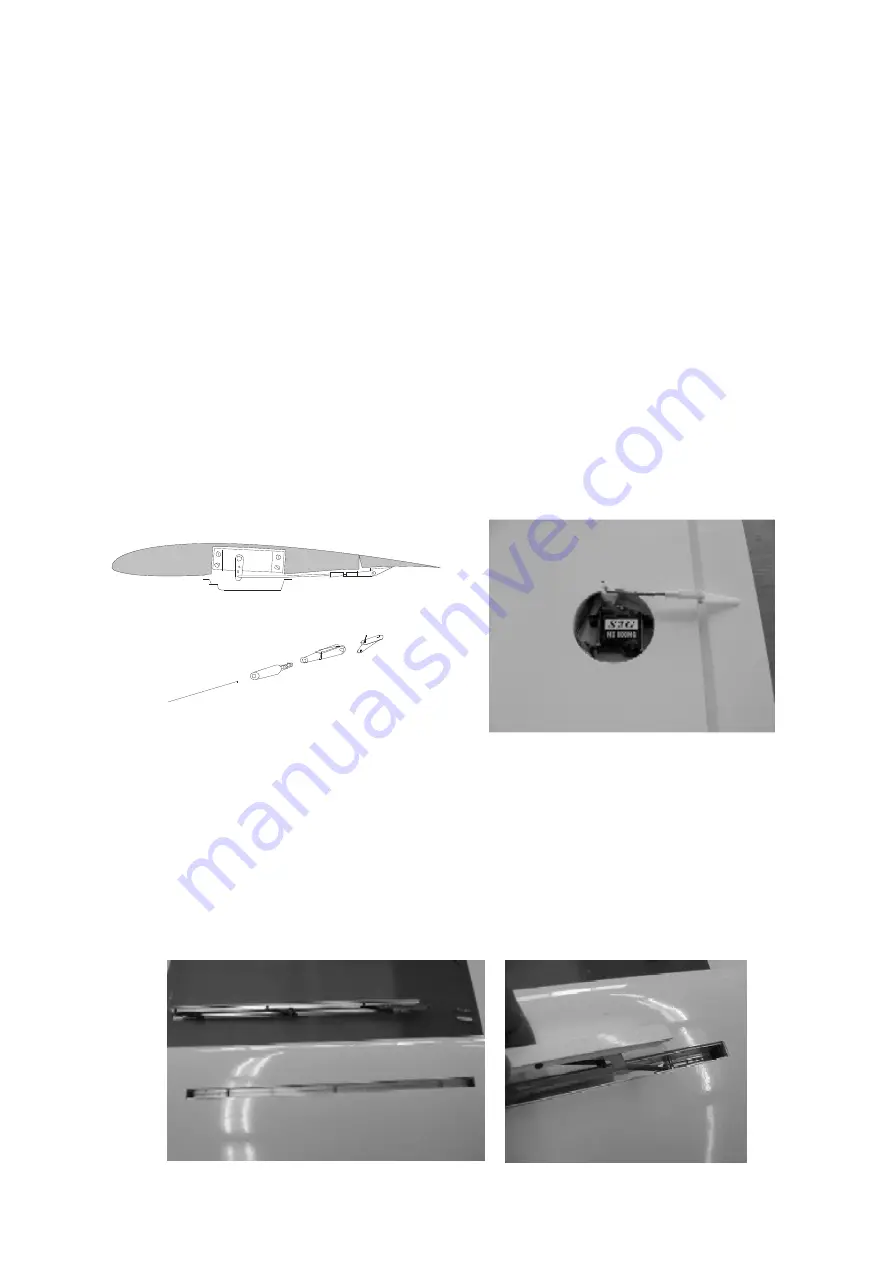
2. How to install the ailerons servos
Install the extension servo cables into the wing. Connect the extension cables to the servos
(connectors or soldering -in this case isolate the wires using the heat shrinking tube). Attach the
control horns to the ailerons. Fix the ailerons in the neutral position using pieces of a self-
adhesive tape. Install single levers to the servos, adjust them to the neutral position and insert the
servos into the holders - without fixing them now. Prepare 2 rods made of 1mm diameter wire
with „Z“- bend on one end ,measure and cut the wires to the proper lengths and solder the brass
endings. Screw in the clevises. Remove the servos, insert the „Z“-bend into the servo lever, and
fix the servos in the holders using a quality double-side self adhesive tape. Connect the pushrods
to the control horns. Cover the servos with the hood.
3. How to install the servos to the airbrakes
Attach the servos with two-sided Scotch tape to the channel and join them with the dive flap
using a draw rod. You will need extension cables and a Y-cable.
Shade your spoiler by pushing slightly with a small flat screwdriver on the arms of the bar (black
parts). Pull the Z of the manoeuvring on the gilded part and insert it into the interlocking hole
connecetd with the bottom of the servo. Shade again your spoiler and screw down your clevis at
the end of the manoeuvring. Demonstrate your servo heeding that the manoeuvring arm of the
servo is in the position of closed spoilers of your radion manoeuvring. (Example full gas on the
way of the engine manoeuvring of your radio) Adjust your manoeuvring and glue your servo
after having checked that both spoilers servos are moving in the right direction. Cover the servos
with the sheet.


