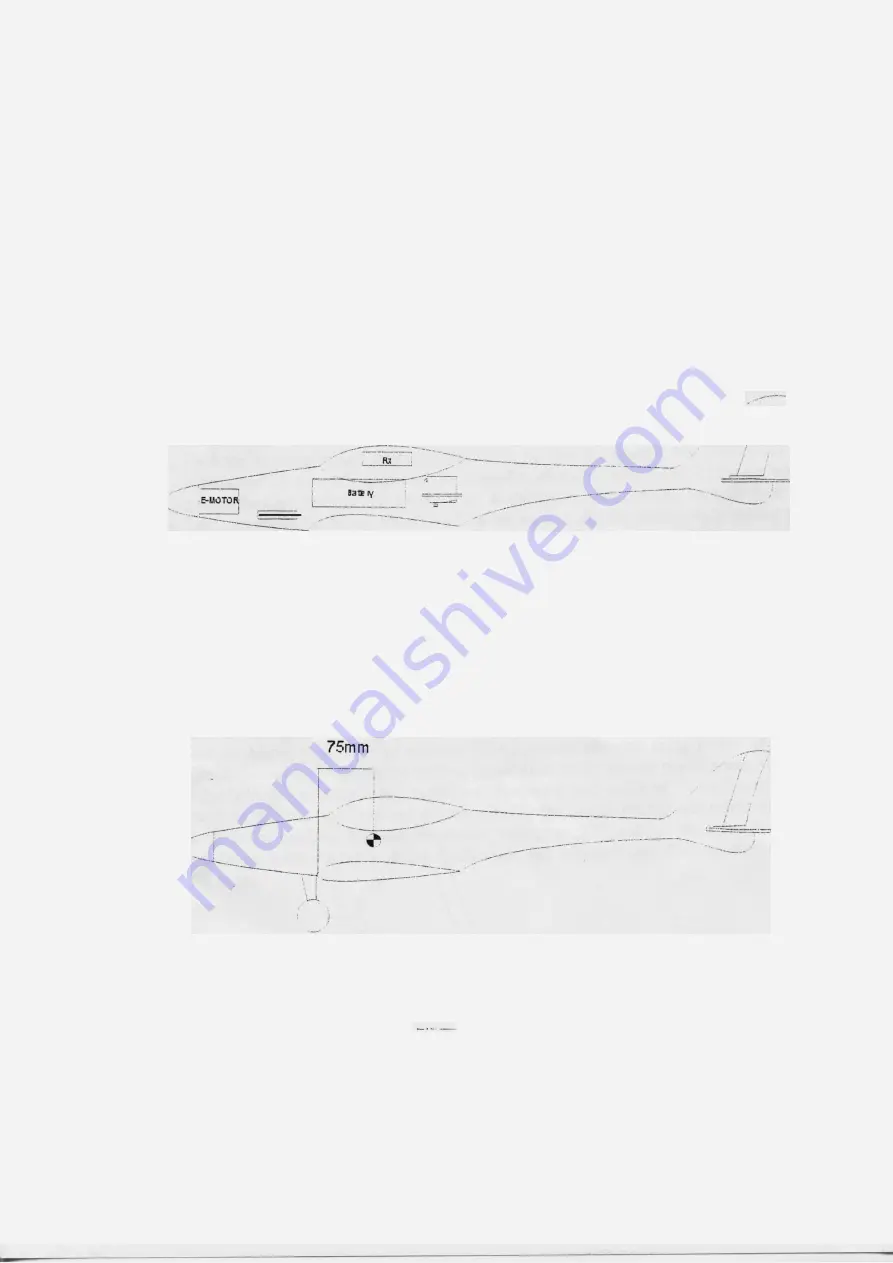
6. Power unit installation
Drill holes in the front fuselage former according to the used motor. Fix the power unit to the
motor mount. Connect the speed controller. Install the propeller set and the spiner.
7.
RC
equipment installation
First, cut the openings to the servo holder plate so that intended servos could be fixed to the
plate, drill the holes for the screws and slightly adapt the plate shape, if necessary. Glue the plate
into the fuselage. Mount the servos to the servo plate in the fuselage. Cut the rudder and elevator
control wires to the appropriate lengths. Solder the brass endings on both wires, screw in the
links and connect them to the servos. Check that both control surfaces are in neutral positions
when servos in neutral positions are connected and adjust, if not. Make an opening for the RC
receiver switch and install it. Insert the receiver and the battery into the fuselage. Use foam to
protect them from vibrations and impacts. Connect all components as necessary.
FLYING
Assemble the model. Check the centre of gravity position, add some lead if necessary
(eventually move the battery), don't forget to check the symmetry of the whole model. Once on
the field, first check the function of your RC set and check the range, too. Calm
weather
is the
best for the first flights. Provided that everything is in order, you can go for the maiden flight,
with a charged receiver or power battery, of course.
Have
a lot of fun and many happy landings with your Manta.
Summary of Contents for Manta
Page 3: ......


