background image


28

4.3.


Photo Viewer 

The RN1 has a great photo viewing option that makes it easy to share and view digital photos anywhere on 

the go. The program features: 


•  Support for JPEG files (Support Max. 500 photos) 

•  Auto-scanning of supported files in the device’s Micro SD card & Flash disk 

•  Three viewing modes: Thumbnail, Full Screen, and Slide Show 

•  Album support based on sub-directory contents 


Each subdirectory can hold multiple images and be used as an individual album. For a more organized 

file search, it is advisable to sort image files into sub directories based on meaningful name or date. An 

example could be “summer vacation pictures” or “New baby” or “2005 Best.” 


4.3.1.


Viewing files in Slide Show mode 

You have the option to view images in a slide show much like viewing a Power- Point presentation in your 

computer. Images are adjusted to fit the entire display area and are shown in a 5-second interval. 


4.3.2.


Using the Photo Album 


1.


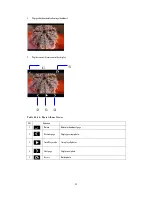
Tap “Photo” icon in the Main Menu. 


2.


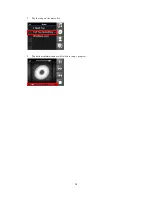
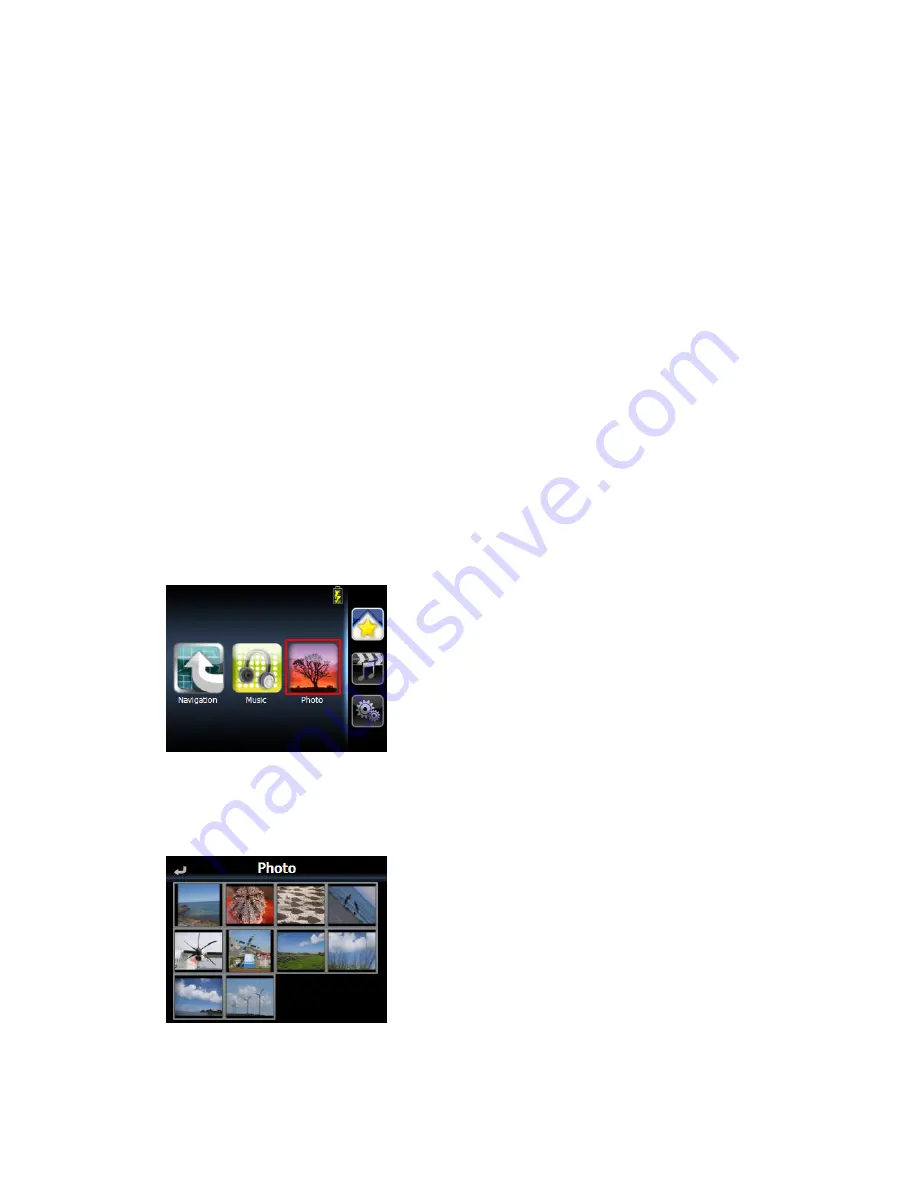
Will list all thumbnails in SD card and store in PND mass storage & SD folder. 

 
3.


Drag all screen area will cause photo move to next or previous page 


Summary of Contents for RN1

Page 1: ...1 RoyalTek RN1 Portable Navigation Device Reference Manual ...

Page 2: ...means electronic mechanical photocopy recording or otherwise without the prior written permission of RoyalTek Inc DISCLAIMER AND LIMITATION OF LIABILITY RoyalTek and its subsidiaries make no representations or warranties either expressed or implied with respect to the contents hereof and specifically disclaims the implied warranties of merchantability or fitness for a particular purpose RoyalTek a...

Page 3: ...s inside Replace the unit if it is damaged or exposed to excess moisture Do not use the adapter if the cord becomes damaged Connect the adapter to the proper power source The voltage requirements are found on the product case and or packaging Battery This unit contains a non replaceable internal Li polymer battery The battery could be bursting or exploding and releasing hazardous chemicals in case...

Page 4: ...es uses and can radiate radio frequency energy If it is not installed and used properly it may cause interference with radio and television reception CE Mark This equipment complies with the requirements for CE marking when used in a residential commercial vehicular or light industrial environment R TTE Directive Products with the CE marking comply with Radio Telecommunication Terminal Equipment D...

Page 5: ...nformation 21 3 7 Volume 21 3 8 Backlight 22 3 9 To set the favorite application category 23 Chapter 4 Entertainment 24 4 1 RN1 Multimedia Player 24 4 2 Music player 24 4 2 1 Using the Music player 24 4 2 2 To enter into the different media players 24 4 3 Photo Viewer 28 4 3 1 Viewing files in Slide Show mode 28 4 3 2 Using the Photo Album 28 Chapter 5 Troubleshooting and Maintenance 30 5 1 Genera...

Page 6: ...t I see my photos 30 5 1 9 Takes longer than normal time to get a GPS fix 30 5 1 10 Factory reset does mean a GPS reset 31 5 2 Maintenance 31 5 2 1 Storage precautions 31 5 2 2 Accessories and repair precautions 31 ...

Page 7: ...x 16 bits Multimedia functionality with high performance processor 1 2 RN1 Specifications Table 1 RN1 dimensions and specifications Category Item Chassis Dimension 95 6 x 74 7 x 11 95 mm Weight 106g Specifications Operating Temperature 0 to 55 Storage Temperature 20 to 70 System OS Windows CE 5 0 Core Version NAND Flash 1GB 2GB MLC Option SDRAM 64MB Mobile DDR Display Screen Type TFT Touch Panel S...

Page 8: ...y reset About 5 hours charge from empty to full Power OFF About 2 5 hours charge from empty to full Audio Earphone Yes option Speaker 1 0W mono speaker Hardware Button Slot Micro SD Supports Micro SD Battery switch Yes hard reset USB USB solution USB 2 0 device with supporting mass storage High Speed ...

Page 9: ...y 30 charged before using it is best to connect the AC adapter Optional Accessory or USB cable by PC connect and plug to power socket and fully charge the battery The ON OFF button will be orange when charging and green when change done 2 1 Hardware overview This section introduces the RN1 PND external features and hardware components 2 1 1 Packing list The RoyalTek RN1 box contains all of the ite...

Page 10: ...ory Earphone Option Accessory AC adaptor Option Accessory Dashboard Option Accessory TMC Antenna Optional Accessory User s manual DVD CD Portable Navigation Device Quick Start Guide Portable Navigation Device Warranty statement ...

Page 11: ...igh battery Orange charging Battery Red low Battery 3 Micro SD Accepts Micro SD storage cards allows you use audio image files stored in it for use with internal applications 4 Earphone Standard stereo headphone jack 5 USB port Docking connector For USB port connects the device to computer running on the Microsoft Windows platform Also serves as the power connector for charging the device 6 Batter...

Page 12: ... Table 2 2 Car holder No Function 1 USB Port Docking connector For USB port Only serves as the power connector of charging but mass storage function Also it can connect to external TMC module Option part For Docking connector connects to car mount kit ...

Page 13: ...he backside view of the RN1 in the cradle 1 Clean the mounting surface with a glass cleaner and a clean cotton cloth 2 If the ambient temperature is below 15 C 60 F you can warm the mounting area and the suction cup e g with a hair dryer to ensure a strong suction bond 3 Install the car mount on the selected area a Press the suction cup of the car mount firmly against to the windshield See Figure ...

Page 14: ...ar may be required to switch the vehicle ignition into the accessories position to power the cigarette lighter Your RN1 will not charge with the ignition off 6 Starting your RN1 a Push the battery switch ON Default status OFF b Press the power button to turn on your RN1 then the main menu screen appears c Tap Navigation you will see the map screen displayed d Please read the User s Guide of Naviga...

Page 15: ...n Software are not responsible for any damage caused by an accident due to unreliable TMC radio transmissions by national regional or local broadcasters caused by TMC service restrictions or by natural and man made conditions that prevent real time information from being delivered to the device The both companies are not responsible for the quality or accuracy of the events broadcast Resetting the...

Page 16: ...ult status OFF 2 Turn on your device by pressing the power button on the top right panel of the device After turn on the device main page will display This is also referred to the Favorite page 3 3 To configure system settings If you intend to start using your RN1 at once we recommend that you configure the language and time zone settings first The rest of the user preferences can be set up later ...

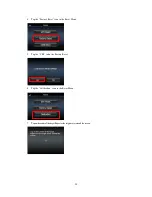
Page 17: ...a 4 Todragwheelscrolllanguagetags 5 Tosetthesystemtimezone tap TimeZone inSystemMenu 6 Tap the icontosetupthefunctionofdaylightsavingstime a representenablethefunctionofdaylightsavingstime b representdisablethefunctionofdaylightsavingstime 7 Drag the Map to adjust the time zone ...

Page 18: ...wonderifGPSreceiverperformproperlyornot ex Changetheregion FactoryReset Thefactoryresetfunctionnotonlyresetstheoperatingsystemsettingstodefaultfactoryvalues butalsoresettheGPSsettings Calibration Whenthetouchscreendoesnotrespondwell calibratethescreenofyourdevice 1 Tap the Reset icon in the System Menu 2 Tap the GPS Reset icon in the Reset Menu 3 Tap the YES to reset the GPS ...

Page 19: ...19 ...

Page 20: ...20 4 Tap the Factory Reset icon in the Reset Menu 5 Tap the YES to do the Factory Reset 6 Tap the Calibration icon in the Reset Menu 7 Taponthecenterofthetarget Repeatasthetargetmovesaroundthescreen ...

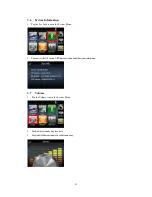
Page 21: ... Sys Info icon in the System Menu 2 YoucanviewtheOSversion GPSfirmwareversionandothersysteminformation 3 7 Volume 1 Tap the Volume icon in the System Menu 3 Toadjustthevolumebydragthewheel 4 Dragtoleftwillbecomesilentelsewillbecomenoisy ...

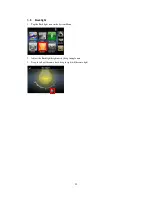
Page 22: ...22 3 8 Backlight 1 Tap the Backlight icon in the System Menu 2 Adjust the Backlight brightness by drag triangle icon 3 Drag to left will become dark drag to right will become light ...

Page 23: ...heir own favorite application category by drag and drop the maximum number of favorite application shortcut is 6 Add icon to the favorite page 1 Dragtheicontothecategorybaroffavorite 2 Thatwillshowtheiconinfavoritepage Delete icon to the favorite page 1 DragtheiconfromFavoritepagetocategorybaranddropit Confirmdialogwillpopup justtap YES todelete ...

Page 24: ...der directly copy digital music and image files to the Micro SD card It is recommended to organize files into subfolders These folders will make files easier to find and play 4 2 Music player Enjoy your favorite music on the road The program features Support for MP3 files Auto scanning of supported files in the device s Micro SD card Separate volume control enabling you to adjust the playback soun...

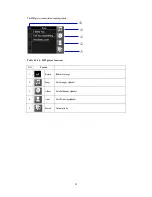
Page 25: ...elowcontrolsplayback Table 4 3 2 1 MP3 player functions NO Function 1 Return Returntolistpage 2 Songs Listallsongbyalphabet 3 Album Listallalbumsbyalphabet 4 Artist ListallArtistsbyalphabet 5 Search Currentplaylist 1 2 3 4 5 ...

Page 26: ...26 2 Tap the song on the music list 3 Tap bottom information bar will switch to song s progress ...

Page 27: ...tonextsong 3 Previous Rewordtoprevioussong 4 Stop Stopmusicplay 5 Repeat Repeatplaysongs 6 Random Randomplaysongs 7 Soundbar Toadjustthesound 8 Bottominfo bar Noeven Thisplacewillscrollsong snameandtotalplaytime Tap Tapthisbar Willswitchtosong sprogress 9 Return Returntolistpage 5 6 7 8 1 9 2 3 4 ...

Page 28: ...n individual album For a more organized file search it is advisable to sort image files into sub directories based on meaningful name or date An example could be summer vacation pictures or New baby or 2005 Best 4 3 1 Viewing files in Slide Show mode You have the option to view images in a slide show much like viewing a Power Point presentation in your computer Images are adjusted to fit the entir...

Page 29: ...l 5 Tapthescreenwillcausecontrolbardisplay Table 4 3 4 1 Photo Album Viewer NO Function 1 Return Returntothumbnailpage 2 Previouspage Displaypreviousphoto 3 AutoPlaymode Autoplayallphotos 4 Nextpage Displaynextphoto 5 Rotate Rotatephoto 1 5 2 3 4 ...

Page 30: ... 5 1 5 Connection Problems with PC Make sure that the cable is securely plugged into the USB port on your computer and on the device Connect the USBcabledirectlytoyourcomputer donotrunthecablethroughaUSBhub Reset your device before connecting the cable Always disconnect your device before you restart your computer 5 1 6 No GPS connection MakesurethattheGPSantennahasaclearviewofthesky NotethattheGP...

Page 31: ...e generic screen protectors designed specifically for use on portable devices with LCD panels to help protect the screen from minor scratches Nevercleanyourdevicewithitpoweredon Never use organic solvents such as benzene or paint thinner to clean your device Use of these solvents can cause deformationordiscoloration Useasoft clean lint freeclothtocleanthedisplayscreen Moistened LCD screen wipes co...

Reviews: