4
5
Heavy Duty True RMS Digital Multimeter / English
Heavy Duty True RMS Digital Multimeter / English
16/12/2017 Version No. 001
16/12/2017 Version No. 001
5. Operating Instructions
WARNING:
Risk of electrocution. High-voltage circuits, both AC and DC, are very
dangerous and should be measured with great care.
1.
ALWAYS
turn the function switch to the
OFF
position when the meter is not in use.
2. If “
OL
” appears in the display during a measurement, the value exceeds the range you
have selected. Change to a higher range.
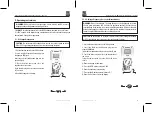
5-1. DC Voltage Measuments
CAUTION:
Do not measure DC voltages if a motor on the circuit is being switched
ON or OFF. Large voltage surges may occur that can damage the meter.
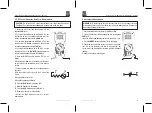
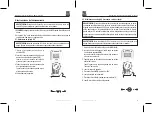
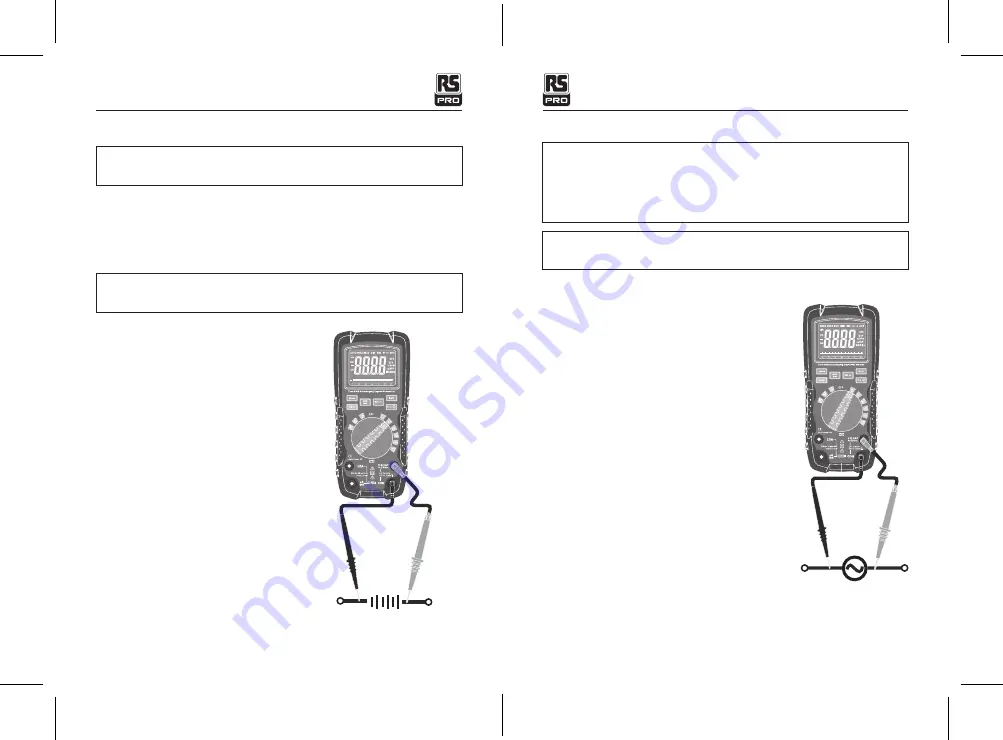
1. Set the function switch to the VDC position.
2. Insert the black test lead banana plug into
the negative COM jack.
Insert the red test lead banana plug into the
positive V jack.
3. Touch the black test probe tip to the
negative side of the circuit.
Touch the red test probe tip to the positive side
of The circuit.
4. Read the voltage in the display.
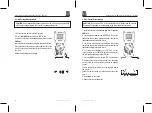
5-2. AC Voltage (Frequency, Duty Cycle) Measurements
WARNING:
Risk of Electrocution. The probe tips may not be long enough to contact
the live parts inside some 240 V outlets for appliances because the contacts are
recessed deep in the outlets. As a result, the reading may show 0 V when the outlet
actually has voltage on it. Make sure the probe tips are touching the metal contacts
inside the outlet before assuming that no voltage is present.
CAUTION:
Do not measure AC voltages if a motor on the circuit is being switched ON
or OFF. Large voltage surges may occur that can damage the meter.
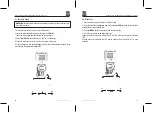
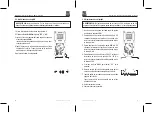
1. Set the function switch to the VAC/Hz/% position.
2. Insert the black test lead banana plug into the
negative
COM
jack.
Insert red test lead banana plug into the positive
V
jack.
3. Touch the black test probe tip to the neutral side of
the circuit.
Touch the red test probe tip to the “hot” side of the
circuit.
4. Read the voltage in the display.
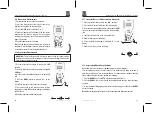
5. Press the HZ/% button to indicate “
Hz
”.
6. Read the frequency in the display.
7. Press the
Hz
/% button again to indicate “%”.
8. Read the % of duty cycle in the display.
Summary of Contents for 161-1626
Page 54: ......


