13
14
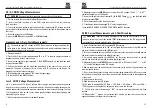
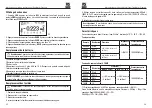
Setting time and date
1.Set the rotary function switch to the
V Hz%
position.
2. Hold down HZ%/+ and Hold about 2s until the flickering will appear on TIME or date display
.
3. Press
and
to moving flicker.
4. Press “-” or”+” to change value.
5. Hold down HZ%/+ and Hold about 2s until the flickering will disappear.
NOTE
: if the date and time are on longer correctly displayed, the cell battery must
be replaced. The CELL battery has a lifetime of about 3 to 4 years. Replacing the cell
battery must to open the back cover.
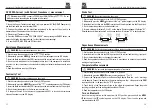
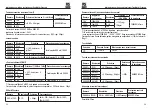
Data log
1. Leave the rotating function switch away from the OFF position.
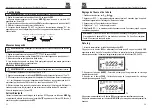
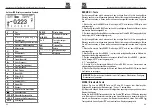
2 .Press and hold the
REL
button until the
LOG
symbol appears on the bottom right oled
display and display automatic recording time intervals above middle, The current record
number is displayed below LOG. See P4
P4
P5
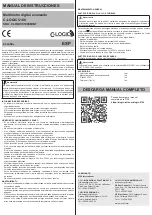
3. Press the
RANGE
button, the time interval of the automatic storage record is reduced.
4. Press the
PEAK
button, the time interval of the automatic storage record is increased. See P5
5.Momentarily press the
REL
button can manually record a data.
6.Momentarily press
MAX/MIN
button can Automatically record data.
Professional True RMS Digital Multimeter/ English
Data view
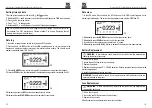
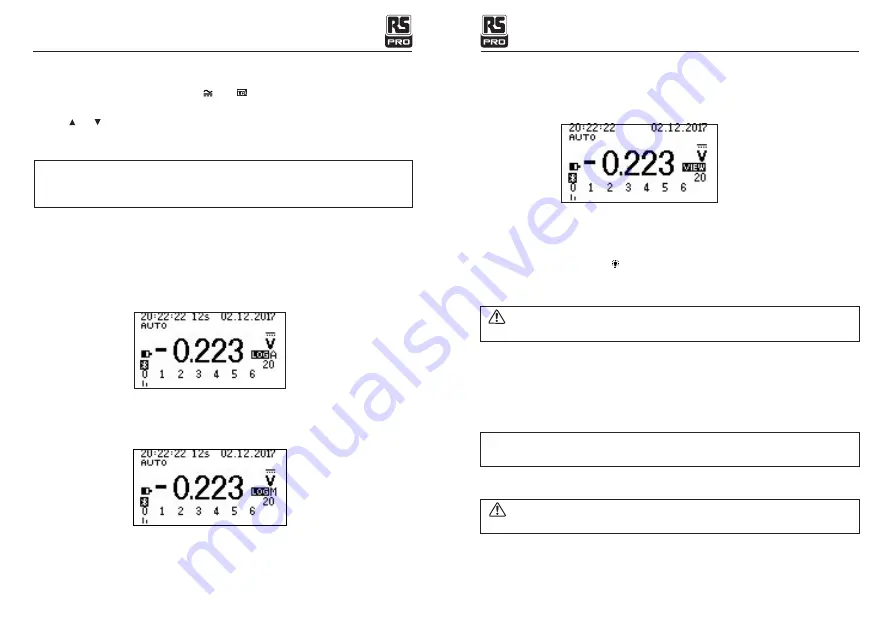
1. In the LOG mode ,Press and hold the REL button until the VIEW symbol appears on the
bottom right oled display. The current lookup number is shown below VIEW.See P6
P6
2. Momentarily press the
RANGE
button can Look at the previous data.
3. Momentarily press
PEAK
button can Look at the next data.
4. If you look over the super range, you hear three 'bi' sound.
5. Momentarily press the
HOLD
button to delete all the data that has been recorded.
Battery Replacement
WARNING
: To avoid electric shock, remove the test leads from the meter before
removing the battery/fuse cover.
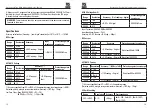
1. Lift up the tilt stand.
2. Loosen the one Phillips screw on the battery.
3. Remove the battery.
4. Replace the batteries with 3*1.5V AAA batteries. Observe proper polarity as shown inside
battery compartment.
5. Install the battery and tighten the screw.
WARNING
: To avoid electric shock, do not operate meter until the battery cover are
securely fastened to the meter.
Fuse Replacement
WATRNING
: To avoid electric shock, remove the test leads from the meter before
removing the back cover.
1. Lift up the tilt stand.
2. Loosen the one Phillips screw on the back cover.
3. Remove the back cover.
4.Gently remove fuse and install new fuse into the holder.
Professional True RMS Digital Multimeter/ English
Summary of Contents for 204-8305
Page 48: ......


