2
3
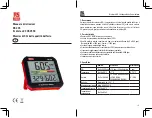
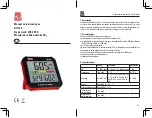
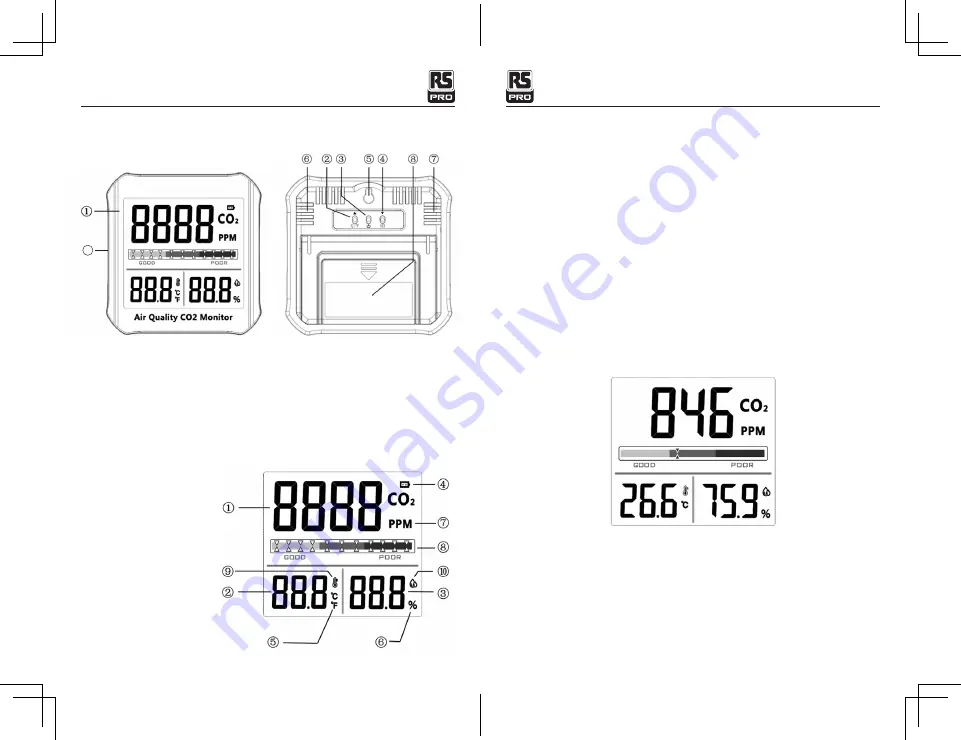
1. LCD
2. °C/°F Switch Function Button (UP Button)
3. Power Button
4. SET Button (down button)
5. Instrument Hang Buckle Point
9
Air Qality CO
2
Monitor / English
Air Qality CO
2
Monitor / English
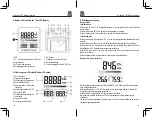
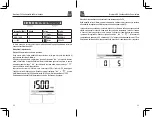
4.Names and function of parts LCD display
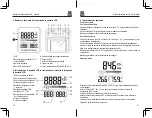
5. LCD Introduction (Below is the Picture of LCD)
1. CO
2
display value
2. Temperature display value
3. Humidity display value
4. Battery power icon
5. Temperature unit : Celsius
and Fahrenheit
6. Humidity unit : %RH
7. CO
2
unit : PPM
8. Color screen printing and air
quality indication
9. Temperature icon
10.Humidity icon
6. Operation Instructions
Key function
In the measurement mode:
Press the °C/°F switch function button briefly will switch between Celsius and Fahrenheit;
Press the SET button briefly to enter the setting mode;
Long press the power button to shut down;
In the setting mode:
Press the °C/°F switch function button briefly to increase the corresponding (flashing)
value;
Press the SET button briefly to decrease the corresponding (flashing) value;
Press the power button briefly to switch between alarm value setting and CO
2
refresh
frequency setting;
Long press the SET button to save the set value and exit the setup mode;
Long press the power button to shut down.
6. CO
2
sensor
7. Temperature and humidity sensor
8. Battery Cover
9. Power supply Micro USB DC 5V 1A
Start measuring
We suggest to use adaptor of Micro USB DC 5V 1A adapter as power supply for long time
use .
Please install 2x1.5V“AA”batteries for short time use when there is no external ac power
supply.
Press the power button to start the instrument;
After starting up,CO
2
updates the data according to the set frequency;
The temperature and humidity update the real-time data once every second;
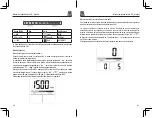
Air environment indication function:


