22
Heavy Duty True RMS Digital Multimeter/English
Heavy Duty True RMS Digital Multimeter/English
23
13/08/2017 Version No. 001
13/08/2017 Version No. 001
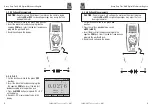
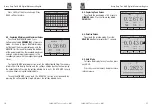
7-6. Auto Power Off
Open the setup menu. Position the menu selector next to the menu item labeled
Display
and press the key
Enter
. Then Position the menu selector next to the menu
item labeled POWER OFF and press the key EDIT.
To set Auto Power Off. Use UP and DOWN to adjust the time to one of the preset
values. 0 is disable the timeout feature. Press the softkey labeled OK to set the
selected time. Press the softkey labeled Close to return.
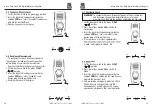
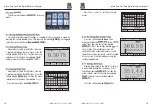
7-7. Foreground and Background
Open the setup menu. Position the menu selector next to the menu item labeled
Display
and press the key
Enter
. Then Position the menu selector next to the menu
item labeled
F
oreground and Background
and press the key OK. Use UP and DOWN
to adjust.
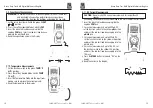
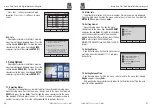
7-8. Set Font
Open the setup menu. Position the menu selector next to the menu item labeled
Display
and press the key
Enter
. Then Position the menu selector next to the menu
item labeled
select font
and press the key EDIT. Use UP and DOWN to adjust.
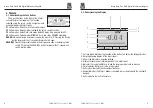
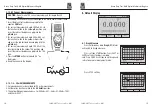
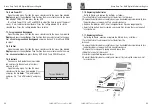
7-9. Bluetooth
You can use the Bluetooth communication
link and transfer the contents of a meter’s
memory to a PC.
Open the setup menu. Position the menu
selector next to the menu item labeled
Bluetooth
and press the key
Enter
. “Turn on Bluetooth”
and press OK ,”Turn off Bluetooth” and press
OK.
Auto
range
08:32pm
OK
CANCEL
Turn on Bluetooth?
7- .
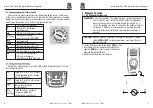
Refer to Figure and replace the batteries as follows:
1.Turn the Meter off and remove the test leads from the terminals.
2.Remove the battery door assembly by using a standardblade screwdriver to turn
the battery door screw one-half turn counterclockwise.
3. Replace the batteries with 7.4 volt charge batteries Observe proper polarity.
4. Reinstall the battery door assembly and secure it by turning the screw one-half
turn clockwise.
7-11
.
Replacing the Fuses
Referring to Figure , examine or replace the Meter's fuses as follows:
1.Turn the Meter off and remove the test leads from the
terminals.
2.Remove the battery door assembly by using a standardblade screwdriver to turn
the battery door screw one-half turn counterclockwise.
3.Remove the fuse by gently prying one end loose, then
sliding the fuse out of its bracket.
4.Install only specified replacement fuses.
5.Reinstall the battery door assembly and secure it by turning the screw one-half
turn clockwise
10 Replacing the Batteries


