14
Heavy Duty True RMS Digital Multimeter/English
Heavy Duty True RMS Digital Multimeter/English
15
13/08/2017 Version No. 001
13/08/2017 Version No. 001
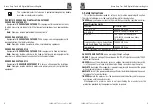
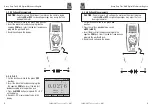
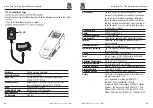
5-12. AC Current Measurements
CAUTION:
Do not make 10A current measurements for longer than 30
seconds.
Exceeding 30 seconds may cause damage to the meter and/or the test leads.
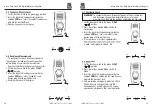
1.Insert the black test lead banana plug into the
negative
COM
jack.
2.For current measurements up to 5000µA AC,set
the function switch to the yellow
µA
position and
insert the red test lead banana plug into the
µA/mA
jack.
3.For current measurements up to 500mA AC,set
the function switch to the yellow mA position
and insert the red test lead banana plug into the
µA/mA
jack.
4.For current measurements up to 10A AC,set the
function switch to the yellow 10A position and
insert the red test lead banana plug into the 10A
jack.
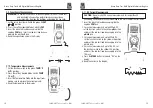
5.Press the
MODE
button to indicate “AC” on
the display.
6.Read the current in the display.
5-13. % 4 – 20mA MEASUREMENTS
1.Set up and connect as described for DC mA measurements.
2.Set the rotary function switch to the
4-20mA%
position.
3.The meter will display loop current as a % with 0mA=-25%, 4mA=0%, 20mA=100%,
and 24mA=125%.
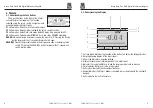
Bluetooth
5
20A for
30 sec
MAX
every
15 min
TE M P
C A P
4 ~ 2 0
%
TE M P
°C °F
RANGE SETUP SAVE HOLD
Auto range
00:00
True RMS Multimeter
1 0
0. 00
A
0
1
2
3
4
5 A
F1
HOLD
REL
RANGE
F2
F3
F4
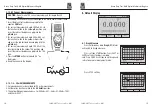
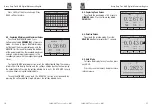
6. Default Display
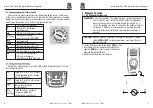
6-1. Graph Measure
Press Software key lable
Graph
(
F1
), Meter
will switch to Graph measure.
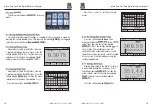
Press soft key START button. Press FAST or
SLOW soft keys to adjust sampling
rate. Press CANCEL soft key to exit Graph and
return to normal measurement mode
Press STOP soft key.
V~
0 0 0 0
.
0
Auto
range
06:32pm
GRAPH
MODE
SAVE
MAX
0.0000 V~
SLOW
CANNEL
FAST
Auto
range
06:32pm
0
Rate: 0.2 s
Range: 0.01
START
0
1
2
3
4
5 V
-2.6000 mV DC
STOP
Auto
range
06:32pm
0
Rate: 0.2 s
Range: 500


