Integrating Sound Level Meter / EN
08/15/16 Version No. 01
24
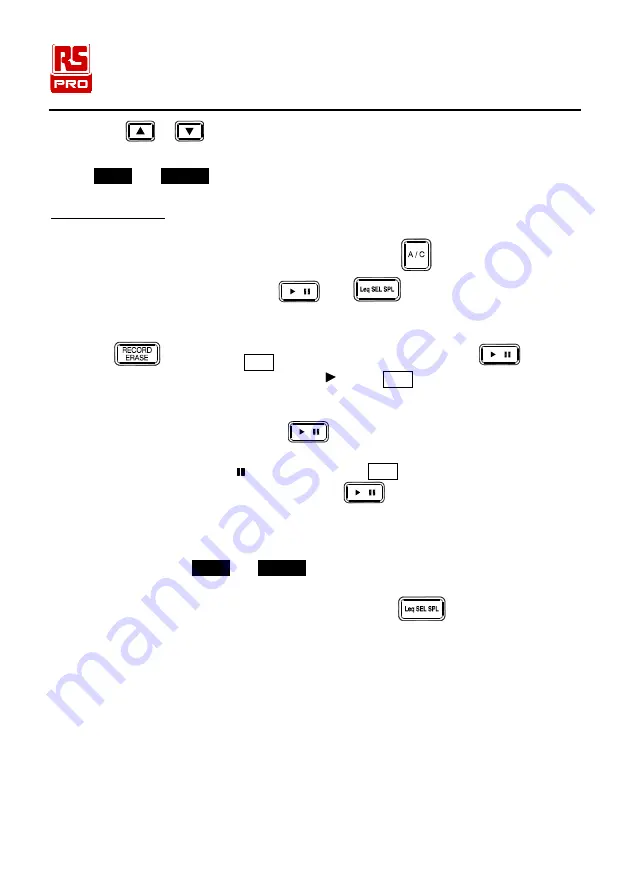
3. Press
or
buttons to select desired level range. Choose a setting in
which the bar graph indication registers to about the middle of the range. If the
“
OVER
” or “
UNDER
” indicators light up frequently, change the level range setting.
11-4 Record data
A. Record data without preset start time
1. During this procedure most of the buttons such as
button and level range
buttons are inoperative. Only the
and
two buttons can be used. All
other settings must be made before starting the measurement. Any pause intervals
are not included in the measurement time.
2. Press
button, the “ REC ” symbol is displayed then press
button to
start the measurement, the start symbol “
”, the “ REC ” symbol will flash, and the
elapsed measurement time is displayed, enter to record data mode and integrating
sound measurement mode.
3. During measurement, pressing the
button can be used to pause and resume
the measurement.
During pause, the symbol “ ” is shown and the “ REC ” symbol stops flashing.
To terminate the measurement earlier, press
to enter pause mode.
When the measurement time has elapsed, the measurement will terminate
automatically, and the terminate symbol “ ” is shown.
If an under-range condition or over-range condition occurs at least once during
measurement, the “
OVER
” or “
UNDER
” indicator appears, to shown that the
processing data contain over-range or under-range data.
4. When the measurement is pause or completed, press
button to cycle switch
displaying the following measurement result.
Leq : Equivalent continuous sound level with start measurement time.
SEL : Sound exposure level with terminate measurement time.
SPL MAX : Maximum sound level with time.
SPL MIN : Minimum sound level with time.
PH : Peak Hold sound level
L:05 : 5% percentile sound level
L:10 : 10% percentile sound level
L:50 : 50% percentile sound level
L:90 : 90% percentile sound level
L:95 : 95% percentile sound level
SPL : Current sound level with current time.


