FOCUS 320 SBR Owner's Manual
17
RSF Woodburning Fireplaces
CHIMNEY
This fireplace is certified for use with 7" ICC Model EXCEL chimney only. Please refer to Table 1 (D-E) for the
minimum and maximum chimney height permitted with your fireplace.
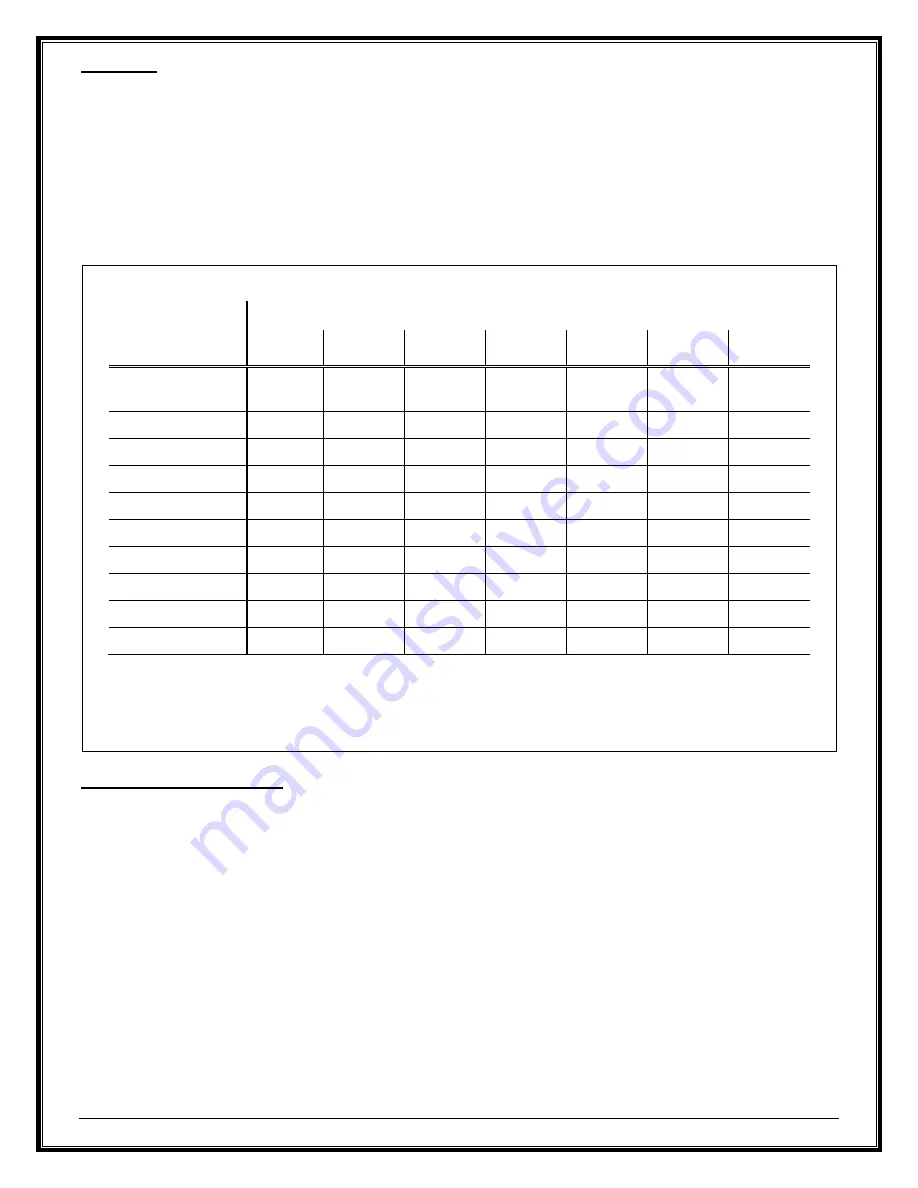
We recommend that the minimum height be increased by approximately 6" for every 1000' elevation above sea
level. Every 15°, 30° or 45° offset (one pair of elbows) also increases the minimum height. 45° elbows are not
allowed in the USA. See Table 3 for more precise recommended flue heights.
For example, if you are living 6015' above sea level, your chimney should terminate at least 15' from the top of the
fireplace if it is a straight chimney or at least 18'6" if one 30° offset is used as shown in Table 3.
Table 3 Minimum Recommended Flue Heights
Elevation (ft)
Number Of Offset
Straight
Chimney
1 x 15°
2 x 15°
1 x 30°
2 x 30°
1 x 45°
2 x 45°
0 - 1000
Minimum
12’
13’
14’
15’
18’
16’
20’
1001 - 2000
12’6”
13’6”
14’6”
15’6”
19’
16’6”
20’
2001 - 3000
13’
14’
15’
16’
19’6”
17’
21’6”
3001 - 4000
13’6”
14’6”
15’6”
17’
20’
18’
22’6”
4001 - 5000
14’
15’
16’
17’6”
21’
18’6”
23’
5001 - 6000
14’6”
15’6”
17’
18’
21’6”
19’
24’
6001 - 7000
15’
16’
17’6”
18’6”
22’
20’
24’6”
7001 - 8000
15’6”
16’6”
18’
19’
23’
20’6”
25’6”
8001 - 9000
16’
17’
18’6”
20’
24’
21’
26’6”
9001 - 10000
16’6”
17’6”
19’
20’6”
24’6”
22’
27’
Flue height is measured from the top of the fireplace to the top of the chimney before installing the rain cap.
If you have two different offsets (two pairs of different elbows), simply use the column for two offsets of the
biggest pair of elbows at your elevation to get your Minimum Flue Height.
CHIMNEY INSTALLATION
Make sure to read the EXCEL Chimney installation manual concerning requirements for supports, bracing, anchors,
etc. The EXCEL Chimney manual is available at your RSF dealer or on our web site: www.icc-rsf.com. Refer to
Table 1 (F) for the maximum chimney height that can be supported by the top of the fireplace.
❖
WARNING: THE CLEARANCE BETWEEN THE CHIMNEY AND COMBUSTIBLE MATERIAL MUST BE 2"
OR MORE. DO NOT FILL THIS AREA WITH INSULATION.
1. Cut and frame the required holes in the floor(s), ceiling(s) and roof where the chimney will pass through. The
rough opening in the framing is 13" square (the opening can be slightly bigger, but NEVER smaller).
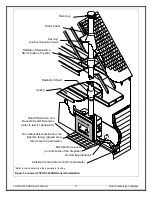
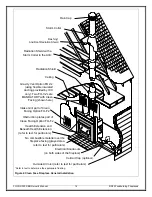
2. From below, install a radiation shield in each floor through which the chimney passes. At the attic level, install
a radiation shield and a storm collar as shown in Figure 7.
❖
WARNING: A RADIATION SHIELD MUST BE INSTALLED AT EACH FLOOR WHERE THE CHIMNEY
PASSES THROUGH.
If you have a cathedral ceiling, consider using our radiation shield for cathedral ceiling (XM-7ERSC).

