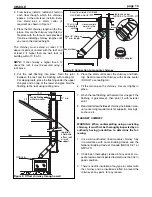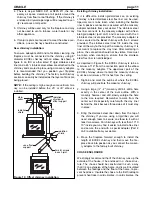
ORACLE
16" in front of the fireplace opening. There is no mini-
mum thickness required for the hearth extension.
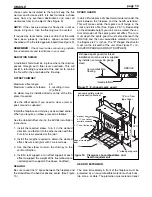
MANTEL
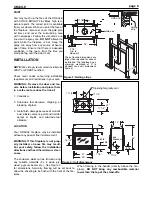
A masonry or other non-combustible mantel may be
placed directly above the top louvers. If a wood or other
combustible mantel is desired, it must be at least 14
inches above the top of door (See Figure 12 & 13).
ORACLE OPTIONS
Just a few comments about your ORACLE options. The
size and shape of your home and how you intend to use
your fireplace, will determine the options required.
For a basic high efficiency fireplace, you won't need any
options or electricity. If you have rooms directly above
or adjacent to the room(s) with the fireplace, which you
would like to heat, you may consider the gravity vent
option (FDVO). The gravity vent distributes hot air to
other rooms without the assistance of a blower.
GOLD LOUVERS
The standard louvers above and below the door can be
replaced with gold plated or black enamel set. You may
order these from your dealer.
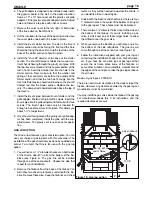
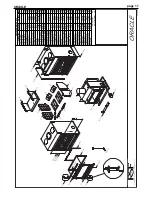
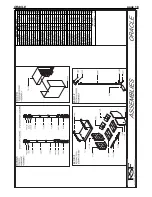
Dismantling and assembling louvers
1. The louvers are held in place by springs underneath.
Therefore, push down from the top and rotate the
louvers forward.
2. Take the assembly apart by first removing the top
nuts from the rods. Then take off the louvers and
spacers.
3. Assemble the new louvers the same way the old
ones came apart, reusing the original rods and spac-
ers. Leave about ¼" of the rod protruding above the
top nut.
4. Install the assemblies, inserting the rods into the
lower holes first. (Top and bottom assemblies are
the same size.) Wipe off all fingerprints etc., with a
soft cloth and mild soap and water.
FACING
Facing materials may only be non-combustible such as
metal, brick, rock, concrete board, or ceramic tile.
Gypsum board is NOT an acceptable facing material.
If you desire to fully face the fireplace with thin mason-
ry, it is recommended that you purchase the rock retain-
er kit (part FDKO). This kit is NOT recommended for
brick or other self-supporting materials. Follow these
steps and refer to Figures 14 & 15.
IMPORTANT:
Make certain that the ¼" space between
the finishing trim and unit is sealed with silicone sealer
before installing the rock retainer kit.
WARNING: DO NOT RESTRICT AIRFLOW
THROUGH THE INLET AND OUTLET LOUVERS OF
THE FIREPLACE.
NOTE :
Remove the louvers and leave the door
wrapped in the shipping plastic. Store them in a safe
place until all the masonry work is finished. Acid from
the cleaning operation could permanently damage the
gold plating.
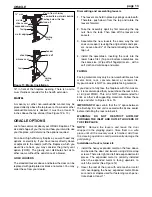
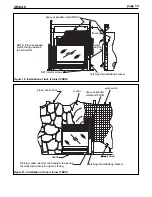
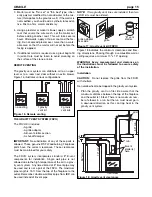
Installation of rock retainer kit:
1. Install the heavy expanded metal on the face above
and beside the door and louvers using drill-and-tap
screws. There are right and left side expanded metal
pieces. The expanded metal is correctly installed
when the expanded metal is facing upwards, to
catch the mortar (See Figure 14).
2. Cover the rest of the area with wire mesh or metal
lath, overlapping the heavy expanded metal. Make
sure nails or staples used for fastening mesh pene-
trate studs at least 1".
page 13
no combustible materials behind
sheeting below this line
2" min. from chimney
12" max.
mantel
header
silicone seal
stand off
stand off
nailing
strip
nailing
strip
Figure 13: Mantel installation
sheeting
silicone seal
facing
facing
metal edging
expanded metal


