14
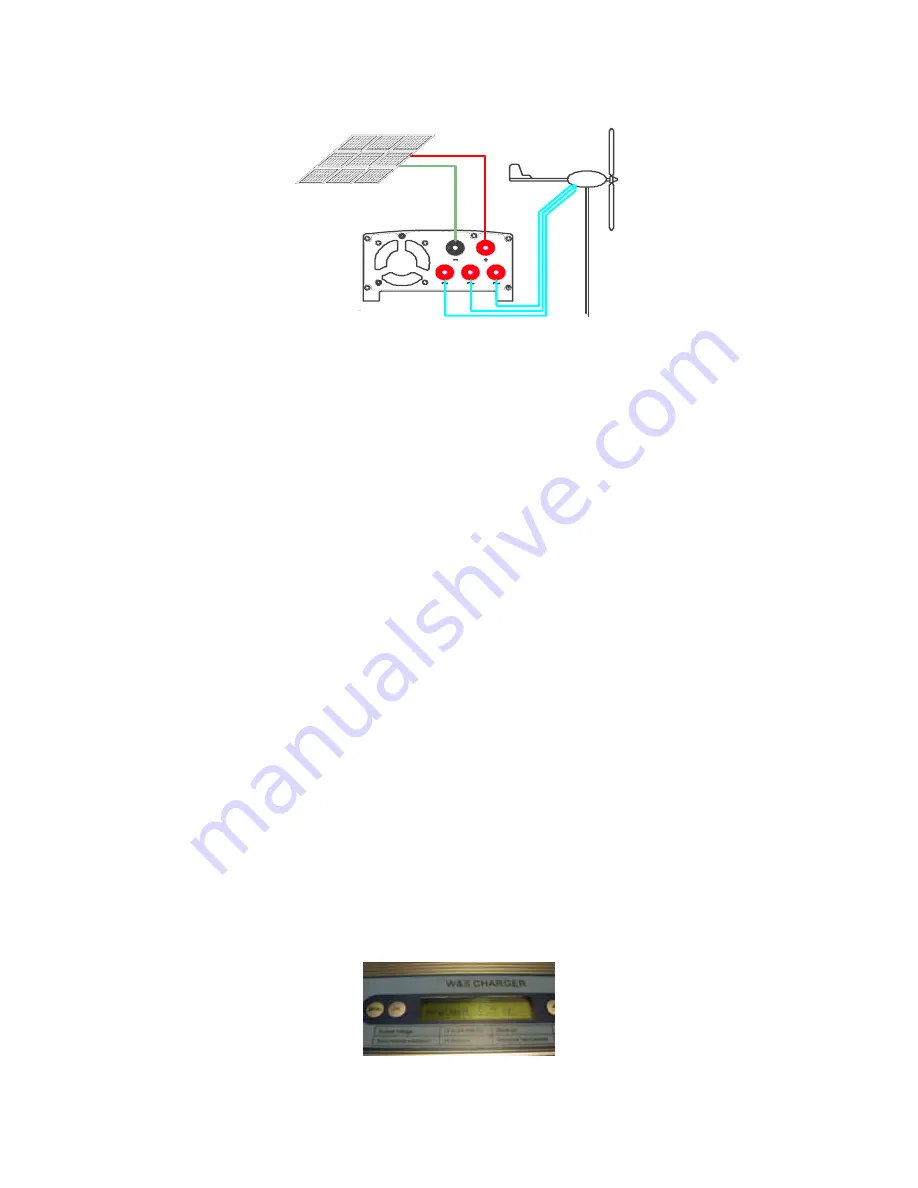
S O L AR
WI N D G E NE R A T OR
太阳能电池板
风力发电机
+
-
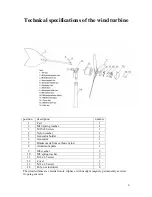
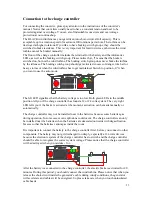
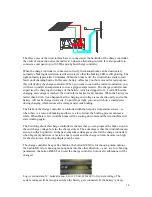
The three cores of the wind turbine have to connected at the backside of the charge controller,
the order of connection does not matter at 3-phases-alternating-current. It is also possible to
connect a solar panel up to 100 Wp and a hybrid charge controller.
When the charge controller is connected correctly, the manual brake can be deactivated,
normally a braking deceleration is still activated, so that the braking LED is still glowing. The
light normally lapses after 20 minutes. When the brake is off, the wind turbine starts to turn
faster until charging begins. In this case, battery cables may not be removed for test purpose,
this will destroy the charge controller. When you want to control the current conduction, you
will have to install an amperemeter or use a gripper-amperemeter. The charge controller now
supervises the charging end voltage of the battery, which is dropped to 14,2 volts. When the
charging end voltage is reached, the wind turbine brakes for 20 minutes. When the battery iss
maller than 80 Ah, it can happen that the charging end voltage is reached too early and so the
battery will not be charged correctly. To put things right, you can switch on a small device
during charging which reduces the voltage and avoids braking.
The brake of the charge controller is controlled with the help of a temperature sensor – so
when there is a reason of braking and there is a lot of wind, the braking process can last a
while. When there is few wind the brake will be cooling down fast and the wind turbine will
start working again.
The best thing about this charge controller is the fact that you can program the brake, not just
the end charge voltage but also the charge current. The advantage is that the wind turbine can
also run with a big battery. In the past, sometimes damages occured at the charge controllers
when big empty batteries came into a heavy storm and the charge currents became too high
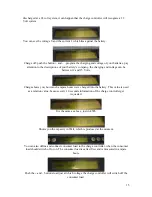
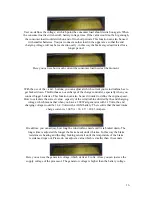
for the electronics. Following displays can be seen:
The charge controller has got five buttons, the button MENU is for choosing menu options,
the button OK is for choosing menu options into the other direction, + and – are for choosing
parameters, the button RESET can reset the charge controller, but not all calibrations will be
changed.
Logo, version date, N= normal menu, L for 12 Volt, H for 24 Volt system voltage. The
system voltage will be recognized when the battery gets connected. If the battery is deep-


