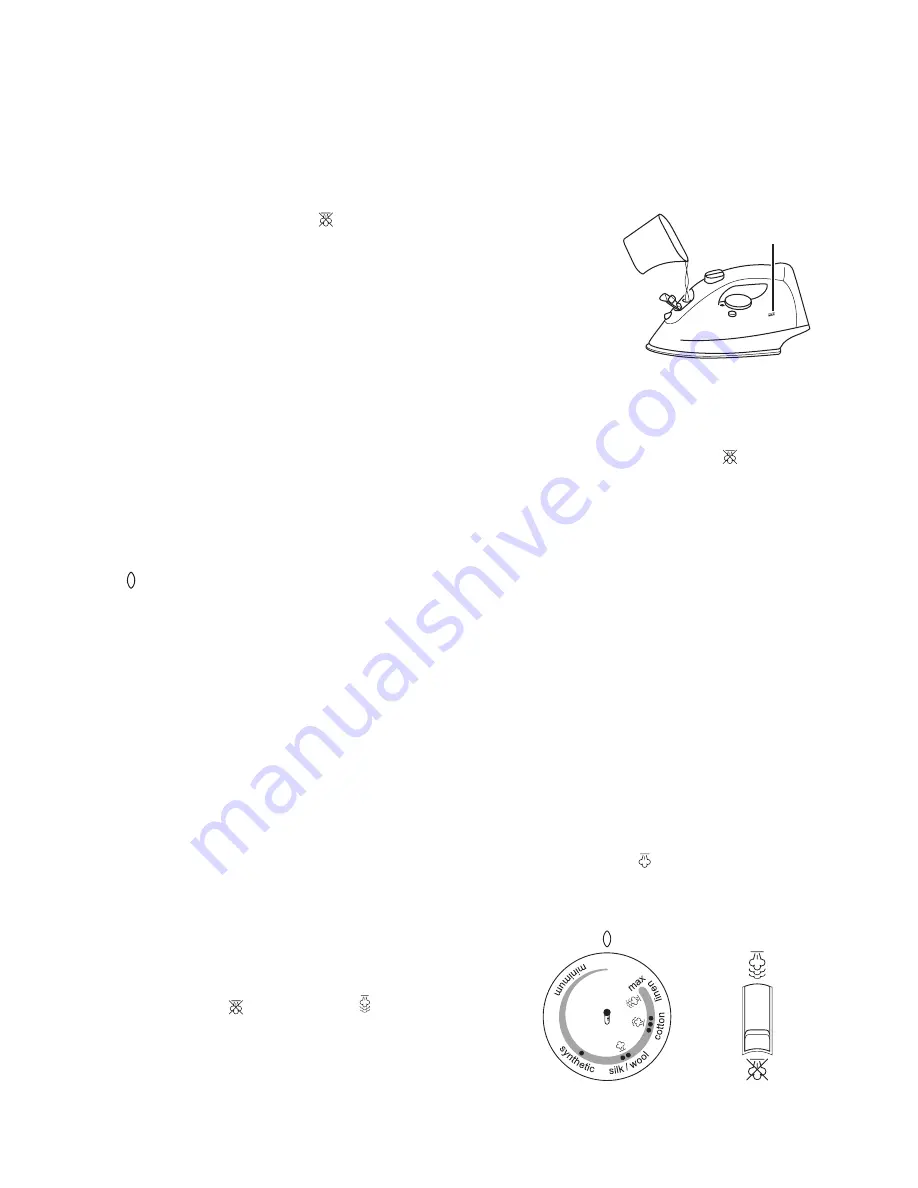
background image

FILLING

You may use the iron with tap-water, however if you live in a hard water area, you should use 

distilled water (not chemically descaled or softened water).

If you buy distilled water, check it is marked as suitable for use in irons.

• 

Unplug the iron from the wall power outlet.

• 

Set the steam control to   

no steam

.

• 

Lift the top of the water inlet cover to open it.

• 

Hold the iron with the water inlet cover vertical.

• 

Fill slowly, to let the air in the tank escape, otherwise you 

will cause an air lock and the water may overflow.

• 

Do not fill past ‘

MAX

’, or water may spill whilst in use.

• 

Wipe up any spillage.

SwITcHING ON

• 

Turn the temperature control dial to ‘

minimum

’ and set the steam control to   

no steam

.

• 

Sit the iron on its heel.

• 

Plug the power cord into the wall power outlet, and switch it on. The red power ON 

safety light will illuminate.

• 

Turn the temperature control dial to bring the desired setting on the dial next to the 

 mark on the tank.

• 

When the iron reaches the set temperature, the green Temperature Ready light will 

illuminate.

• 

The Temperature Ready light will cycle between red and green as the thermostat 

operates to maintain temperature.

REDUcING TEMpERaTURE

This can take time, as the iron has to lose the heat it has built up. It is best to organise your 

ironing so that you do not need to reduce the temperature.
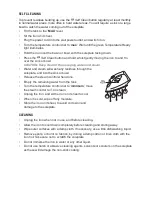
STEaM IRONING

When steam ironing, you must set the temperature control dial above   

silk/wool

, to ensure 

the iron is in the steam temperature range. Make sure the water tank is full.

• 

Move the steam control to the setting you want.

• 

Once the green Temperature ready light 

illuminates you can commence ironing.

• 

The steam control is variable. Choose a position 

between the   

no steam

 and   

high steam

 that 

best suits your steam requirements.

NOTE: When steam ironing at the lower end of the 

steam temperature range, it is preferable to set the 

steam control to a low steam setting, in order to reduce 

the incidence of water droplets.
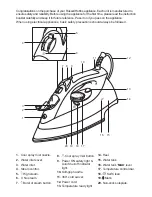
MAX

TEMPERATURE

CONTROL DIAL

STEAM CONTROL

MAX

TEMPERATURE

CONTROL DIAL

STEAM CONTROL

MAX

TEMPERATURE

CONTROL DIAL

STEAM CONTROL

Summary of Contents for RHC909

Page 1: ...2 YEAR WARRANTY INSTRUCTIONS WARRANTY RHC909_IB_100112 Steamglide Iron RHC909...

Page 2: ...New Zealand and You means you the original end user purchaser of the Goods 1 Our goods come with guarantees that cannot be excluded under the Australian Consumer Law or the CGA You are entitled to a r...

Page 3: ...iod accompanied with i the legible and unmodi ed original proof of purchase which clearly indicates the name and address of the Supplier the date and place of purchase the product name or other produc...

Page 4: ...pliances basic safety precautions should always be followed 1 Cool spray mist nozzle 2 Water inlet cover 3 Water inlet 4 Steam control 5 High steam 6 No steam 7 Burst of steam button 8 Cool spray mist...

Page 5: ...then those that need medium temperatures and finish with those needing high temperatures TEMPERATURE SETTING GUIDE label marking temperature dot setting cool nylon acrylics polyester synthetics warm w...

Page 6: ...he mark on the tank When the iron reaches the set temperature the green Temperature Ready light will illuminate The Temperature Ready light will cycle between red and green as the thermostat operates...

Page 7: ...r in the tank and the temperature control dial is set above silk wool Check that there is water in the tank Check that the temperature control dial is set above silk wool Wait until the green Temperat...

Page 8: ...rst of steam button You may have to press it 2 or 3 times to pump water through the system Leave 3 seconds between bursts to allow the temperature to recover after use Turn the temperature control dia...

Page 9: ...gh the soleplate and into the sink or bowl Release the steam control when done Empty the remaining water from the tank Turn the temperature control dial to minimum move the steam control to no steam U...

Page 10: ...e has been dropped damaged or has malfunctioned in any manner Contact Customer Service for examination adjustment repair or replacement 12 There are no user serviceable parts If power cord is damaged...

Page 11: ...NOTES...

Page 12: ...www russellhobbs com au www russellhobbs co nz RUSSELL HOBBS and logo are Trade Marks of Spectrum Brands Inc or one of its subsidiaries 2011 Spectrum Brands Inc...

Reviews: