background image


18 

Cooking


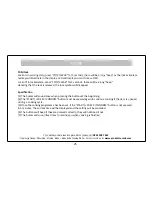
Combination Cooking (Mic Convection) 

1) Press the “GRILL/COMBI.” button once, and “G-1” will display. 
 
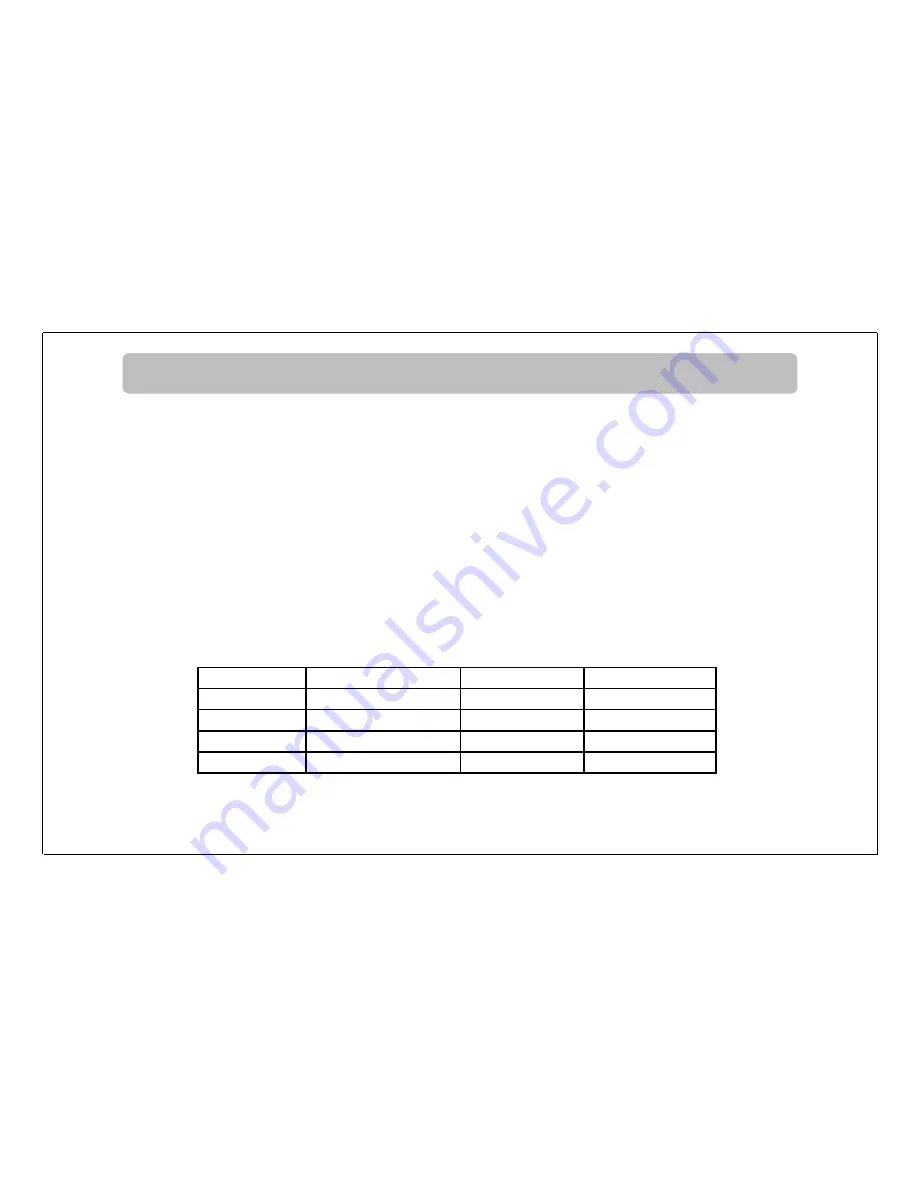
2) Use the “UP/DOWN” arrows to select the combination preferred cooking method. Stop turning 
when “C-1”,”C-2”,”C-3” and “C-4” are on the display. The table below indicates what functions will 
be activated in the cooking process. 
 
3) Press  the “START/+30 SEC./CONFIRM“ button to confirm. 
 
4)  Use  the  “UP/DOWN”  arrows  to  adjust  the  cooking  time.  (The  time  setting  should  be  0:05- 
95:00). 
 
5) Press “START/+30 SEC./CONFIRM“ to start the cooking process. 

Display 

Microwave cooking 

Grill cooking 

Convection 

C1 


C2 


C3 


C4 


For Customer Services & Spare Parts please call 

0845 209 7461  

Opening times: Monday - Friday  8am – 6pm & Saturday 9am – 1pm or visit us at 

www.productcareuk.com 

Summary of Contents for RHM2561BCG

Page 1: ...r RHM2561BCG Important safety instructions please read carefully and keep them for future reference For Customer Services Spare Parts please call 0845 209 7461 Opening times Monday Friday 8am 6pm Saturday 9am 1pm Or visit us at www productcareuk com ...

Page 2: ...ntrol panel How to use your microwave oven Cooking Cleaning and care Important utensil information Connection to the mains supply Guarantee Technical specification Spares 2 3 4 10 11 12 13 14 16 26 28 29 32 33 34 For Customer Services Spare Parts please call 0845 209 7461 Opening times Monday Friday 8am 6pm Saturday 9am 1pm or visit us at www productcareuk com ...

Page 3: ...the food when you open the microwave oven door The microwave oven will work using an ordinary household electrical socket Inside the microwave oven is the magnetron which turns the electrical energy into microwaves Microwaves cannot go through metal so the inside of the oven is lined with metal The door is lined with a fine metal mesh which stops microwaves getting through This means that when the...

Page 4: ... damage such as A misaligned door Any damage to the door Dents or holes in the door window and screen Dents in the inside If you can see any damage do not use the oven This microwave oven weighs approximately 20kg so you must put it on a horizontal surface that is strong enough to support this weight The oven must be placed away from high temperatures and steam Do not put anything on the top of th...

Page 5: ...g yolks potatoes chicken livers ready meals and so on without piercing them several times Ensure you do not use any corrosive chemicals or vapours in the appliance It is not designed for industrial or laboratory use Never put any objects into the openings on the outer case 4 To reduce the risk of fire electric shock other injuries and exposure to excessive microwave oven energy follow these basic ...

Page 6: ...he feet screws and so on Only use microwave safe utensils in line with these instructions whilst cooking Do not try to deep fry foods in this oven Only use the accessories supplied by the manufacturer To reduce the risk of fire electric shock other injuries and exposure to excessive microwave oven energy follow these basic precautions 5 For Customer Services Spare Parts please call 0845 209 7461 O...

Page 7: ... if plastic wrap has been covering the top and handles of the utensil You may need oven gloves to handle the utensil The contents of feeding bottles and baby food jars shall be stirred or shaken and the temperature should be checked before consumption in order to avoid burns Always test the temperature of cooked food never eat or drink food or liquid straight from the oven it may be extremely hot ...

Page 8: ...e are certain foods such as Christmas puddings jam and mincemeat which heat up very quickly When heating or cooking foods that contain a lot of fat or sugar do not use plastic containers Always have the glass tray and turntable support in place when using the oven Do not cook food directly on the glass tray Put food on a suitable plate or in a bowl before putting it in the oven 7 For Customer Serv...

Page 9: ...ut the power off at the fuse or circuit breaker panel If the supply cord is damaged it must be replaced by the manufacturer a qualified service engineer or a similarly qualified person in order to avoid a hazard Warning Children should not use this microwave oven Warning This appliance is not intended for use by any person including children with reduced physical sensory or mental capabilities or ...

Page 10: ...n engineer The door seals are located around the window on the inside of the door These seals are not airtight although no microwaves can be released it is normal for small amounts of air or steam to escape when the oven is in use Warning Liquids and other foods must not be heated in sealed containers as they are liable to explode Warning Do not use the microwave when it is empty 9 For Customer Se...

Page 11: ...um clearance of 30cm above the oven Place the oven as far away from radios and TV s as possible Using the oven may cause interference with the reception Plug the oven into a suitable 13 amp mains socket make sure the voltage is the same as on the rating label do not use extension cables or mains socket adaptors Warning Do not install the oven over a cooker or any other heat producing appliance Thi...

Page 12: ...m Saturday 9am 1pm or visit us at www productcareuk com Feature Diagram 1 Door Safety Lock System 2 Oven Window 3 Turntable Ring 4 Control Panel 5 Door Guard 6 Glass Turntable To be used for microwave combination grilling or convection cooking 7 Plastic turntable drive 8 Grill rack To be used in the combination cooking Grilling Rack can be used either way up to alter the distance to the grilling e...

Page 13: ...and turntable ring assembly must always be used during cooking Do not place the food directly onto the glass tray always place on or in a suitable microwaveable cookware If the glass tray or turntable ring assembly has been damaged in anyway please use the contact details at the bottom of this page For Customer Services Spare Parts please call 0845 209 7461 Opening times Monday Friday 8am 6pm Satu...

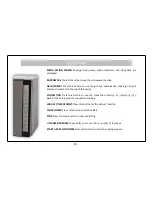
Page 14: ...is located on the top of the cavity CONVECTION Press this button to use the convection function an element at the back of the unit is used for convection cooking WEIGHT TIME DEFROST Press this button for the defrost function CLOCK TIMER Press this button to set the clock STOP Press the Stop button to clear everything UP DOWN ARROWS These buttons are used for a number of functions START 30 SEC CONF...

Page 15: ...ust the minute figures the input time should be within 0 59 60 minutes 5 Press CLOCK TIMER to finish the clock setting procedure The will flash Note 1 If the clock is not set it will not function when powered 2 During the process of clock setting if you press STOP CLEAR the oven will go back to the previous status 3 The down arrow decreases the time in stages of two minutes the up arrow increases ...

Page 16: ...om Kitchen Timer 1 Press CLOCK TIMER twice LED will display 00 00 not flashing 2 Use the UP DOWN arrows to enter the desired time The maximum time is 95 minutes 3 Press START 30SEC CONFIRM to confirm setting 4 When the countdown is complete the buzzer will ring 5 times Note The kitchen Timer is for use alongside other kitchen appliances It s an additional function to the cooking ...

Page 17: ...displayed 3 Press START 30 SEC CONFIRM to confirm 4 Use the UP DOWN arrows to adjust the cooking time The time setting should be between 0 05 95 00 5 Press START 30 SEC CONFIRM to start cooking Note The maximum power P100 of this microwave is 900W To stop the cooking process at anytime press the STOP button For Customer Services Spare Parts please call 0845 209 7461 Opening times Monday Friday 8am...

Page 18: ...95 00 4 Press START 30 SEC CONFIRM button to start the cooking process Note Half way through the grill time the unit will pause and sound twice to tell you to turn the food over In order to achieve more even grilling you should turn the food over close the door and then press START 30 SEC CONFIRM to continue cooking If the food is not turned the oven will wait one minute and the grilling will resu...

Page 19: ... what functions will be activated in the cooking process 3 Press the START 30 SEC CONFIRM button to confirm 4 Use the UP DOWN arrows to adjust the cooking time The time setting should be 0 05 95 00 5 Press START 30 SEC CONFIRM to start the cooking process Display Microwave cooking Grill cooking Convection C1 C2 C3 C4 For Customer Services Spare Parts please call 0845 209 7461 Opening times Monday ...

Page 20: ...Press the START 30 SEC CONFIRM button to confirm the chosen temperature 4 Press the START 30 SEC CONFIRM button to start the preheating When the preheating temperature is reached the buzzer will sound twice to remind you to place the food in the oven The preheated temperature will display and flash Open the door and place the food in the microwave oven 5 Put the food into the oven and close the do...

Page 21: ...key to start cooking Multi Stage Cooking It s possible to program a maximum of 2 stages for cooking Note The auto menu and preheating cannot be set as one of the multi stage cooking functions Example if you want to defrost some food for 5mins and then cook it at 80 microwave power for 7 minutes The steps are as following 1 Press WEIGHT TIME DEFROST button twice the screen will display d2 2 Use the...

Page 22: ...cooking time by 30 seconds The maximum cooking time is 95 minutes 2 During the microwave grill convection and combination cooking process press the START 30SEC CONFIRM key to cook with 100 power level for 30 seconds Each press on the same key can increase the microwave cooking by 30 seconds Note this function cannot work under defrost and auto menu cooking ...

Page 23: ...e g will illuminate in red The weight should be set between 100 2000g 3 Press the START 30SEC CONFIRM key to start defrosting Defrosting by Time 1 Press Weight TIME DEFROST key twice and the oven will display dEF 2 2 Use the UP DOWN arrows to select the cooking time The maximum defrosting time is 95 minutes 3 Press START 30SEC CONFIRM key to start the defrosting process ...

Page 24: ...the menu you need 3 Use the UP DOWN arrows to choose the weight of the menu and the g indicator will light 4 Press START 30 SEC CONFIRM to start the cooking process Note When you choose A9 cake please do not put the cake mix in to the oven immediately The oven needs to be preheated to 180 degree first After several minutes the buzzer sounds twice to remind you to put the cake into the oven After p...

Page 25: ...ish 150 150 80 250 250 350 350 450 450 650 650 A5 Vegetable 150 150 100 350 350 500 500 A6 Beverage 1 1 240ml 80 2 2 480ml 3 3 720ml A7 Pasta 50 50 add 450ml of water 100 100 add 800ml of water 150 150 add 1200ml of water A8 Popcorn 50 50 100 100 100 A9 Cake 475 475 Preheat to 180 degrees A10 Chicken 500 500 100 microwave or convection at 220 degrees 750 750 1000 1000 1200 1200 ...

Page 26: ...ons at the beginning 2 The START 30 SEC CONFIRM button must be pressed again to continue cooking if the door is opened during a cooking cycle 3 Once the cooking programme has been set if the START 30 SEC CONFIRM button is not pressed in 5 minutes The current time will be displayed and the setting will be cancelled 4 The buttons will beep if they are pressed correctly they will not beep if not 5 Th...

Page 27: ...mes To do this wipe with mild detergent and water then dry You should clean the outside of the oven with a damp cloth Don t allow water to seep into the ventilation openings Do not allow the control panel to become wet Clean with a soft damp cloth Do not use detergents abrasives or spray on cleaners on the control panel If steam builds up inside or around the outside of the oven door wipe with a s...

Page 28: ...ly If the inside of the oven smells put a cup of water with the juice and skin of one lemon in a deep microwave bowl Microwave it for three minutes wipe thoroughly and then dry with a soft cloth Failure to maintain the oven in a clean condition especially if liquid is left under the turntable could lead to deterioration of the surface that could adversely affect the life of the appliance and possi...

Page 29: ...s may cause the dishes to crack or burn and will slow down the cooking speed Use only cookware that is approved to be used in a microwave oven Do not cook using a container with a restricted opening such as bottles as they may explode Do not heat baby bottles with the teat left on and remove if replacing the bottle back into the oven Do not use the microwave oven for heating utensils 28 For Custom...

Page 30: ...age This product is fitted with a 13A plug complying with BS1363 If this plug is unsuitable or needs to be replaced please note the following Important The wires in the mains lead are Coloured in accordance with the following code GREEN YELLOW EARTH BLUE NEUTRAL BROWN LIVE 29 For Customer Services Spare Parts please call 0845 209 7461 Opening times Monday Friday 8am 6pm Saturday 9am 1pm or visit u...

Page 31: ... to the terminal which is marked with the letter E or by the earth symbol or coloured GREEN or GREEN YELLOW The BLUE wire is the NEUTRAL and must be connected to the terminal marked with the letter N or coloured BLACK The BROWN wire is the LIVE wire and must be connected to the terminal marked with the letter L or coloured RED Always ensure that the plug cord grip is fastened correctly If a 13A BS...

Page 32: ...socket outlet as there is a very great risk of an electric shock 31 Problem Solving The microwave oven may cause interference to your radio TV or similar equipment If it does you can get rid of the interference by moving the radio TV or equipment as far away from your microwave oven as possible If the oven doesn t work Make sure the mains plug is plugged in securely If it is not remove the plug fr...

Page 33: ...r with the original proof of purchase The product must be installed and used in accordance with the instructions contained in this instruction guide and any other instructions for use which has been supplied It must be used for domestic purposes only and for its intended use This guarantee does not cover wear and tear damage misuse or consumable parts This does not affect your statutory rights For...

Page 34: ...owave 900W Rated Power Grill 1400W Rated Power Convection 2400W Oven Capacity 25 L Turntable Diameter 315 mm External Dimensions LxWxH 511mmX 470mm X285mm Net Weight Approx 17 3 kg For Customer Services Spare Parts please call 0845 209 7461 Opening times Monday Friday 8am 6pm Saturday 9am 1pm or visit us at www productcareuk com ...

Page 35: ...Spares 34 The following spare parts are available from www productcareuk com Glass turntable Turntable coupling Wave Guide cover ...

Page 36: ...and recycling of materials contained within Your co operation is vital to make sure the success of these schemes and for the protection of the environment For your nearest disposal facility visit www recycle more co uk or ask in store for details We reserve the right due to possible changes to design to alter the instruction manual without prior notice Revision 1 For Customer Services Spare Parts ...

Reviews: