4
BEFORE FIRST USE
• Read these instructions before use and keep them safe. If you pass the grill on, pass
on the instructions too.
• Remove all packaging, but keep it until you are satisfied that the grill is working.
• Clean the grill surfaces and drip tray with a soft damp cloth and then dry them.
• Ensure the cooking plates are correctly inserted and securely locked into position.
• Unwind the power cord completely and insert the power plug into a grounded wall outlet.
• The grill is now ready for the preheating cycle.
OPERATING INSTRUCTIONS
1. Connect the appliance to an appropriate socket.
2. The control lights illuminate and the toasting surfaces heat up.
3. The appliance must be heated up before grilling, In the meantime prepare your food.
4. As soon as the appliance has heated up, the control light goes out.
5. You can now begin grilling.
6. Open the appliance at the catch.
7. Close the appliance, making sure that catch is engaged.
WARNING! If the foods have too much filling on, it will not be possible to close
the appliance. Take some of the filling off. Never use force to close the appliance.
8. During toasting the temperature regulating thermostat switches off and on again.
The control light also switches off and on again.
9. After completion of the grilling process (approx. 2–3 minutes) open the catch and
remove the foods with the help of a flat wooden or plastic spatula. Never use sharp or
metal object (e.g.knives, metal spatulas, etc.) as this will damage the Teflon coating.
10. If you wish to grill move food, close the appliance again and wait until the toasting
surfaces have reheated sufficiently.
ENG
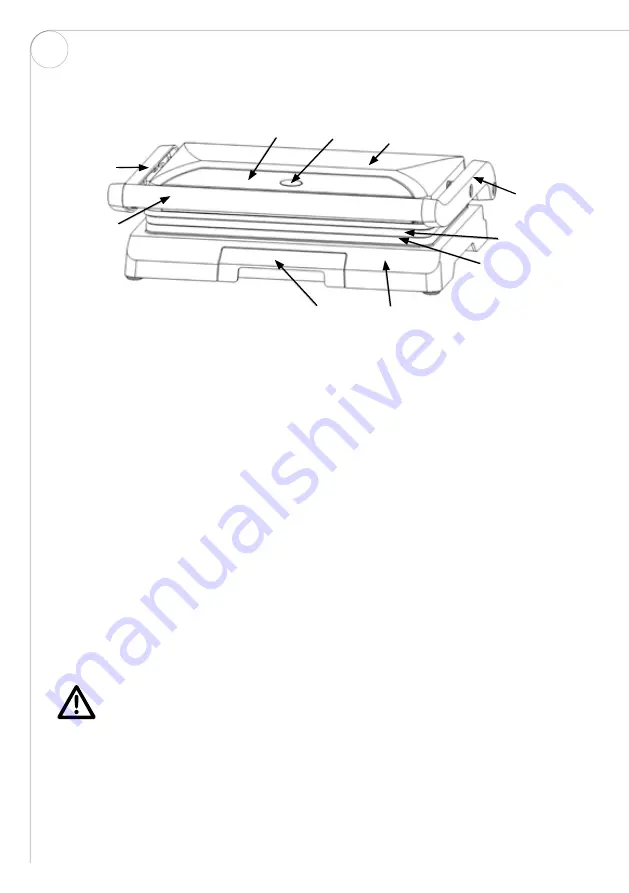
PRODUCT DESCRIPTION
Left arm
Handle
Decoration board Lamp Upper housing
Right arm
Upper baking plate
Bottom baking plate
Bottom housing
Drip tray


