Assembly Instructions
1.
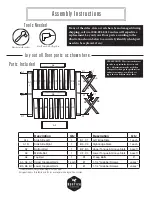
Lay out all Door parts as shown here. Slide bottom rail A2
so it’s right slat goes into the groove on A1R (stile).
As semb li ng Yo u r Doo r
We recommend a dry assembly. It is recommended
you not use glue or adhesive of any kind.
PLEASE NOTE:
These instructions are specific to a particular door size and
type. Adjustments may be needed on your part for changes in specifications
and measurements, as well as door types that are different from these.
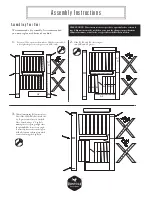
Slide B1, B2, and B3 slats’ tongues
into A1R and A2 grooves.
2.
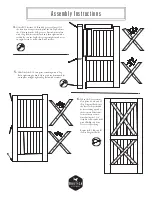
Slide all remaining B slats into place.
Now slide A3 Middle Rail down the
A1 R grooves until it rests on the B
Slats. Attach using a 6” Lag Bolt,
making sure it is going straight into
the predrilled hole, not at an angle.
If necessary, have someone help you
hold all slats and rails in place while
you are fastening the Lag Bolts.
3.
As semb ly In s truct i ons
A2
A1
R
A2
A1
R
B1
B2
B2
B2
B2
B3
B2
B2


