20
The air distribution system has the greatest effect
on airflow� The duct system is totally controlled
by the contractor� For this reason, the contractor
should use only industry-recognized procedures�
The correct air quantity is critical to air
conditioning systems� Proper operation, efficiency,
compressor life, and humidity control depend
on the correct balance between indoor load
and outdoor unit capacity� Excessive indoor
airflow increases the possibility of high humidity
problems� Low indoor airflow reduces total
capacity and causes coil icing� Serious harm can
be done to the compressor by low airflow, such as
that caused by refrigerant flooding�
Air conditioning systems require a specified
airflow� Each ton of cooling requires between 350
and 450 cubic feet of air per minute (CFM)� See
the manufacturer’s spec sheet for rated airflow for
the system being installed�
Duct design and construction should be carefully
done� System performance can be lowered
dramatically through bad planning or workmanship�
Air supply diffusers must be selected and located
carefully� They must be sized and positioned
to deliver treated air along the perimeter of the
space� If they are too small for their intended
airflow, they become noisy� If they are not located
properly, they cause drafts� Return air grilles must
be properly sized to carry air back to the blower� If
they are too small, they also cause noise�
The installers should balance the air distribution
system to ensure proper quiet airflow to all rooms in
the home� This ensures a comfortable living space�
These simple mathematical formulas can be used
to determine the CFM in a residential or light
commercial system�
Electric resistance heaters can use:
CFM = volts x amps x 3�413
SHC x temp rise
Gas furnaces can use:
CFM = Output Capacity in BTUH*
SHC x temp rise
*Refer to furnace data plate for furnace output capacity�
SHC = Sensible Heat Constant (see table below)
An air velocity meter or airflow hood can give a
more accurate reading of the system CFM�
The measurement for temperature rise should be
performed at the indoor coil inlet and near the
outlet, but out of direct line of sight of the heater
element or heat exchanger� For best results,
measure air temperature at multiple points and
average the measurements to obtain coil inlet and
outlet temperatures�
START-UP
Start-Up
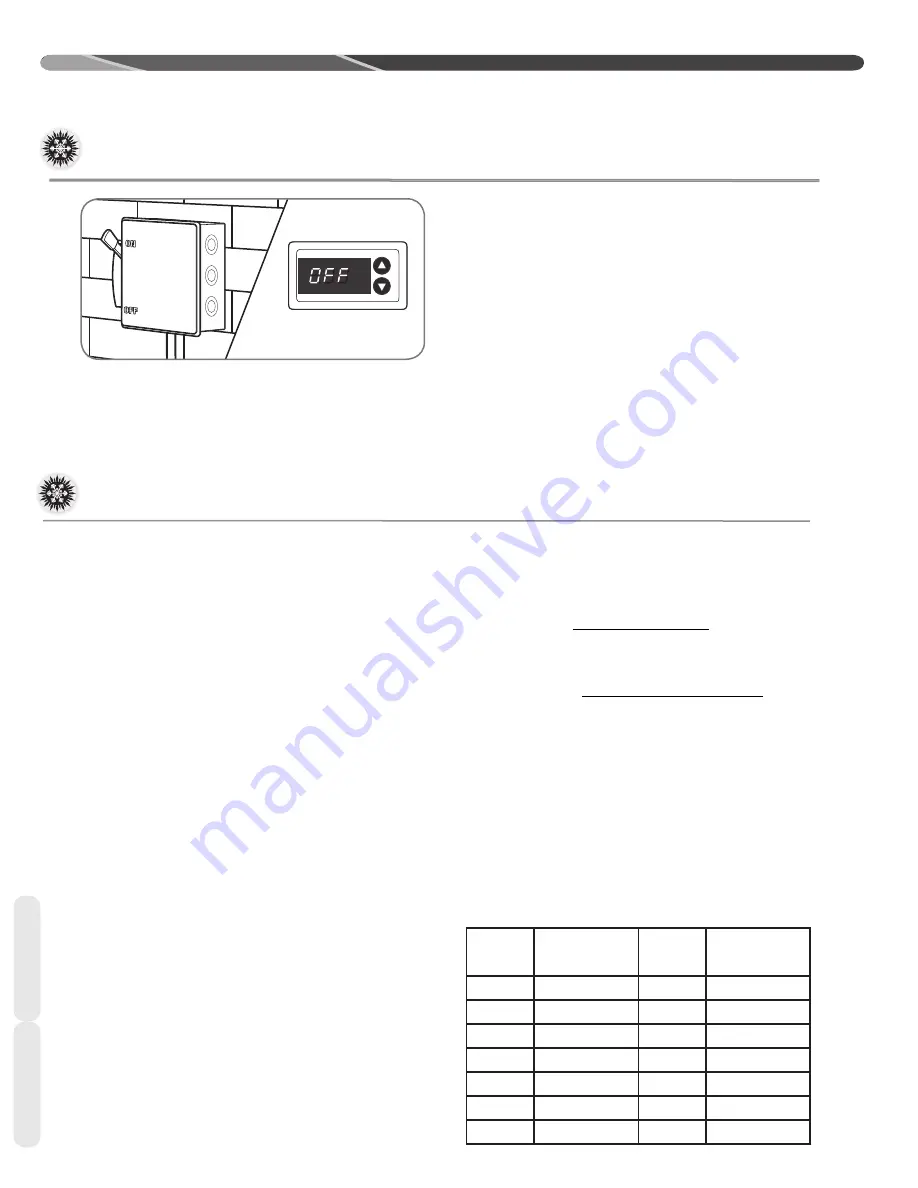
At initial start-up or after extended shutdown
periods, make sure the crankcase heater is
energized for at least 12 hours before the
compressor is started� (Disconnect switch is
on and wall thermostat is off�)
Connect the communicating system according to
the wiring diagram on page 17� Once all devices
are connected, power up the line and low voltage
to the system� When all devices are powered, the
thermostat should detect the indoor and outdoor
units within 45 seconds�
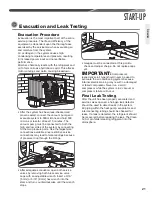
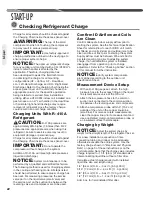
Even though the unit is factory-charged with
Refrigerant-410A, the charge must be checked
to the charge table attached to the service panel
and adjusted, if required� Allow a minimum of
15 minutes of run time before analyzing charge�
Checking Airflow
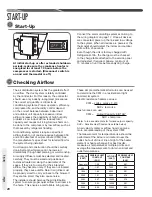
ALTITUDE
(FEET)
SENSIBLE HEAT
CONSTANT
(SHC)
ALTITUDE
(FEET)
SENSIBLE HEAT
CONSTANT
(SHC)
Sea Level
1�08
6000
0�87
500
1�07
7000
0�84
1000
1�05
8000
0�81
2000
1�01
9000
0�78
3000
0�97
10000
0�75
4000
0�94
15000
0�61
5000
0�90
20000
0�50
Airflow
Start-Up
Summary of Contents for ANL-AZ 13 SEER Series
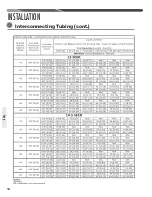
Page 12: ...12 INSTALLATION Interconnecting Tubing cont Tubing...
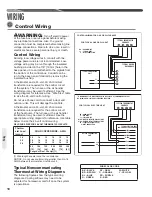
Page 13: ...13 INSTALLATION Interconnecting Tubing cont Tubing...
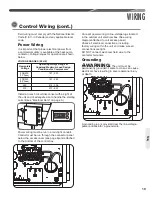
Page 14: ...14 INSTALLATION Interconnecting Tubing cont Tubing...
Page 35: ...35 For Single Phase Models WIRING DIAGRAMS Wiring Diagrams...
Page 36: ...36 WIRING DIAGRAMS For Three Phase Models Wiring Diagrams...
Page 37: ...37 Wiring Diagrams APM 018 WITH ECM FAN MOTOR WIRING DIAGRAMS...
Page 38: ...38 NOTES...
Page 39: ...39 NOTES...
Page 40: ...40 NOTES...


