8
INSTALLATION
Choosing a Location (cont�)
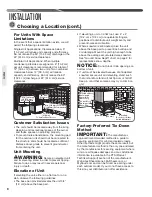
For Units With Space
Limitations
In the event that a space limitation exists, we will
permit the following clearances:
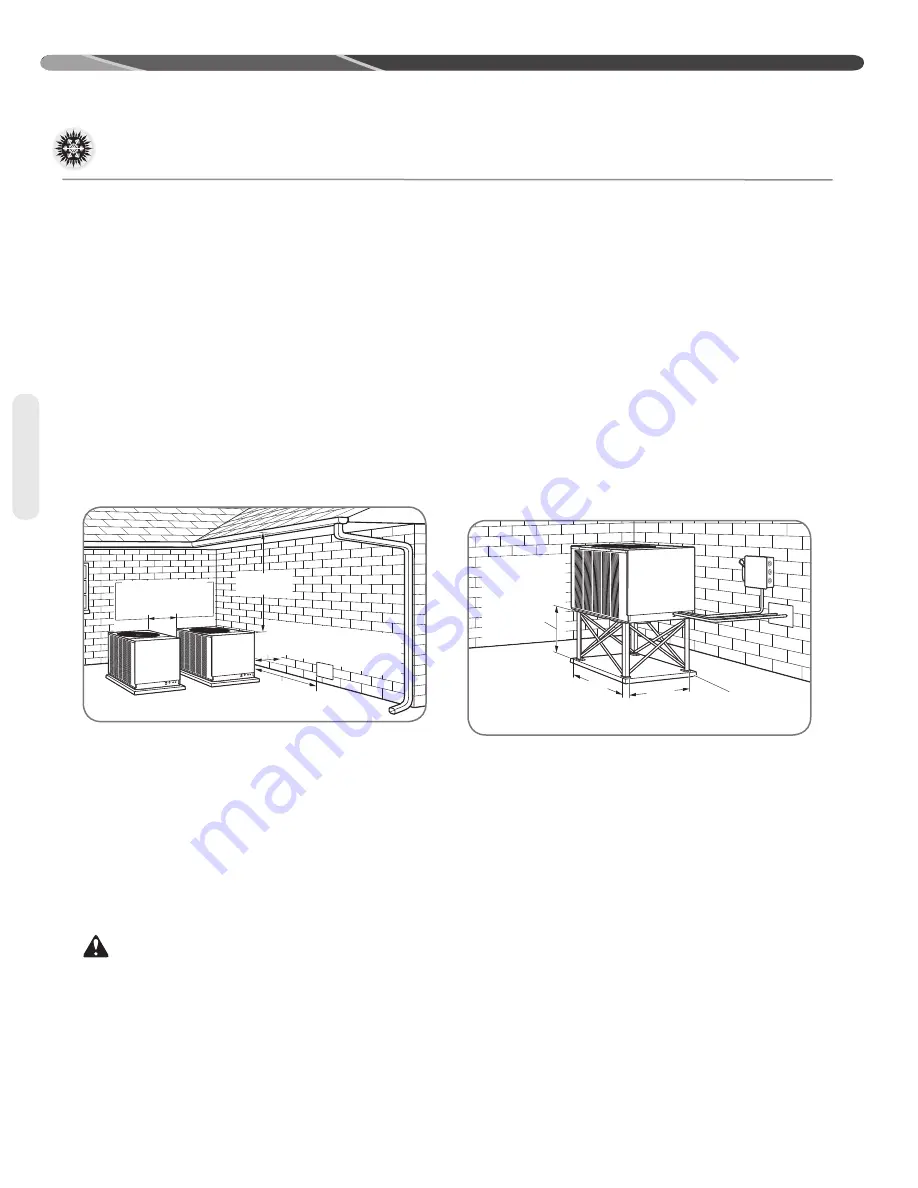
Single-Unit Applications: Clearances below 6"
[15.2 cm] will reduce unit capacity and efficiency.
Do not reduce the 60" [152.4 cm] discharge or the
24" [61.0 cm] service clearances.
Multiple-Unit Applications: When multiple
condenser grille sides are aligned, a 6" [15.2 cm]
per unit clearance is recommended for a total of
12" [30.5 cm] between two units. Two combined
clearances below 12" [30.5 cm] will reduce
capacity and efficiency. Do not reduce the 60"
[152.4 cm] discharge or 24" [61.0 cm] service
clearances�
Customer Satisfaction Issues
• The unit should be located away from the living,
sleeping, and recreational spaces of the owner
and those spaces on adjoining property�
• To prevent noise transmission, the mounting pad
for the outdoor unit should not be connected to
the structure and should be located a sufficient
distance above grade to prevent ground water
from entering the unit�
Unit Mounting
WARNING:
Secure an elevated unit
and its elevating stand in order to prevent tipping�
Failure to do so may result in severe personal
injury or death�
Elevation of Unit
If elevating the unit, either on a flat roof or on a
slab, observe the following guidelines�
• The base pan provided elevates the unit 3/4"
[1.9 cm] above the base pad.
• If elevating a unit on a flat roof, use 4" x 4"
[10.2 cm x 10.2 cm] or equivalent stringers
positioned to distribute unit weight evenly and
prevent noise and vibration�
• Where snowfall is anticipated, raise the unit
above the base pad to prevent ice buildup and
coil damage� Mount the unit high enough to be
above the average accumulated area snowfall�
See “Ground Snow Depth” chart on page 9 for
representative snow depths�
NOTICE:
Do not block drain openings on
bottom of unit�
• If unit must be elevated because of anticipated
snowfall, secure unit and elevating stand such
that unit and/or stand will not tip over or fall off�
Keep in mind that someone may try to climb on
unit�
Factory-Preferred Tie-Down
Method
IMPORTANT:
The manufacturer-
approved/recommended method is a guide to
securing equipment for wind and seismic loads�
Other methods might provide the same result, but
the manufacturer method is the only one endorsed
by the manufacturer for securing equipment where
wind or earthquake damage can occur� Additional
information is available in the PTS (Product
Technical Support) section of the manufacturer’s
Web sites Rheemote�net, MyRheem�com, or
MyRuud�com and can be found as a listing under
each outdoor model� If you do not have access to
this site, your distributor can offer assistance�
6" Min. [152 mm] From Wall –
12" [305 mm] Recommended
60" Min.
[1524 mm]
24" Min.
[610 mm]
To Service Panel Access
12" Min. [305 mm] –
24" [610 mm]
Recommended
24.5"
[622 mm]
37.75"
[959 mm]
Base Pad
(Concrete or Other
Suitable Material)
Elevation Above
Anticipated
Snowfall Is
Necessary.
Do Not Block
Openings in
Base Pan.
Location
Summary of Contents for ANL-AZ 13 SEER Series
Page 12: ...12 INSTALLATION Interconnecting Tubing cont Tubing...
Page 13: ...13 INSTALLATION Interconnecting Tubing cont Tubing...
Page 14: ...14 INSTALLATION Interconnecting Tubing cont Tubing...
Page 35: ...35 For Single Phase Models WIRING DIAGRAMS Wiring Diagrams...
Page 36: ...36 WIRING DIAGRAMS For Three Phase Models Wiring Diagrams...
Page 37: ...37 Wiring Diagrams APM 018 WITH ECM FAN MOTOR WIRING DIAGRAMS...
Page 38: ...38 NOTES...
Page 39: ...39 NOTES...
Page 40: ...40 NOTES...


