START-UP
Axio Lab.A1
Connecting to the power supply
Carl Zeiss
04/2013 430037-7144-001
65
3.3
Connecting to the power supply
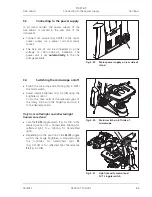
In all stand models the power supply of the
Axio Lab.A1 is located in the rear side of the
instrument.
x
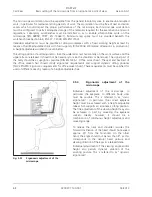
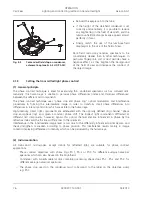
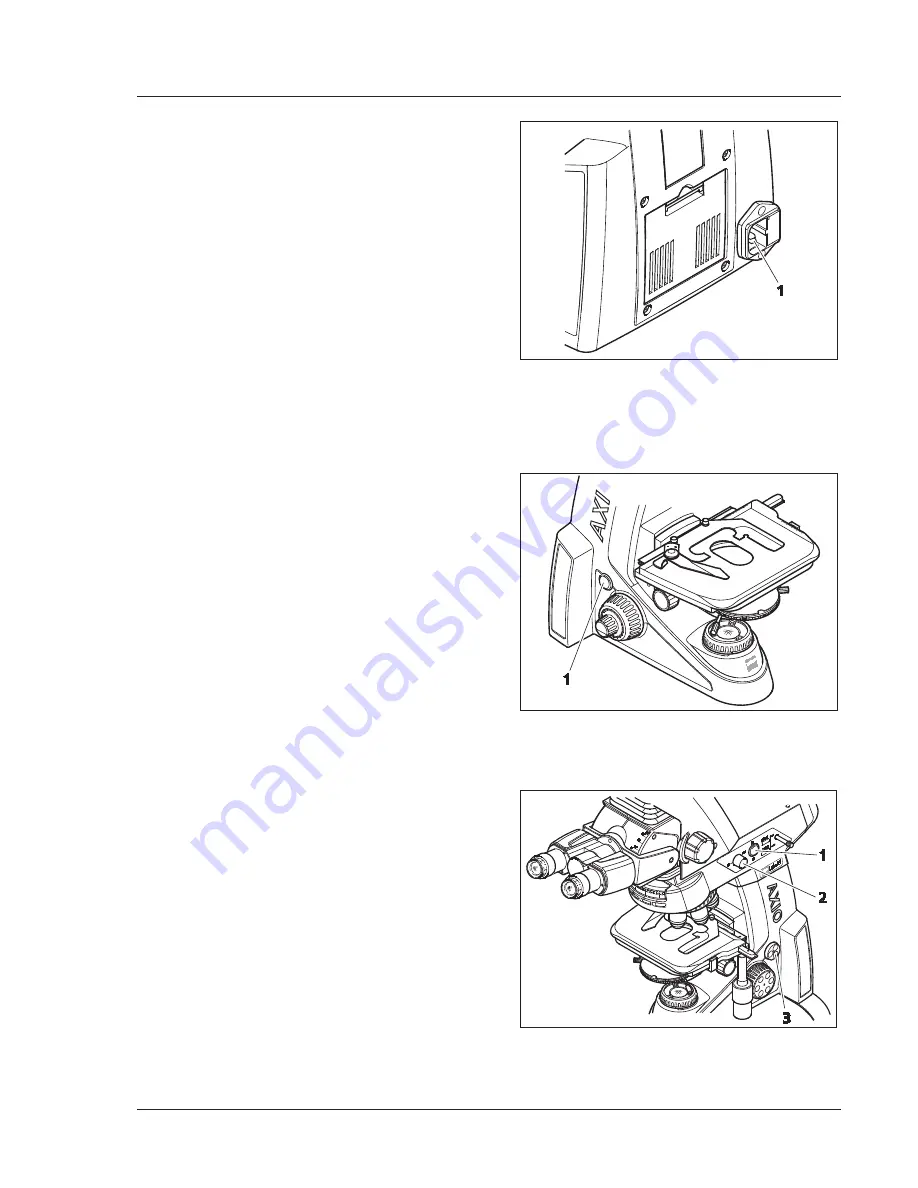
Connect microscope (Fig. 3-29/
1
) to the mains
power supply via a power cord and mains
socket.
x
The Axio Lab.A1 can be connected to a line
voltage of 100
to
240
VAC, 50/60
Hz. The
power unit is set
automatically
to the line
voltage available.
3.4
Switching the microscope on/off
x
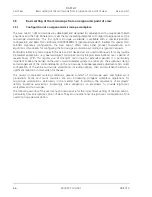
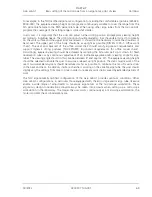
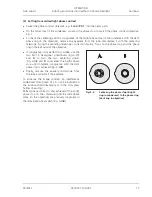
Switch the microscope on/off using (Fig. 3-30/
1
)
the mains switch.
x
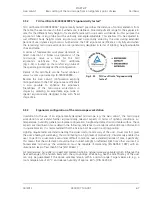
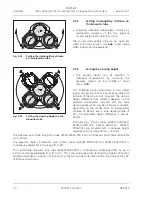
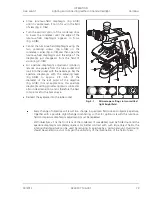
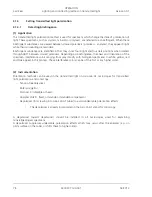
Adjust image brightness (Fig. 3-31/
3
) using the
brightness control.
To do this, take hold of the recessed grips of
the rotary knob with the fingertips and turn it
to the desired position.
Only transmitted light and reflected light
fluorescence stand:
x
Turn the
FL
/
TL
toggle switch (Fig. 3-31/
1
) to the
desired position (FL = fluorescence lighting for
reflected light; TL = lighting for transmitted
light).
x
Depending on the position of the
FL/TL
toggle
switch, the image brightness is adjusted using
the controller for transmitted light
TL
(Fig. 3-31/
3
) or for reflected light fluorescence
FL
(Fig. 3-31/
2
).
Fig. 3-29
Mains power supply on rear side of
stand
Fig. 3-30
Mains switch on left side of
microscope
Fig. 3-31
Light intensity control and
FL/TL toggle switch

