8
5.
3XWWKHQHZFKDLQLQWKHFRUUHFWGLUHFWLRQRQWRWKHEDU
and make sure that the drive links are aligned in the
bar groove.
6. Attach the bar to the chain saw and loop the chain
around the drive sprocket.
7. Replace the sprocket cover.
8. Adjust the chain tension. Refer to the “Adjusting the
chain tension” section.
WARNING
Improper chain sharpening increases the potential of
NLFNEDFN
WARNING
Failure to replace or repair a damaged chain can cause
serious injury.
WARNING
The saw chain is very sharp. Always wear protective
gloves when performing maintenance to the chain.
INSPECTING AND CLEANING THE CHAIN BRAKE
See page 25.
Ŷ
Always keep the chain brake mechanism clean by
lightly brushing the linkage free from dirt.
Ŷ
Always test the chain brake performance after cleaning.
5HIHU WR ³2SHUDWLRQ &KHFNLQJ DQG 2SHUDWLQJ &KDLQ
Brake” earlier in this manual for additional information.
MAINTENANCE SCHEDULE
Daily check
3RZHUFDEOHIRUGDPDJH
Before each use
Bar lubrication
Before each use
Chain tension
Before each use and
frequently
Chain sharpness
Before each use, visual
check
For damaged parts
Before each use
For loose fasteners
Before each use
Chain brake function
Before each use
Inspect and clean
Bar
Before each use
Complete saw
After each use
Chain brake
Every 5 hours*
* Hours of operation
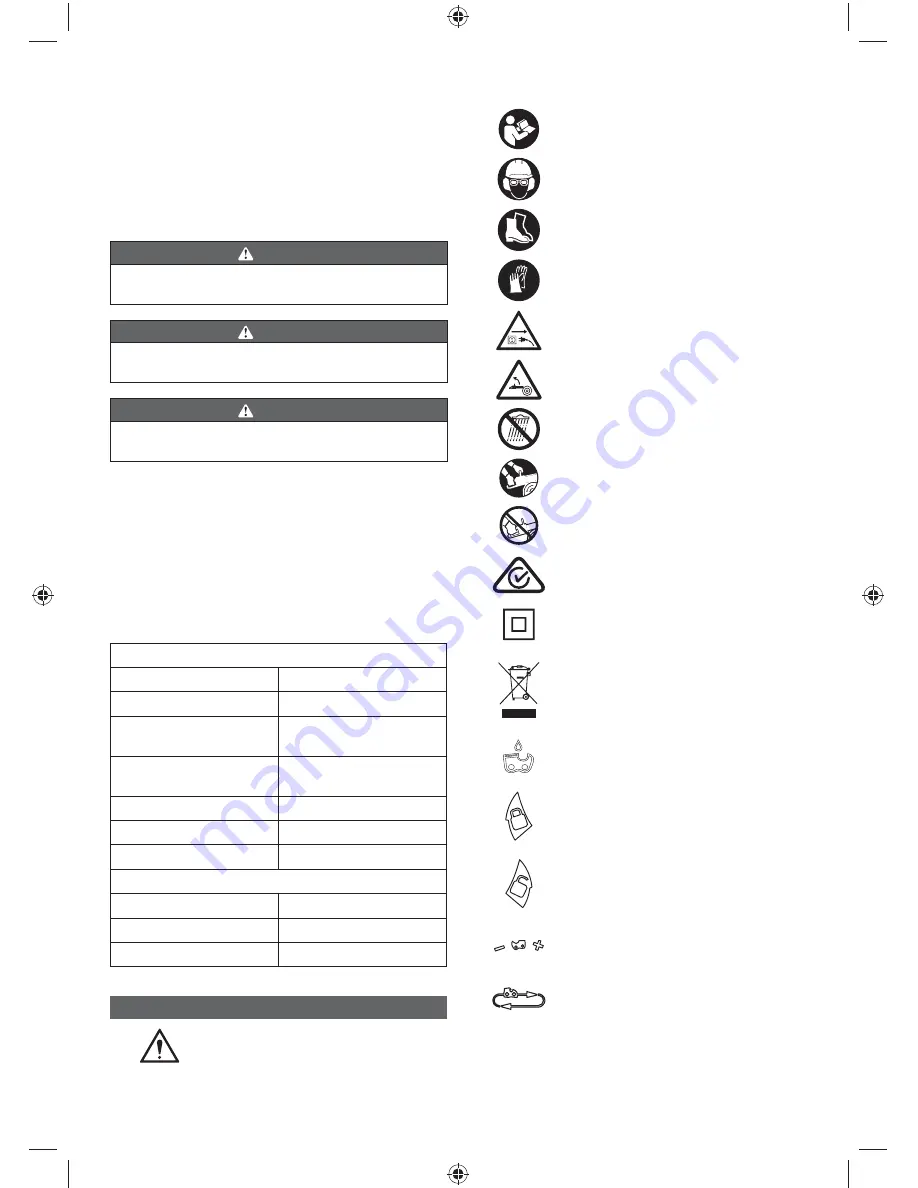
SYMBOLS ON THE PRODUCT
Safety alert
To reduce the risk of injury, user
must read and understand operator’s
manual before using this product.
Wear eye, ear and head protection.
:HDUQRQVOLSVDIHW\IRRWZHDUZKHQ
using the product.
:HDUQRQVOLSKHDY\GXW\JORYHV
Remove plug from the mains
immediately before maintenance or if
cable is damaged or cut
Beware of chain saw kickback and
avoid contact with bar tip.
Do not expose to rain or damp
condition.
Hold and operate the saw properly
with both hands.
Do not operate the saw using only
one hand.
5HJXODWRU\&RPSOLDQFH0DUN5&0
3URGXFWPHHWVDSSOLFDEOHUHJXODWRU\
requirements.
Class II tool, double insulation
Waste electrical products should not
be disposed of with household waste.
3OHDVHUHF\FOHZKHUHIDFLOLWLHVH[LVW
Check with your local authority or
retailer for recycling advice.
Bar and chain lubricant
Lock
Unlock
Rotate to adjust chain tension
+ = Tighten the chain
/RRVHQWKHFKDLQ
Moving direction of the chain.
0DUNHGXQGHUWKHVSURFNHWFRYHU
L max
Maximum guide bar length
Summary of Contents for RCS2340
Page 1: ...ORIGINAL INSTRUCTIONS Electric Chainsaw RCS2340...
Page 12: ...10 UNPACKING x 1 x 1 x 1 x 1...
Page 13: ...11 Know your product KNOW YOUR PRODUCT 3 4 8 1 2 9 10 13 12 11 14 15 16 7 5 6 17...
Page 14: ...12 GETTING STARTED 3 1 2 1 2 6 5...
Page 15: ...13 GETTING STARTED 7 3 4 mm 1 2 3 4...
Page 16: ...14 GETTING STARTED 3 2 1 8...
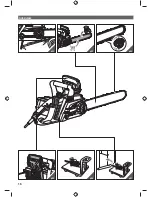
Page 17: ...15 OVERVIEW p 17 p 18 p 19 p 20...
Page 18: ...16 OVERVIEW 2 1 p 21 p 22 p 24 p 25 p 26 p 27...
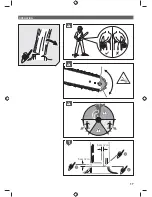
Page 19: ...17 OPERATION 1 3 2 5 cm 2 in 5 cm 2 in 1...
Page 20: ...18 OPERATION 1 2 2 2 1...
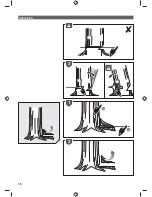
Page 21: ...19 OPERATION 1 2 1 3 2 3 2 1 2 3 1 3...
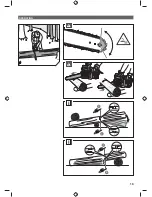
Page 22: ...20 OPERATION...
Page 23: ...21 OPERATION...
Page 24: ...22 OPERATION 2 1 1 2 1 2 1 1 3 2 2 1 3 4...
Page 25: ...23 OPERATION 3 2 1 4 3 1 2 3 4 mm 6 5 7 8...
Page 26: ...24 OPERATION 3 4 mm 2 1 3 4...
Page 27: ...25 MAINTENANCE 2 1...
Page 28: ...26 STORAGE 3 1 2 2 1 2 4 1 3...
Page 29: ...27 STORAGE 20160913v1 3 1 2 2 1 2 4 1 3...
Page 31: ......


