11 — English
OPERATION
Start with the nozzle 1–2 ft. away from the cleaning surface
and carefully approach the surface just until the desired
level of cleaning is achieved. If the spray is too close it can
damage the cleaning surface.
To stop:
Release the trigger to stop the flow of water through the
nozzle.
Place the lock-out button in the locked position.
Remove the battery pack.
MODE CONTROL SELECTOR
See Figure 10.
Allows adjustments of the pressure and water flow to fit the
requirements of your cleaning job. Adjust the water flow from
0.2 to 0.7 GPM with a press of a button.
Press the button to change the setting.
The LED will toggle from low, to medium, to high, back
to low with each press of the button.
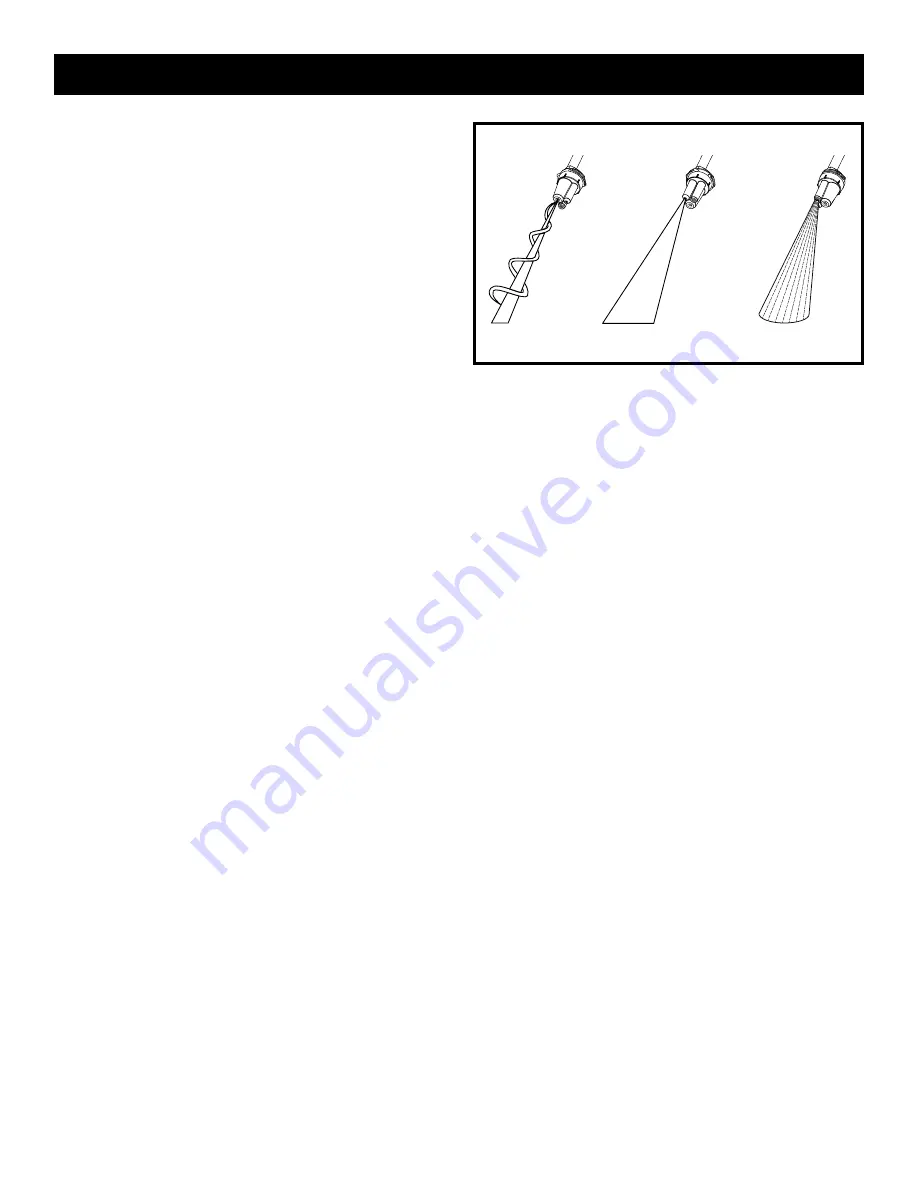
SELECTING THE RIGHT NOZZLE FOR THE JOB
See Figure 11.
Each of the nozzles has a different spray pattern. Before
starting any cleaning job, determine the best nozzle for the
job. Refer to the
Nozzle Selection Guide
for more information.
Rotate the nozzle until the desired position is selected.
NOZZLE SELECTION GUIDE
TURBO
15˚
RINSE
RINSING WITH THE POWER CLEANER
See Figure 12.
Turn off the power cleaner and shut off the water supply.
Engage the lock out on the trigger by moving the lock-out
button to the locked position.
Rotate the 3-in-1 nozzle to the desired position of the
three nozzles.
Select the right nozzle for the job. See the chart shown
earlier in the manual to select the appropriate nozzle.
Start at the top of the area to be rinsed and work down,
overlapping the strokes.


