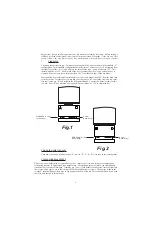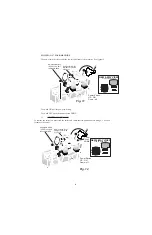
Verify by switching ON the machine and verifying that the cutter wheel just ticks the blade of the key blank.
We recommend moving the machines stick-shift lever very slightly to the right and at the same time listening
to the cutter wheel for the very faint ticking sound of the cutter wheel teeth barely grazing the key blank. DO
NOT go back and forth over the same spot! If you use the same spot more than once your stylus will burnish a
spot on the key blank that is ever so slightly lower than the rest of the key blank.
Switch OFF the key machine.
1.
SPACE ADJUSTMENT
Never adjust the spacing without first adjusting DEPTH. If the depth adjustment is not right - then spacing will
not be right.
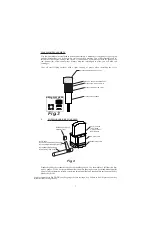
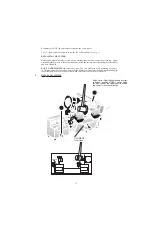
Spacing is adjusted by moving thestylus holder left or right. The stylus holder is secured to the machines main
housing by two 1/4-20 Socket Head Cap Screws and washers.
To adjust the spacing you will need:
v
3/16 Allen Hex Wrench
v
Two identical Key Blanks
v
Small Plastic Mallet
Before you begin please make sure that both top vise jaws are in the standard A configuration.
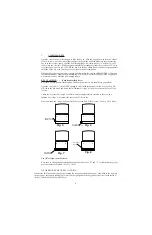
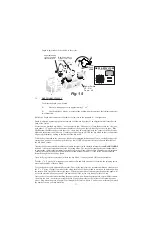
Stack the two identical key blanks one on top of each other and clamp them in the right hand vise jaw. Be sure to
top shoulder gauge them with the machines flip-up full-function key gauges leave about 1/32 gap between the
bottom shoulder of the keys and the left-side edge of the vise jaws.
DO NOT
bottom shoulder the keys into the
vise - there may be a small radius in the corner of the key blanks blade and bottom shoulder area. Clamping in
this area may ANGLE the key blank in the vise jaw and throw off your adjustment. There should be NO key blanks
in the left vise jaw for this part of the procedure.
DO NOT FORGET
to flip down your key gauges. Failure to do so may result in damage to the key gauge and
key gauge shaft by the cutter wheel.
Switch ON the key machine and carefully release the carriage and position it so the cutter wheel will make a cut
in about the middle of the blade of the key blanks. Hold the machines stick-shift lever steady and carefully make
a straight V cut into the two-piece key blank stack about 1/8 deep it is important to do this operation without
moving the carriage sidewise by the slightest amount.
Pull back the carriage to the locked position and switch OFF the key machine.
Remove the two key blanks from the right vise jaw Do Not Mix Them Up.
Reinstall the TOP key blank in the Right vise jaw with about 1/32 gap between the bottom shoulder of the key
and the left-edge of the vise jaw.
Install the BOTTOM key blank in the left vise jaw - flip up the machines full-function key gauges and carefully
top shoulder guard the left key to the key in the right-hand vise jaw.
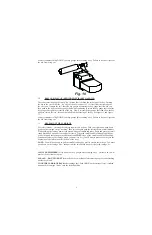
Without turning ON the motor, carefully release the carriage and align the left-hand blanks V cut with the
machines stylus the V cut in the key blank in the right-hand vise jaw should fall into place around the V
profile of the cutter wheel.
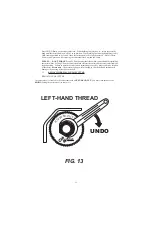
Use your hands to carefully turn the cutter wheel
BACKWARDS
to verify that the cutter wheels teeth do not touch
the V cut in the right-hand key blank.
Verify that the stylus is completely seated in the V cut in the left-hand key blank. If it is and the cutter wheel will not
turn Backwards by hand, or the cutter wheel tick and V cut in the right-hand key blank------then spacing needs to be
adjusted.
14


