15
ADJUSTMENTS—PHOTO EYE ADJUSTMENT
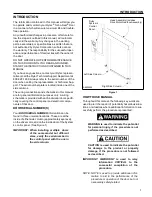
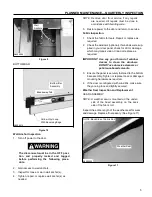
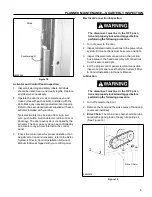
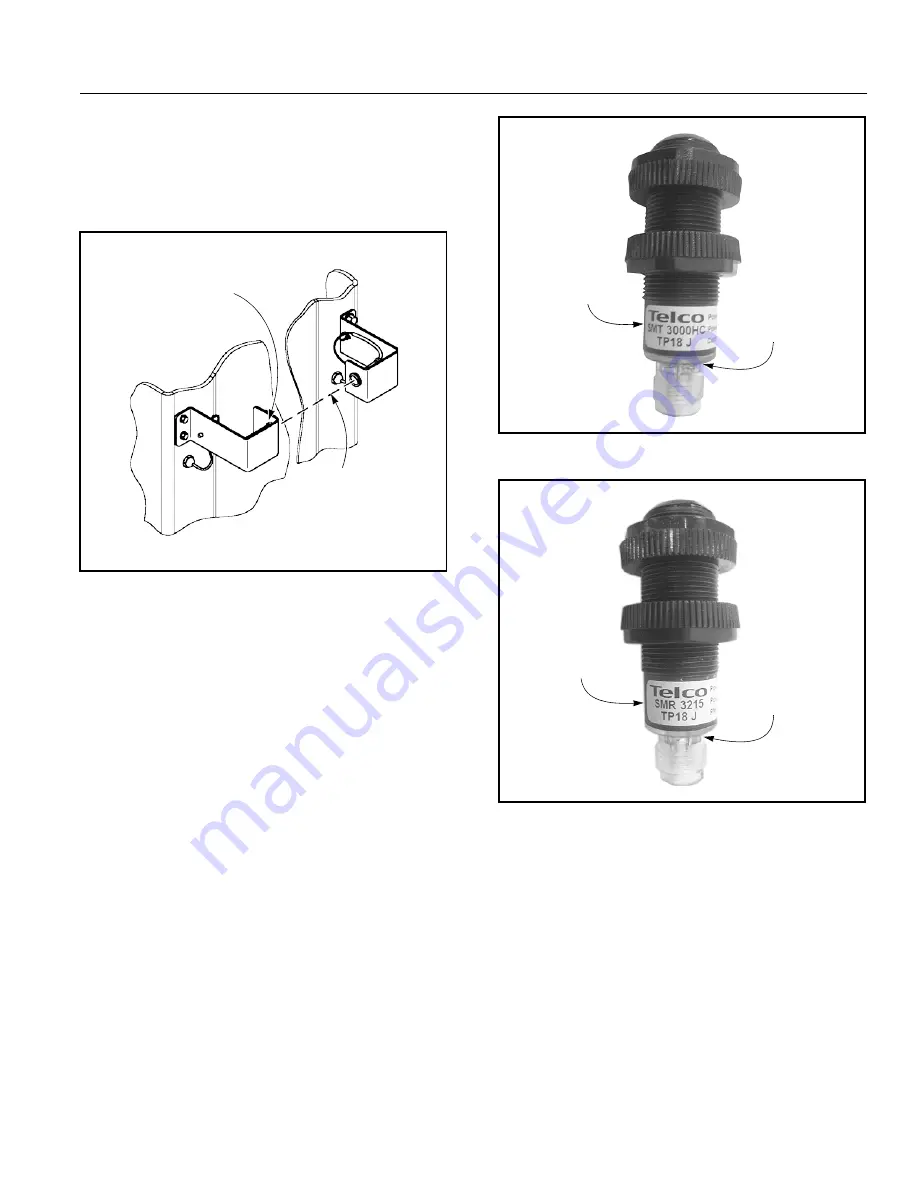
1. Verify that the photo eye emitter mounted on the
front side of the door is aligned with the receiver on
the opposite side of the door opening. The yellow
light on the photo eye receiver will light when the
emitter and receiver are properly aligned.
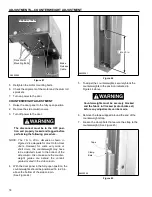
(See Figure 35)
Yellow Light Indicates
Photo Eye Emitter and Receiver
Are Properly Aligned
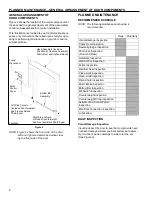
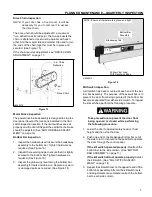
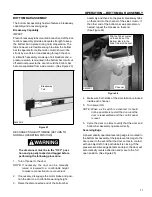
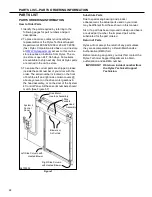
Transmitter
Module
Designation
Power Light
(Green)
A2500258
Figure 36
Direct Photo Eye
for Horizontal
Beam
A8500216
Figure 35
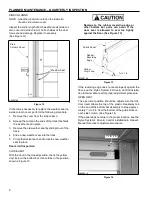
2. If an alignment is necessary, first verify that the
mounting brackets supporting the photo eye emitter
and receiver are perpendicular to the side column
and that the emitter and receiver are aligned.
If the photo eye emitter and receiver are not
aligned, bend the mounting brackets as needed.
3. Verify that the factory-installed photo eyes on the
back side of the door are aligned as described
above. Make any necessary adjustments until the
photo eye emitter and receiver are aligned.
4. After all adjustments are made and both sets of
photo eyes are properly aligned, clean the lens of
each photo eye using window cleaner and a soft,
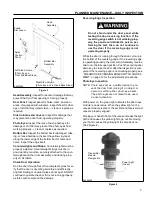
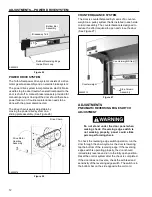
Receiver
Module
Designation
A2500259
Testing Photo Eyes
Figure 37
Alignment Light
(Yellow)
clean cloth.
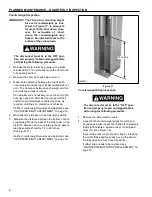
With power on, the green light indicates the photo eye
module is powered up. When the yellow light on the
receiver module is also lit, the emitter and receiver mod-
ules are properly aligned.
Placing your hand in front of the receiver breaks the light
path and causes the yellow light to go out. Removing
your hand causes the yellow light to go back on.

