18
ADJUSTMENTS—COUNTERWEIGHT ADJUSTMENT
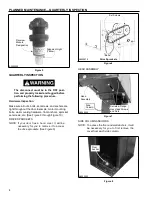
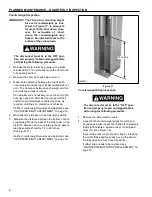
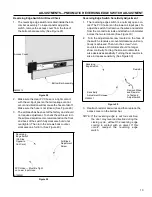
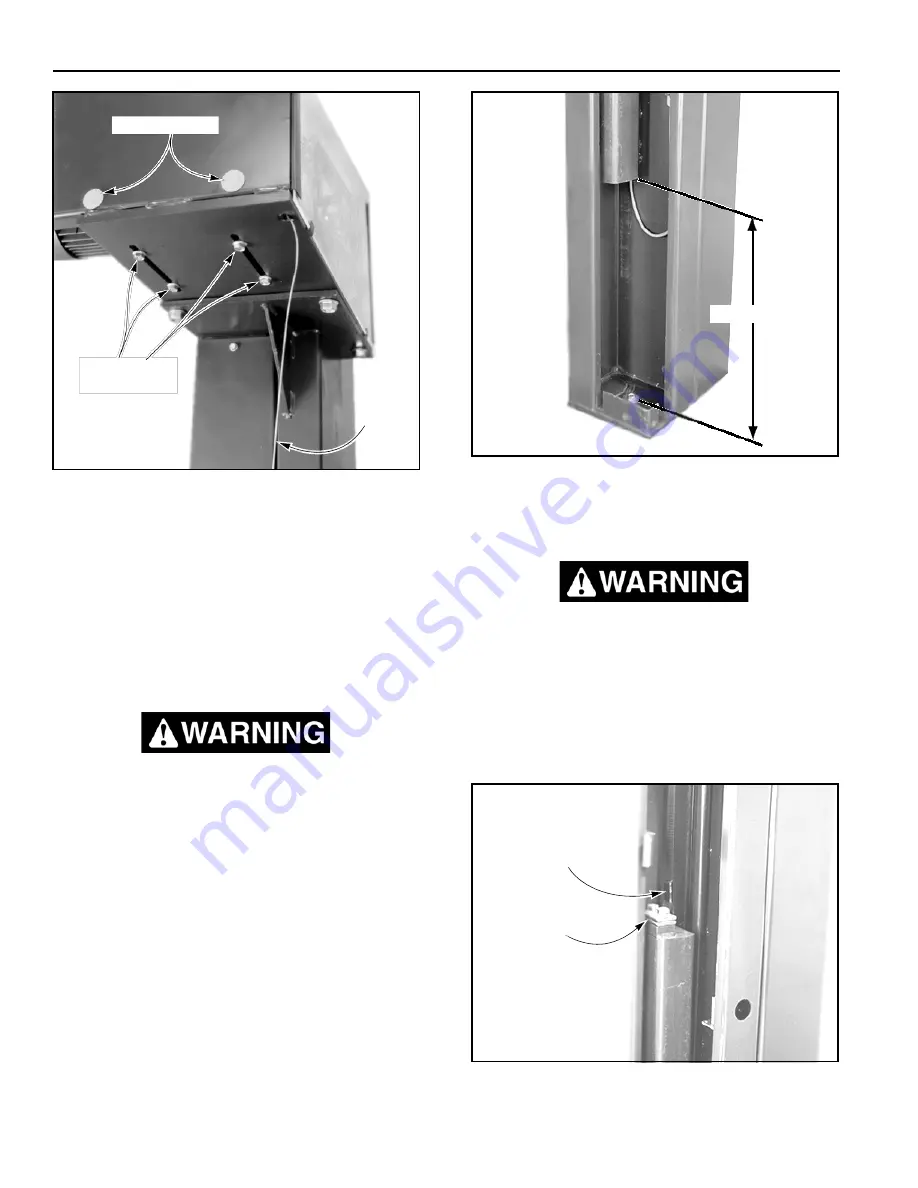
Adjustment Bolts
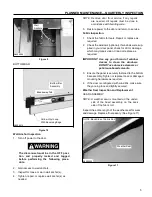
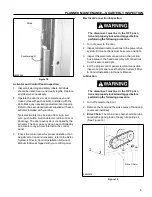
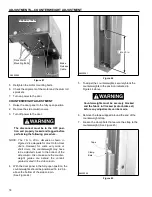
16 to 20 in.
Drive Motor
Mounting Bolts
Brake
Release
Cable
A8500085
Figure 43
A8500091
Figure 44
5. Retighten the motor mounting bolts.
6. Check the alignment of the motor and the drum roll
sprockets.
7. Turn on power to the door.
COUNTERWEIGHT ADJUSTMENT
1. Raise the door panel to the fully open position.
2. Remove the side column covers.
3. Turn off power to the door.
The disconnect must be in the OFF posi-
tion and properly locked and tagged before
performing the following procedure.
NOTE: The 16- to 20-in. dimension shown in
Figure 44 is adequate for most Turbo-Seal
doors. However, for some very wide or
short doors, the counterweight may have
to be adjusted closer to the bottom of the
side column. Also, make sure the counter-
weight guides are behind the conduit
guides located in the side column.
5. To adjust the counterweights, securely block the
counterweights in the position indicated in
Figure 44 above.
Counterweights must be securely blocked
and the fabric roll locked (motor brake set)
before any adjustments can be made.
6. Remove the tape wrapped around the end of the
counterweight strap.
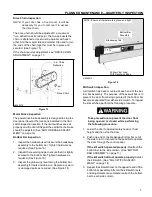
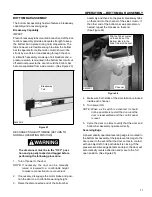
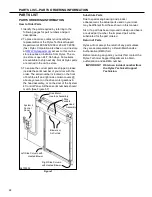
7. Loosen the clamp bars that secure the strap to the
counterweight. (See Figure 45)
Tape
Clamp
Bars
4. With the door panel in the fully-open position, the
counterweights should be positioned 16 to 20 in.
above the bottom of the side column.
(See Figure 44)
A8500089
Figure 45

