700-9700
7.14.2022
18
13.
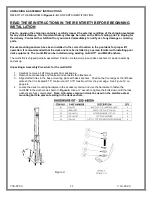
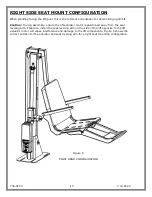
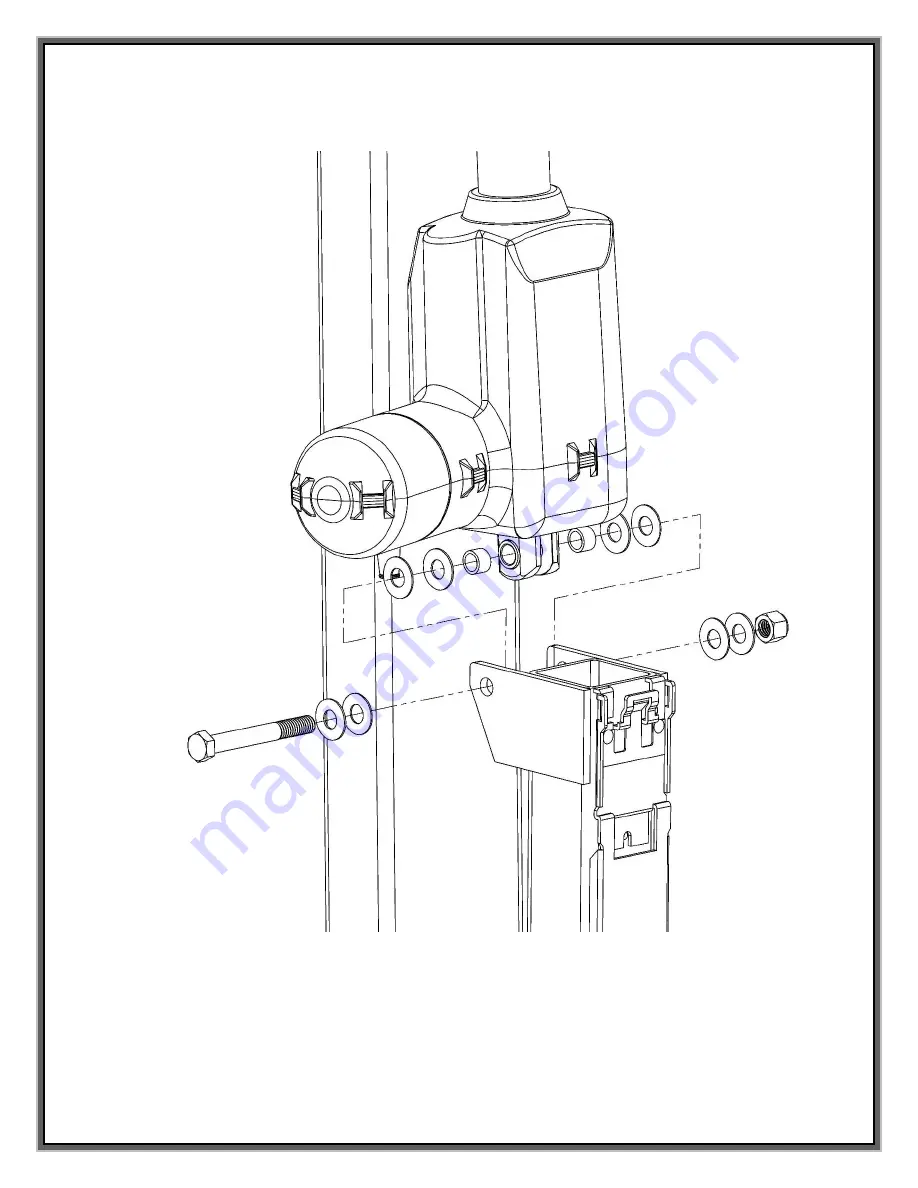
Remove the hardware connecting the actuator to the base. Rotate the actuator 180
degrees so that it is in the position shown in Figure 9 and reattach the actuator. Figure 10
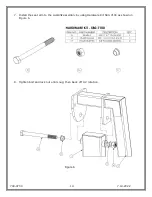
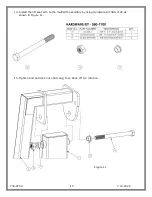
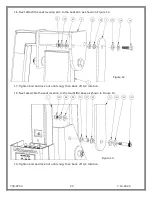
shows the re-assembly sequence for bolt, washer, spacers, and nut.
CAUTION: This configuration modification can be challenging,
so it’s best (2) two people
assist each other to get the spacers back in place and the lift does NOT deploy/move.
Figure 10

