13
G
Mounting and Installation
ATTENTION!
The minimum CO
2
concentration of outdoor air amounts to approx. 350 ppm (output voltage = 1.75 V
at MR = 0...2000 ppm or 0.7 V at
MR = 0...5000 ppm) in leafy, hardly industrialised areas. Gas inter-exchange in the sensor element happens by diffusion.
Depending on the changes
to the concentration and the flow velocity of the air surrounding the sensor, the reaction of the device to the change of concentration may take
place with a delay. It is essential to choose an installation location for the device
in which the air stream flows around the sensor. Otherwise the
gas exchange may be considerably delayed or prevented.
Automatic calibration of the carbon dioxide measurement – ABC logic (default)
The automatic background logic is a self-calibrating mechanism that is suitable for use in applications in which the CO
2
concentration drops to fresh
air level (350 - 400 ppm) at least three times in 7 days. This should typically occur during times in which rooms are unoccupied. The sensor reaches
its normal accuracy after 24 hours of continuous operation in an environment that has been subjected to a fresh air supply of 400 ppm CO
2
. The
deviation errors remain minimal if the sensor is exposed to fresh air at least 4 times within 21 days. The ABC logic needs continuous operating
cycles of more than 24 hours to operate correctly.
Manual calibration of carbon dioxide measurement
Manual calibration can be carried out independently of the DIP switch position (ABC logic).
Sufficient fresh air (CO
2
content = 500 ppm) must be provided before and after the calibration procedure!
The calibration procedure is started by pressing the “
Reset CO
2
” (for approx. five seconds).
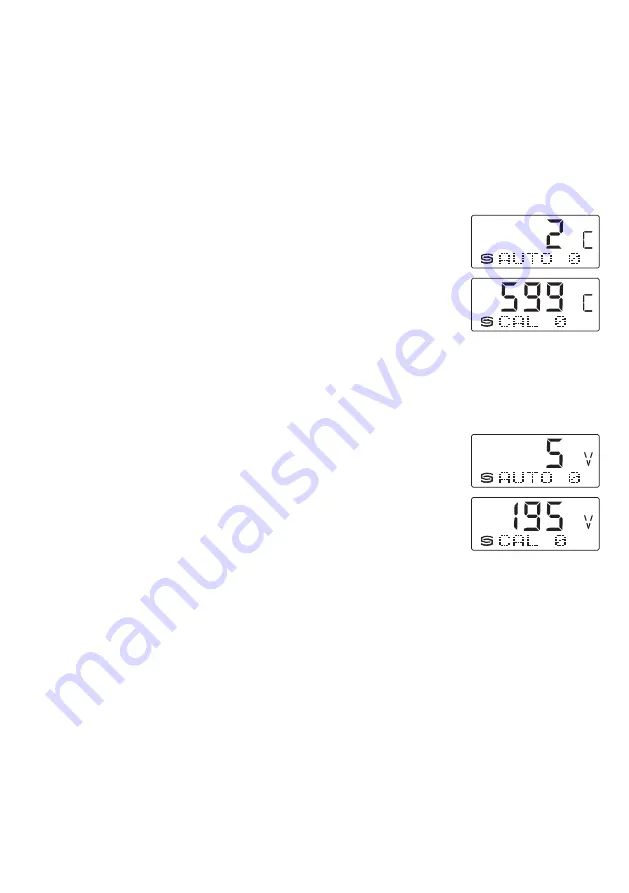
This is signalled by the flashing LED or the countdown timer on the display (
AUTO 0
).
Then calibration takes place.
During this phase, the LED is constantly active and a 600-second countdown runs on the display
CAL 0
).
The LED is deactivated after successful calibration.
Automatic calibration of carbon dioxide measurement (default)
Within a period of approx. 4 weeks, the minimum output value for air quality is saved. After this period, the output signal is standardised to the zero
point. The maximum amount of correction per interval is limited. Long-term drifts and the operation-related ageing of the sensor element are thus
completely eliminated.
Manual calibration of air quality
Manual calibration can be carried out independently of the DIP switch position.
Sufficient fresh air must be provided before and after the calibration procedure!
We recommend a fresh air supply of at least two hours before the calibration process.
The calibration procedure is started by pressing the “
Reset VOC
” button (for approx. five seconds).
This is signalled by the flashing LED or the countdown timer on the display (
AUTO 0
).
Then calibration takes place.
During this phase, the LED is constantly active and a 600-second countdown runs on the display
CAL 0
).
The LED is deactivated after successful calibration.
General information on air quality
The service life of the sensor depends on its functional principle and the type and concentration of pollutant gas burden. The sensitive layer of the
sensor element reacts with all volatile organic compounds and is therefore modified in its electrical properties. This procedure leads to an offset of
the characteristic line. When measuring the air quality, the general condition of the air quality is recorded. Whether the air quality is “good” or “bad”
depends on the individual interpretation of each individual. Different pollution burdens and concentrations influence the air quality signal (0 - 10 V) in
different ways. Examples are cigarette smoke, deodorant sprays, cleaning agents and various adhesive materials for floor and wall coverings, as well
as dyes. Increased levels of solvents, nicotine, hydrocarbons, aerosol propellants, etc. intensify the wear/ageing of the sensor element. Especially at
high pollutant gas burdens, even when the devices are idle (transport and storage) the zero point is adjusted. This must be corrected on-site depending
on the specific conditions or basic burdens. Air quality measuring instruments from various manufacturers cannot be compared directly with each
other because of the different functional principles, the pre-set basic burden (zero point) and the permitted burden (amplification/sensitivity). The
devices are set or calibrated according to the specifications of the sensor manufacturer. Here, a zero point and end value, and therefore a maximum
load, are established. In special circumstances, there is an overrun of the measuring range or an excessively high basic burden on the devices (out-
gassing carpets, wall paint, etc.) In order to enable a measurement or distinction of different air qualities, the devices must be configured by the client
in accordance with the on-site conditions which do not correspond to the function domain and thus the factory calibration. Here, it should be noted
that the factory calibration will be lost and technical data compliance can no longer be guaranteed.


