MAINTENANCE
86037580 GLIDE 01/03/07
4-10
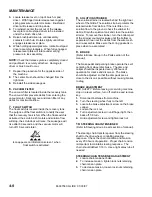
!
WARNING
11.
VACUUM MOTOR
(Refer to the Vacuum Group in the parts section
of manual)
Do not use a pressure washer to clean around
the vacuum motors. Use tap pressure only. Care
must be taken so that water is not directed into
vacuum motor air intakes.
CHANGING VACUUM MOTOR
1.
Remove side cover.
2.
Disconnect electrical connector to the vacuum
motor.
3.
Loosen clamp and disconnect hose from
vacuum intake.
4.
Loosen clamp and disconnect vacuum muffler
from vacuum outlet.
5.
Remove vacuum motor mounting bracket bolts,
which are located under frame.
6.
Remove vacuum motor from mounting bracket
assembly.
7.
Reverse steps to install.
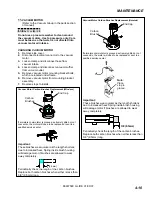
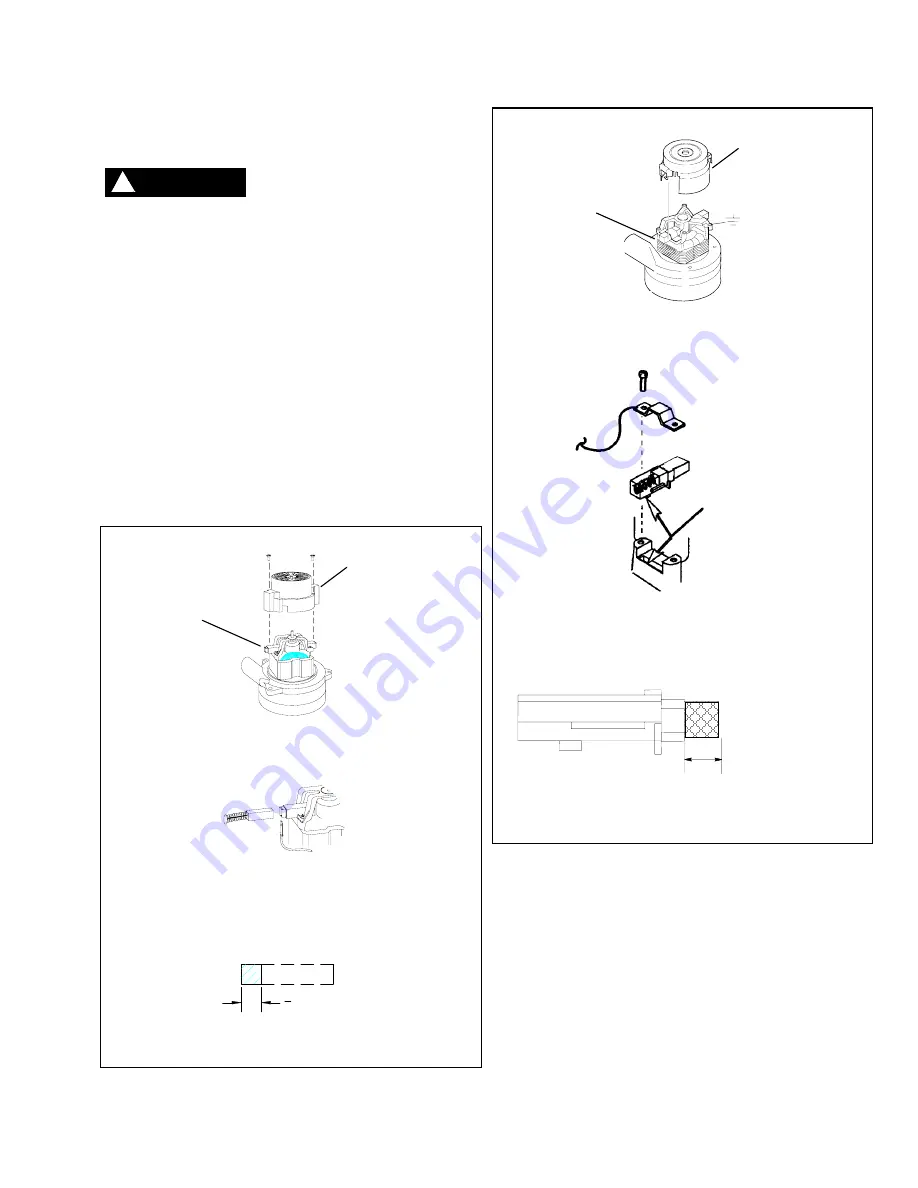
Vacuum Motor Carbon Brushes Replacement (Windsor)
End Cap
Carbon
Brushes
If armature commutator is grooved, extremely pitted or not
concentric, the motor will need to be replaced or sent to a
qualified service center.
Important:
These brushes wear quicker as the length shortens
due to increased heat. Spring inside brush housing
will damage motor if brushes are allowed to wear
away completely.
Periodically check the length of the carbon brushes.
Replace both carbon brushes when either is less than
3/8" (9.5mm) long.
3
8
[9.5mm]
Important:
These brushes wear quicker as the length shortens
due to increased heat. Spring inside brush housing
will damage motor if brushes are allowed to wear
away completely.
Periodically check the length of the carbon brushes.
Replace both carbon brushes when either is less than
3/8" (9.5mm) long.
3/8 (9.5mm)
Vacuum Motor Carbon Brushes Replacement (Ametek)
End Cap
Carbon
Brushes
If armature commutator is grooved, extremely pitted or not
concentric, the motor will need to be replaced or sent to a
qualified service center.
Note:
Place
stop in
groove.

