9
Mowing
Mowing Tips
• Make sure to clear the area of stones, sticks,
branches, wire and other debris that the blade
could hit.
• Never deliberately mow over any object. Avoid
striking solid objects with the blade.
• If the machine strikes an object or starts to
vibrate, immediately stop the engine,
disconnect the wire from the spark plug, and
examine the machine for damage.
• For best performance, install a new blade
before the cutting season begins.
• Replace the blade when necessary with a
Saber Edge replacement blade.
Cutting Grass Tips:
• Cut only about a third of the grass blade at a
time. Do not cut below the 4
th
setting (1- 7/8th
inch) unless the grass is sparse or it is late fall
when grass growth begins to slow down.
Refer to Adjusting the Cutting Height.
• When cutting grass over 6 inches tall, mow
at the highest cutting height setting and walk
slower; then mow again at a lower setting for
the best lawn appearance. If the grass is too
long, the machine may plug and cause the
engine to stall. Mow only dry grass or leaves.
Wet grass and leaves tend to clump on the yard
and can cause the machine to plug or the
engine to stall. Cut the grass more frequently.
• Overlap cutting swaths instead of cutting a full
swath with each pass.
• For extremely heavy cutting, reduce the width
of cut by overlapping previously cut path and
mow slowly.
• Pores in cloth grass catchers can become filled
with dirt and dust with use and catchers will
collect less grass. To prevent this, regularly
hose catcher off with water and let dry before
using.
• Keep top of engine around starter clear and
clean of grass clipping and chaff. This will help
engine airflow and extend engine life.
Mulching the Clippings
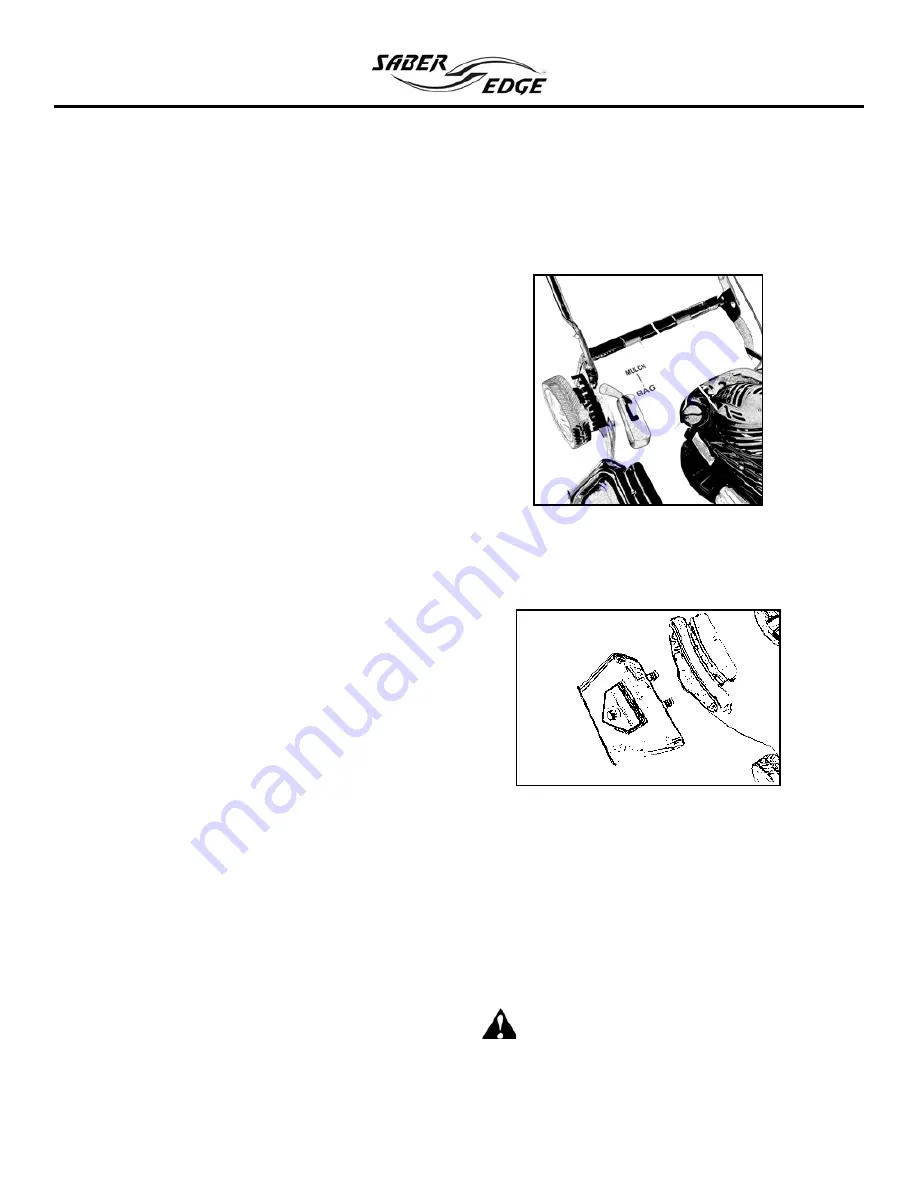
If the grass catcher is on the machine, remove it
before mulching the clippings and shift mulching
lever to the mulch position.
Engaging Mulching Lever
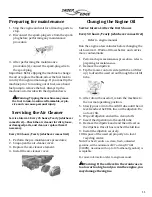
Using Side Discharge
1. Shift lever to the mulching position
2. Lift the spring loaded side discharge cover
located on the side of the mower.
3. Insert side discharge deflector by aligning the 2
protruding ends of the deflector into the 2
notches under the bar and spring that holds the
side discharge cover.
4. Once inserted the side discharge cover will
secure the discharge deflector in place.
Warning: Make sure side discharge deflector
is securely installed. Failure to do so can cause the
deflector to fall off and be mangled by the blade
producing dangerous debris to be flung causing
serious injury to the operator and/or bystanders.
Move lever to the left and then up.


