84 mm
60 mm
1
2
3
Fig. 2 / Obr. 2
30
30a
inStallaziOne
cOMandO
cOntROl
inStallatiOn
inStallatiOn
de la cOMMande
inStalace
T–MB
inStalación
cOntROl
inStallatie
cOMMandO
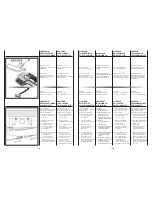
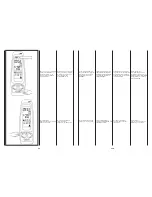
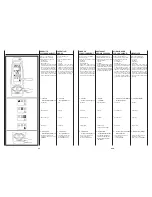
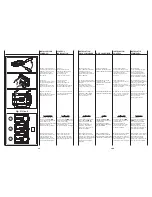
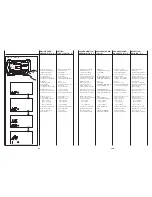
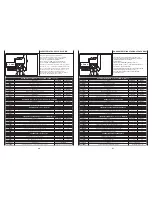
Separare la parte frontale del
comando dalla piastra posteriore
premendo, con un cacciavite,
la linguetta di bloccaggio
posta sulla parte superiore
del comando.
Posizionare
il pannello posteriore sul muro
e segnare i punti di fissaggio.
Predisporre i fori,
posizionare i tasselli nel muro
e bloccare il pannello con viti.
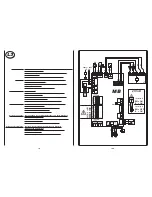
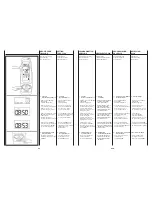
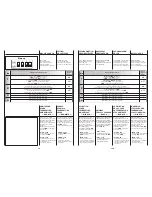
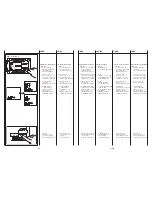
Eseguire i collegamenti
elettrici come indicato
dallo schema elettrico riportato
sulla pagina successiva.
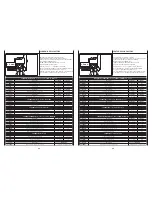
Separate
the front of the controller
from the rear plate by using
a screwdriver to press
the locking tongue
on the top of the controller.
Place the rear plate
on the wall and
mark the mounting holes.
Drill the holes, insert
the screw plugs in the wall and
fasten the plate with screws.
Make the electrical connections
as shown in the wiring diagram
on the following page.
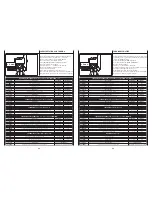
Retirer le capot avant
de la commande en appuyant,
à l’aide d’un tournevis,
sur la languette de blocage
placée sur la partie supérieure
de la commande.
Positionner le panneau arrière
sur le mur et marquer les points
de fixation.
Percer les trous, placer
les chevilles dans le mur et
bloquer le panneau avec les vis.
Effectuer les raccordements
électriques comme indiqué
dans le schéma électrique
(voir page suivante).
S pomocí šroubováku
zatlačením na zámek na horní
straně ovladače uvolni čelní kryt.
Umísti zadní desku na zeď,
vyvrtej otvory, vlož
hmoždinky a s pomocí šroubů
připevni na zeď.
Proveď elektrické zapojení dle
schémata na následující stránce.
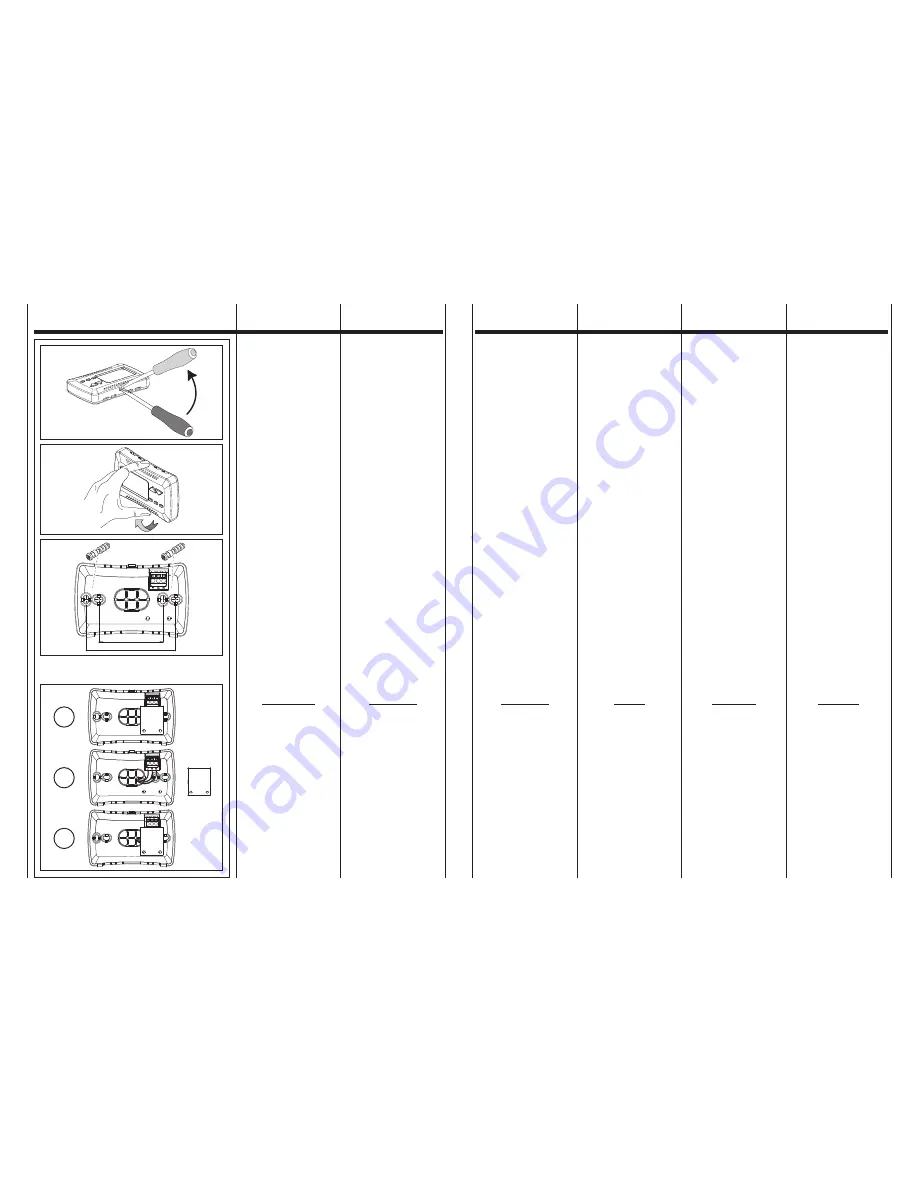
Separar la parte frontal
del control de la placa trasera
presionando con un destornillador
la lengüeta de bloqueo
situada en la parte superior
del control.
Situar el panel trasero
en la pared y trazar los puntos
de fijación.
Realizar los orificios, colocar
los tojinos en la pared y bloquear
el panel con tornillos.
Realizar las conexiones eléctricas
como se indica en el esquema
eléctrico que se encuentra en
las páginas siguientes.
Het voorgedeelte
van het commando scheiden
van de achterplaat door,
met een schroevendraaier,
op het blokkeerlipje dat zich
op het bovengedeelte bevindt
van het commando te drukken.
Het achterpaneel op de muur
zetten en de bevestigingspunten
aftekenen. De gaten maken,
de pluggen in de muur plaatsen
en het paneel met schroeven
blokkeren.
De elektrische verbindingen
uitvoeren zoals aangegeven wordt
door het elektrische schema
dat op de volgende
pagina’s gegeven wordt.
attenziOne!
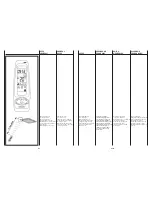
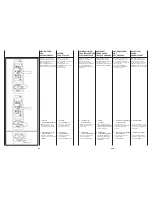
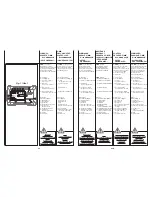
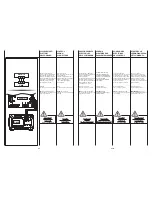
Per eseguire i collegamenti
elettrici al comando
T–MB
occorre rimuovere la protezione
isolante dal morsetto.
Una volta eseguiti i collegamneti
elettrici riposizionare
la protezione come da
Fig. 2.
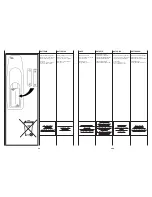
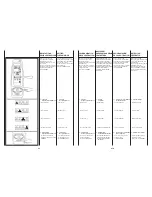
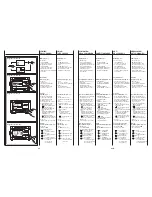
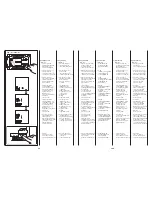
Rimontare la parte frontale
del comando inserendo prima
le due linguette presenti
nella parte inferiore; quindi
chiudere il commando facendo
scattare la linguetta superiore.
attentiOn!
To carry out the electrical
connections to the
T–MB
control,
remove the insulated protection
device from the clamp.
Once the electrical connections
are completed, replace
the protection device, as in
Fig. 2.
Reassemble the front part
of the control, placing the
two flaps located on the lower
side and then close the control,
by making the upper flap click.
attentiOn!
Pour réaliser
les branchements électriques
de la commande
T–MB
,
retirer la protection isolante
de la borne. Une fois
réalisés les branchements
électriques, repositionner
la protection comme cela est
illustré dans la
Fig. 2.
Remonter la partie frontale
de la commande en insérant
tout d’abord les deux languettes
présentes dans la partie inférieure
puis fermer la commande
en déclenchant la languette
supérieure.
POzOR!
Při elektrickém
připojení ovladače
T–MB
odstraň ze svorek izolační kryt
chránící ovladač .
Po provedení elektrického
připojení přemísti izolační kryt
zpět, podle
Obr. 2.
Namontuj zpět čelní kryt
do původní polohy, ověř zda
zámky umístěné ve spodní části
ovladače jsou správně fixovány.
atención!
Para efectuar las conexiones
eléctricas del mando
T–MB
es preciso quitar la protección
aislante del borne.
Una vez efectuadas las
conexiones eléctricas, vuelva
a poner la protección como
se ilustra en la
Fig. 2.
Monte de nuevo la parte frontal
del mando introduciendo en
primer lugar las dos lengüetas
de la parte baja y cierre entonces
el mando haciendo que
la lengüeta de arriba se dispare.
OPGelet!
Om de elektrische
aansluitingen op de bediening
T–MB
uit te voeren, moet
de isolerende bescherming
van de klem gehaald worden.
Zodra de elektrische
aansluitingen uitgevoerd zijn,
herpositioneer de bescherming
zoals aangegeven in
Fig. 2.
Hermonteer het voorste deel van
de bediening door eerst de twee
lipjes aanwezig onderaan
in te voeren en vervolgens
de bediening te sluiten door het
bovenste lipje dicht te klikken.
Summary of Contents for MB BOARD
Page 41: ......


