English
9
43
9
PROGRAMMING AND MAINTENANCE MENU
This section illustrates how to set up or modify the
vending machine programming and maintenance
settings.
It is therefore necessary to read it carefully, and
intervene only when the correct sequence of
operations to be performed is fully understood.
9.1
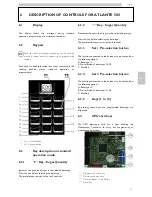
Key description of programming
and maintenance phases
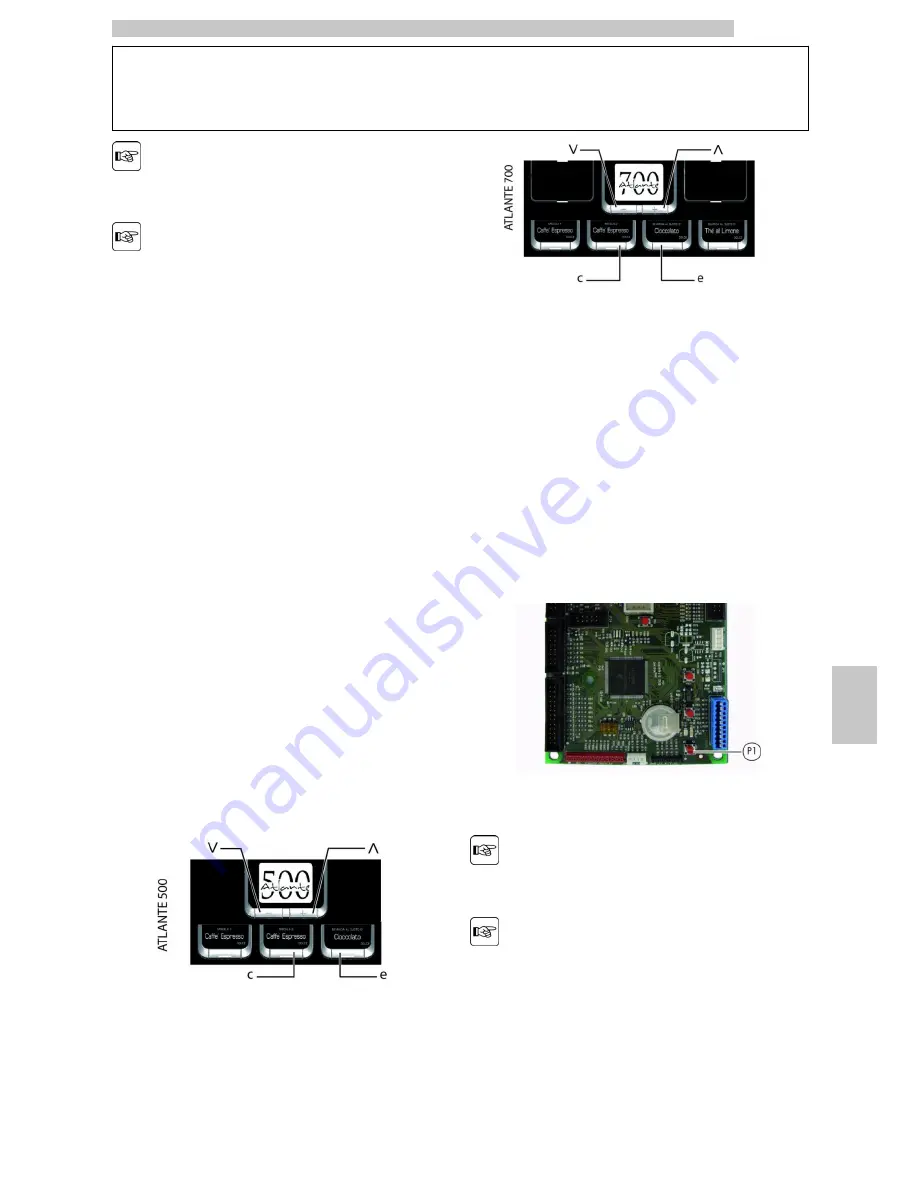
To scroll through the vending machine menu, the keys
described below are used.
“e” Key: ENTER
By pressing this key it is possible to enter the following
programming or maintenance level. It is also possible to
modify or confirm the values set in the entries of the
programming or maintenance menus.
“c” Key: CANCEL
By pressing this key it is possible to go back to the
previous level of the programming or maintenance menu.
It is also possible to avoid storing the previously modified
values.
“v” Key: DOWN
Pressing this key it is possible to access the previous entry
inside the same level. If used after a setting modification
request, the value of this setting decreases.
“^” Key: UP
By pressing this key it is possible to access the next entry
inside the same level. If used after requesting the change of
a setting, the value of this setting increases.
9.2
Programming menu
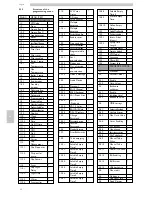
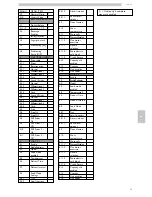
The structure of the programming menu is indicated in
section “Structure of the Programming Menu”.
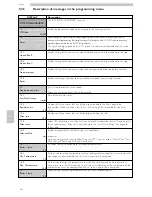
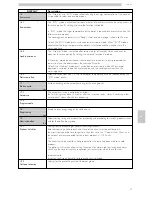
The section “Description of Messages in the Programming
Menu” describes all the entries in the programming menu.
9.2.1
Access to the programming
menu
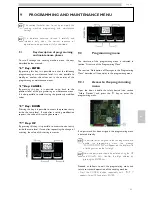
Open the door, disable the safety device (see section
“Safety Devices”) and press the P1 key to enter the
programming menu.
If no password has been assigned, the programming menu
is entered directly.
If a password was assigned to the vending machine to
enable the programming menu, the message
"PASSWORD 000000" will appear on the display with
a flashing cursor on the first digit.
Now the password should be entered using the UP
and DOWN keys. Confirm the digit entered by
pressing the ENTER key.
Proceed as follows to exit the programming menu and
return to standard operation of the vending machine:
• Press the CANCEL button repeatedly until "EXIT ?"
appears. Select YES and press ENTER.
Summary of Contents for Atlante 500
Page 26: ...English 5 26 Standard product configuration Atlante 500 Instant ...
Page 27: ...English 5 27 Standard product configuration Atlante 700 Instant ...
Page 28: ...English 5 28 Standard product configuration ATLANTE 500 1 macina ...
Page 29: ...English 5 29 Standard product configuration ATLANTE 700 1 macina ...
Page 30: ...English 5 30 Standard product configuration ATLANTE 500 2 macina ...
Page 31: ...English 5 31 Standard product configuration ATLANTE 700 2 macina ...
Page 90: ......
Page 91: ......
Page 92: ...Cod 15001683 Ed 07 Powered by TCPDF www tcpdf org ...


