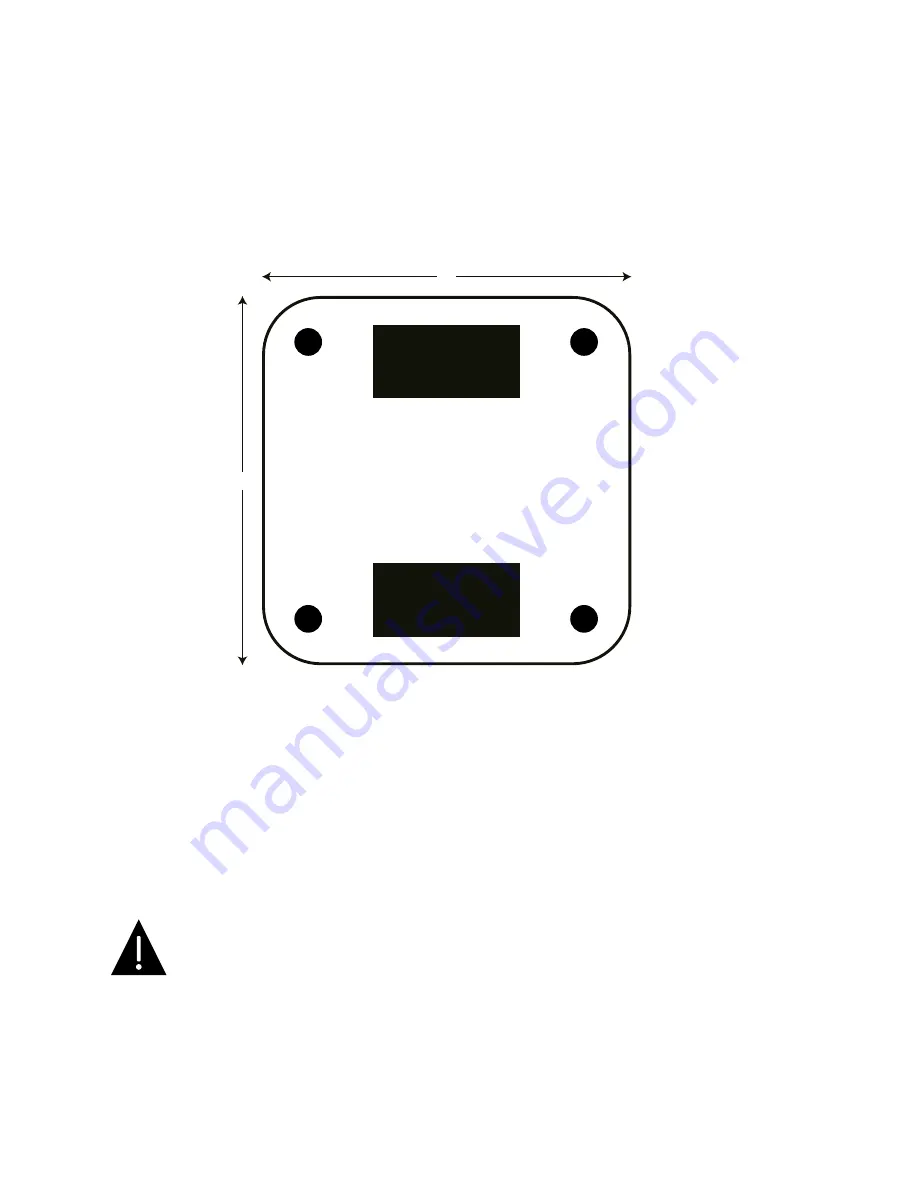
3. Mounting
(optional)
5”
5”
Placement of Hook and Loop Strips
(Bottom of Endpoint)
1 inch
2 inch
1 inch
2 inch
3.1
Mounting Diagram
To mount the device, ensure that the device surface is clean, dry and dust-free. Then, peel away the
paper backing from one side of the included hook and loop strip and firmly apply exposed sticky
side to the recommended locations shown in the diagram above. Press firmly on the strip for at
least sixty (60) seconds. Next, peel away the paper backing from the remaining side and affix newly
exposed sticky side firmly to the clean, dry, smooth, non-porous mounting surface of your choos-
ing. Apply firm pressure for at least sixty (60) seconds before releasing.
An additional hook and loop strip has been included and may be used for the power adapter.
• Use caution when selecting a mounting surface and ensure that mounting is
consistent with all safety precautions and instructions in this manual.
• Hook and loop strips are not a failsafe mounting method and the device should not
be mounted using the strips on a surface from which the device could fall if the fas-
tenings were to come loose or otherwise fail. SAFARI Montage is not responsible for
injury to persons or damage to property (including, without limitation, damage to the
device) resulting from failed hook and loop strip mountings or for any other reason
should the device fall from your mounting location of choice.


