background image

5100-37: 2 of 6;  Rev. 1;  10/00

7993.00

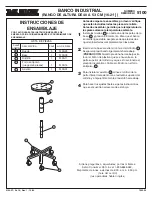
STOOL ADJUSTMENT INSTRUCTIONS

To maximize the ergonomic benefits of this stool, it is essential to understand how the controls function and how they affect your posture.

GENERAL SAFETY INSTRUCTIONS

Do not stand on seat.

Chair must be on level surface to ensure proper stability.

Only use chair when fully assembled.

Never use chair if it does not perform according to this

sheet or warranty may be void.

Immediately report any problems to Safco  and always

give the manufacturer’s date code information from the

label under the seat.

MAINTENANCE

The pneumatic lift in the Cylinder is permanently lubricated

at the factory and needs no further lubrication.  

NEVER

LUBRICATE THE PNEUMATIC LIFT

.  Do not remove clip

from bottom of Cylinder. Contact Safco immediately if clip

is missing or damaged.  Clean polyurethane seat and back

with soap and water.  To repair small cuts in polyurethane,

apply a few drops of quick-drying glue into the cut and

press the sides together until the glue sets.

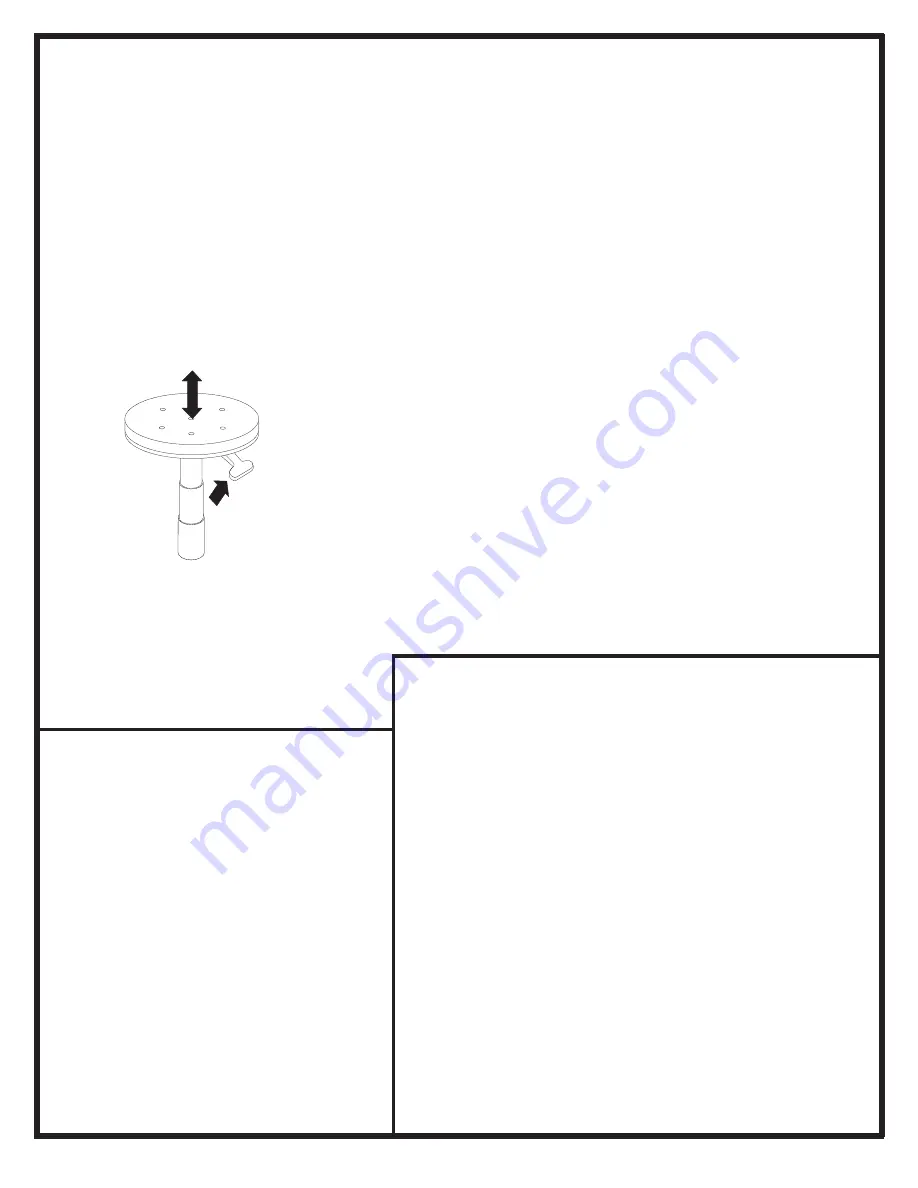
ADJUST  THE

HEIGHT  RANGE:

The lever under the seat pneumatically adjusts the height

of the seat over a range of about 5".  Always pull up on

handle; do not push down.  The proper height should be

determined by a combination of variables:  the height of the

work surface, the task to be performed and your body size.

Typically, the stool should be high enough so your arms

form a 90

o

 angle at the elbow or slightly greater.  This allows

for better circulation in the shoulders and neck area and also

reduces the amount of fatigue in the forearms and hands.

The feet should lie flat on the ground.  To help insure good

posture, maintain a 90

o

 angle at the bend of the knees.

Thank you for purchasing this Safco

product.  In order to make any warranty

claim, it is necessary to complete and

return the enclosed warranty

registration within 30 days of purchase.

Due to continual upgrading of our

products, photographs or illustrations

may not reflect actual (exact)

appearance of product.

Summary of Contents for TASK MASTER 5100

Page 1: ...ylinder Install the E Seat by aligning the hole on the under side with the shaft of the cylinder push down firmly on seat Make the final stool adjustments following the instructions on the reverse side A B C D E Caster 5 5100 25 Base 1 5100 03 Cylinder 1 5100 11 Dust Cover 3 pc set 1 5100 14 Seat 1 5100 01 o o o o o 5100 37 1 of 6 Rev 1 10 00 7993 00 5100 MODEL NUMBER ASSEMBLY INSTRUCTIONS READ TH...

Page 2: ...ir small cuts in polyurethane apply a few drops of quick drying glue into the cut and press the sides together until the glue sets ADJUST THE HEIGHT RANGE The lever under the seat pneumatically adjusts the height of the seat over a range of about 5 Always pull up on handle do not push down The proper height should be determined by a combination of variables the height of the work surface the task ...

Page 3: ... sur le haut du cylindre car une pression sur le bouton déclencheral élévateurpneumatique Glisserletube anti poussière D sur le cylindre Installer le siège E en alignant le trou sur le dessous avec l arbre du cylindre Pousser le siège fermement vers le bas Faire les derniers règlements du tabouret en suivant les instructions au verso 5100 NUMÉRO DEMODÈLE INSTRUCTIONS DE MONTAGE LIRE CES INSTRUCTIO...

Page 4: ... et la retourner dans les 30 jours suivant l achat du produit L amélioration de nos produits se poursuit sans cesse et il se peut donc que les photographies ou les illustrations ne correspondent pas dans tous les détails à l apparence du produit ENTRETIEN L élévateur pneumatique du cylindre a reçu un graissage permanent à l usine et n a pas besoin d être graissé NE JAMAIS GRAISSER L ÉLÉVATEUR PNEU...

Page 5: ...rte superior del cilindro ya que esto accionaría el elevador neumático Cubra el cilindro con el forro antipolvo D Para instalar el asiento E alinee el orificio de la parte inferior del asiento con el extremo superior del cilindro y empuje firmemente el asiento hacia abajo Para hacer los ajustes finales siga las instrucciones que se encuentran al reverso de esta hoja 5100 NÚMERO DEMODELO INSTRUCCIO...

Page 6: ... garantía adjunto dentro de los primeros 30 días siguientes a su compra Debido a que continuamente actualizamos y mejoramos nuestros productos la apariencia real exacta del producto podría ser distinta a las fotografías o ilustraciones MANTENIMIENTO El elevador neumático del cilindro viene con lubricación permanente desde la fábrica y no requiere lubricación adicional NUNCA LUBRIQUE EL ELEVADOR NE...

Reviews: