SAFE-T-COVER
1-800-245-6333
HCF600DS-
2
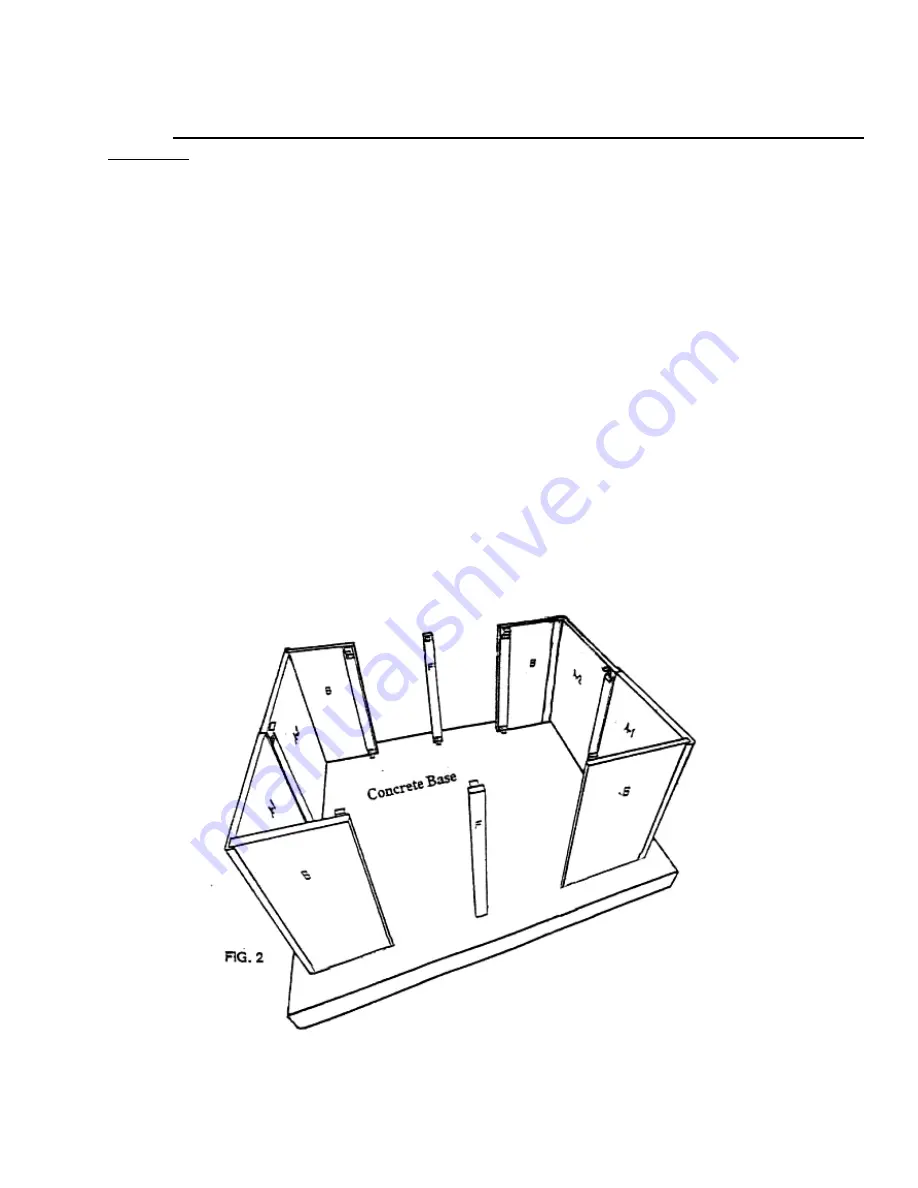
1. Center a 6" thick concrete base around installed BFP.
A. Place expansion material around riser pipe and place conduit for electrical power before placing
concrete.
CONCRETE SHOULD BE FINISHED ABSOLUTELY LEVEL, FLAT AND
SMOOTH.
Allow concrete to cure.
B. Mark concrete with outside dimensions of enclosure. Center enclosure around BFP.
2.
Lay “Al & A2” panels face down. Using three (3) hexhead screws fasten panels together thru holes
provided on inside of panels. (Make sure panels are pulled close together before tightening screws). (For
best results, insert a bead of silicone caulk into inside angle on “A1” panel.)
A. Using four (4) hexhead screws for each section assemble each "A-B" (end and side)
section thru holes provided. Set on marked concrete base (FIG 2).
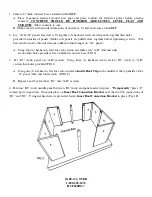
3. Set "D1" (roof) panel on "A-B" section. Using three (3) hexhead screws fasten "D1" (roof) to "A-B"
section thru holes provided (FIG 1).
A.
Using one (1) hexhead screw for each, install an
Inside Roof Clip
in the middle at the top
inside
of the
“A” panel (end) and roof section. (FIG 1C).
B.
Repeat 3 and 3A for other “D1” and “A-B” section.
4. Position “D2” (roof) middle panel between “D1”(roof) end panel and set in place.
“Temporarily”
place “F”
(center) posts in position. On inside place an
Inner Roof Connection Bracket
over the two 2x4 connections of
“D1” and “D2”. Using hexhead screws provided, fasten
Inner Roof Connection Bracket
in place. (Fig 1E).


