Follow these instructions to operate your Clear Connection Rechargeable Monitor. Reference the illustrations provided on
pages 2 and 3 for the location of all features described in these instructions.
Ba by’s Un i t :
STEP 1
Remove screw from battery cover on Baby’s Unit (Transmitter) and remove cover.
STEP 2
I n s e rt a 9-volt battery into the battery compartment by snapping the battery con-
tacts into the corresponding connectors on the battery clip in the unit. (Figure 1)
No te :
The low battery indicator illuminates when the batteries need to be re p l a c e d .
STEP 3
Replace the battery cover and insert and tighten the scre w.
STEP 4
Plug the adapter into an electrical outlet, then plug the round end of the adapter
into the Baby’s Unit
No te :
If you experience a power failure, the Baby’s Unit (Transmitter) will automatically
switch to battery power. The unit will re v e rt to AC power when power is re s t o re d
STEP 5
Set the On/Off switch to “On” position. Power on indicator should be illuminated.
STEP 6
Set the Baby’s unit to setting “A”. If you experience static or noise interf e rence,
switch both units to setting “B”.
For best results, place the Baby’s Unit on a table near the crib. It should be facing the baby’s head as close to the crib as
possible, but out of baby’s re a c h .
O pe rating Your Re c h a rgeable Mo n i to r
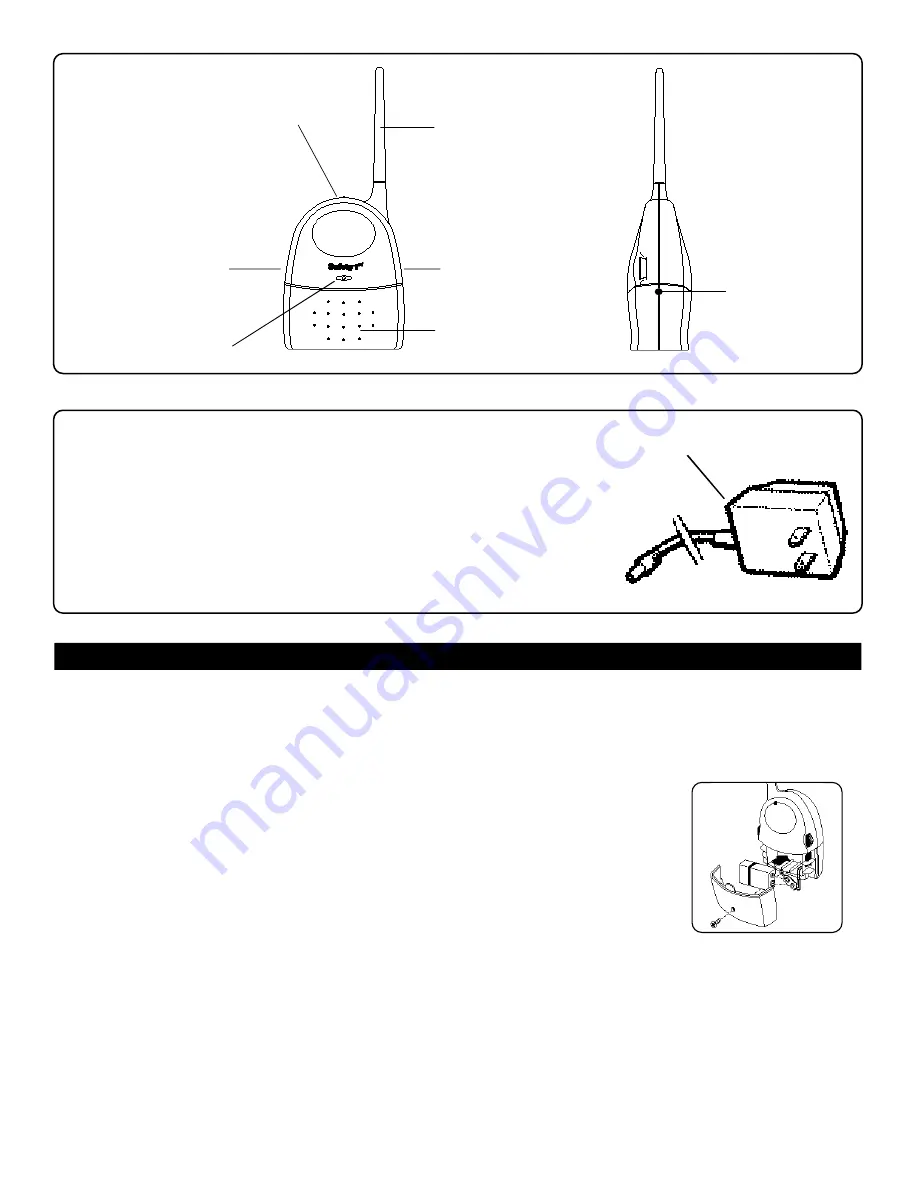
Baby’s Unit (Transmitter)
On/Off Switch
Low Battery Indicator (Red)
Power On Indicator (Green)
Channel Switch
Microphone
Flexible Antenna
AC Adapter
The AC Adapter is a low voltage power source that allows you to use your house-
hold electricity to run the Baby’s Unit when you want to conserve battery life. It
connects to the AC Adapter Jack in the Baby’s Unit, and plugs into any standard
electrical outlet in your home.
Caution: This adapter was made with a specific design for Safety 1st Clear
Connection Rechargeable Monitor. It cannot be used with any other appliance.
Never use a diff e rent type of adapter with this monitor.
AC Ad a p te r
AC Adapter Jack
Figure 1


