background image

10

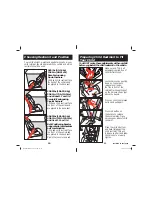
 Choosing Restraint and Position

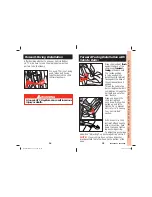
Your child’s height, weight and age determine how your 

child restraint should be placed in the vehicle and which  

restraint should be used. 

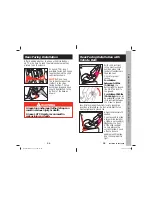
5-35 lbs (2.3-16 kg) 

19-36 in. (48-91 cm)
Rear-Facing using 

5-point harness

Child and child restraint face 

the back of the vehicle and 

are placed in the back seat. 

22-50 lbs (10.1-22.6 kg) 

29-45 in. (73.6-114.3cm)

and at least 1 Year Old
Forward-Facing using 

5-point harness

Child and child restraint face 

the front of the vehicle and 

are placed in the back seat. 

40-80 lbs (18.1-36.3 kg) 

43-52 in. (110.1-132.1 cm)

and Over 1 Year Old
Belt-Positioning Booster 

using vehicle  lap/shoulder 

belt combination

Child and child restraint face 

the front of the vehicle and 

are placed in the back seat.  

5-point harness is removed.

11

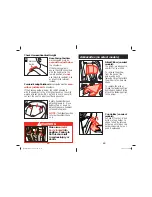
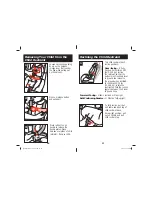
2

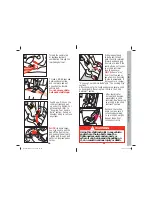
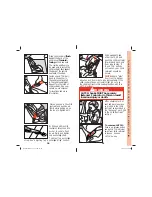
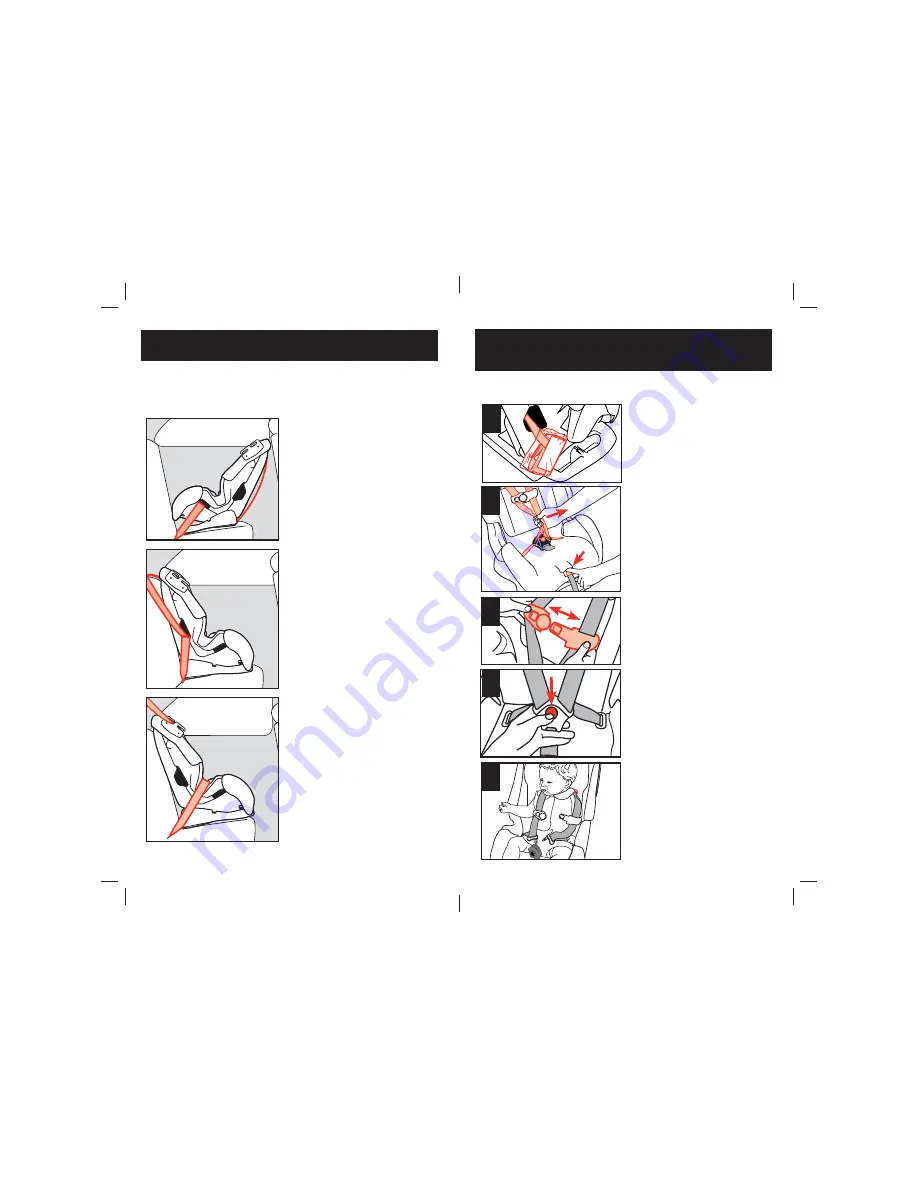
Loosen harness by pushing 

down on the harness 

release lever (under 

the flap in front of the 

restraint) while pulling out 

on the harness straps just 

above the buckle. 

 Preparing Child Restraint to Fit 
 Your Child

You MUST make these adjustments with your child 

before you install the child restraint in the vehicle.

Make sure LATCH belt 

packaging is pulled free of 

child restraint shell.  

1

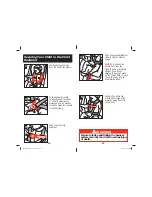
3

Press on chest clip release 

button and pull apart. 

Press red button on 

the buckle to release 

the buckle plates. Place 

harness over sides of child 

restraint.

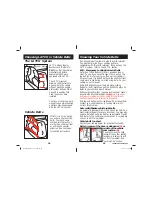
4

continued on next page.

5

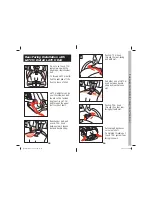
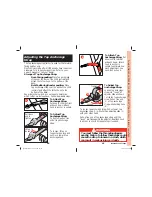
Place the child’s bottom 

and back flat against the 

child restraint. This will 

increase comfort and allow 

the harness to properly 

tighten.

4358-6547 US All in One.indd   13-14

4358-6547 US All in One.indd   13-14

1/20/14   3:19 PM

1/20/14   3:19 PM

Summary of Contents for Alpha omega all in one

Page 1: ...struction over 6 then add applicable shipping and handling Fill Out For Credit Card q Visa q Mastercard Card Exp Date _____________________________ Cardholder s Name _________________________ Card Num...

Page 2: ...e 1 800 544 1108 8 A M to 6 P M EST M TH 8 A M to 4 30 P M EST FRI Before You Begin Table of Contents Warnings 2 4 General and Warm Weather Use 5 Registration and Recall 5 Aircraft Installation 5 Unde...

Page 3: ...ust stay tight at the belt path When you switch from one mode to the next review the sections of this instruction manual that apply to that mode If you don t your child could be seriously injured or k...

Page 4: ...seat the same way it is installed in a vehicle Use the child restraint only with F A A certified equipment Contact the airline prior to taking a child restraint on board in order to comply with their...

Page 5: ...tures Understanding Your Vehicle A B C E 7 D A Anchor Bracket For Top Anchorage Strap Forward facing only B LATCH Anchors In seat bight C Seat Buckles D Air Bag Consult your vehicle owner s manual for...

Page 6: ...J Harness Adjustment Strap K Base Front F G A C B E H I J K 4360 2335 MostUprightLeveltoGroundLine MostRec line dLev eltoGro und Line Back M N O P L Top Anchorage Tether Strap Hook M Splitter Plate N...

Page 7: ...the front of the vehicle and are placed in the back seat 5 point harness is removed 11 2 Loosen harness by pushing down on the harness release lever under the flap in front of the restraint while pull...

Page 8: ...o this can result in serious injury or death Rotate headrest harness adjusting levers in Move headrest up or down to adjust Make sure headrest is locked into place NOTE The highest position is for bel...

Page 9: ...p to tighten harness snugly NOTE A snug strap should not allow any slack It lies in a relatively straight line without sagging It does not press on the child s flesh or push the child s body into an u...

Page 10: ...2 3 10 kg recline the restraint so that the bottom most reclined level to ground line is level to the ground when installed For children 22 35 lbs 10 1 16 kg rotate the restraint so that the recline...

Page 11: ...t and the child restraint could work loose during normal driving Refer to your vehicle owner s manual Some ELR belts will convert to Automatic Locking Retractor ALR belts if you pull the belt all the...

Page 12: ...this child restraint to purchase a locking clip or call us at 1 800 544 1108 to order one Locking clips from any child restraint manufacturer are okay to use Remove the locking clip when the vehicle s...

Page 13: ...Choosing Restraint and Position section to determine if your child should be in the rear facing position 2 3 Grasp both vehicle belts together just behind the buckle plate and unbuckle NOTE If the buc...

Page 14: ...l to ground line MUST be level to the ground For children 22 35 lbs 10 1 16 kg and can sit up unassisted rotate the child restraint between the 2 level to ground lines Start by making the bottom level...

Page 15: ...to Knowing Your Vehicle Belts section Pull up on shoulder strap to remove any slack Rear Facing Use 5 35 lbs 2 3 16 kg 19 36 48 91 cm 3 Thread the vehicle lap or lap shoulder belt combination through...

Page 16: ...ould not be twisted Route entire LATCH belt through the upper slot in side of shell 29 4 6 7 5 Push LATCH hook through the rear facing belt path slot Pull other end of LATCH hook between buckle strap...

Page 17: ...need to place a large rolled towel s or foam pool noodle s A under the front of the child restraint to help achieve the correct recline Check often to be sure padding is still in place and the LATCH...

Page 18: ...g Restraint and Position section to make sure your child is at the proper weight and height to face forward 8 WARNING 6 To remove LATCH Push in on release button and pull LATCH adjuster away from chil...

Page 19: ...p section NOTE If your vehicle does not have an anchor bracket attach the tether hook to the bottom of the base Forward Facing Installation with Vehicle Belts 1 2 3 Place one knee in the child restrai...

Page 20: ...estraint in any vehicle seat where the lap belt cannot be tightened securely and properly or where it can be loosened by pulling on it can result in serious injury or death Do not use the lower anchor...

Page 21: ...the loop to tighten belt 6 7 WARNING LATCH hooks MUST be securely fastened Failure to do this can result in serious injury or death To remove LATCH Push in on release button and pull LATCH adjuster aw...

Page 22: ...to the bottom of the base Belt Positioning Booster position Place top anchorage strap over the back of the child restraint and attach the tether hook to the bottom of the base See pictures below and...

Page 23: ...en your child is over 40 lbs 18 1 kg or 43 110 1 cm and over 1 year old you must remove the harness system and use this seat as a belt positioning booster Removal of Harness From the back of the seat...

Page 24: ...ure use 6 Belt Positioning Booster Installation Place booster seat against the back of the vehicle seat Tuck the top anchorage hook under the child restraint Have child sit in seat with his back and b...

Page 25: ...lure to follow these warnings can result in serious injury or death to your child Secure the shoulder belt through one of the notches in the shoulder belt positioning guide The belt should cross the b...

Page 26: ...d the chest clip Push harness ends through slot in headrest Repeat for other harness strap DO NOT twist the harness strap 1 Fit the buckle strap down through the slot in the seat Make sure buckle face...

Page 27: ...l between shell and base and release the front elastic straps 2 8 7 Fit loops on harness ends onto the splitter plate NOTE Make sure harness is completely on splitter plate and it does not twist From...

Page 28: ...ers Do not dry clean Spot clean harness straps Do not machine wash 52 53 6 Depending on your model to remove the headrest pad pull pad off of the headrest tab located by the harness headrest adjuster...

Page 29: ...o make a claim under this warranty you may contact us at www djgusa com fax us at 1 800 207 8182 24 hours a day write to DJG Consumer Relations Department P O Box 2609 Columbus IN 47202 2609 or call 1...

Page 30: ...able to Dorel Juvenile Group Inc Fill in the area below to charge to Visa or Mastercard We do not accept personal checks or Discover Card All outside of U S and Canada MUST use credit card We MUST hav...

Reviews: