Configuration
The RoadRecorder 7000 NVR can be configured through the
on-board web interface, which must be accessed with a PC
and web browser.
Connecting to the NVR
Use the following procedure to access the configuration web
server using the default IP address:
1.
Connect the PC to the NVR’s Ethernet LAN RJ-45 port
with a standard Ethernet cable.
2.
Ensure the NVR and PC are receiving power and have
started up.
3.
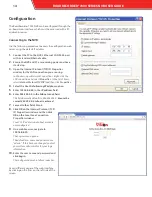
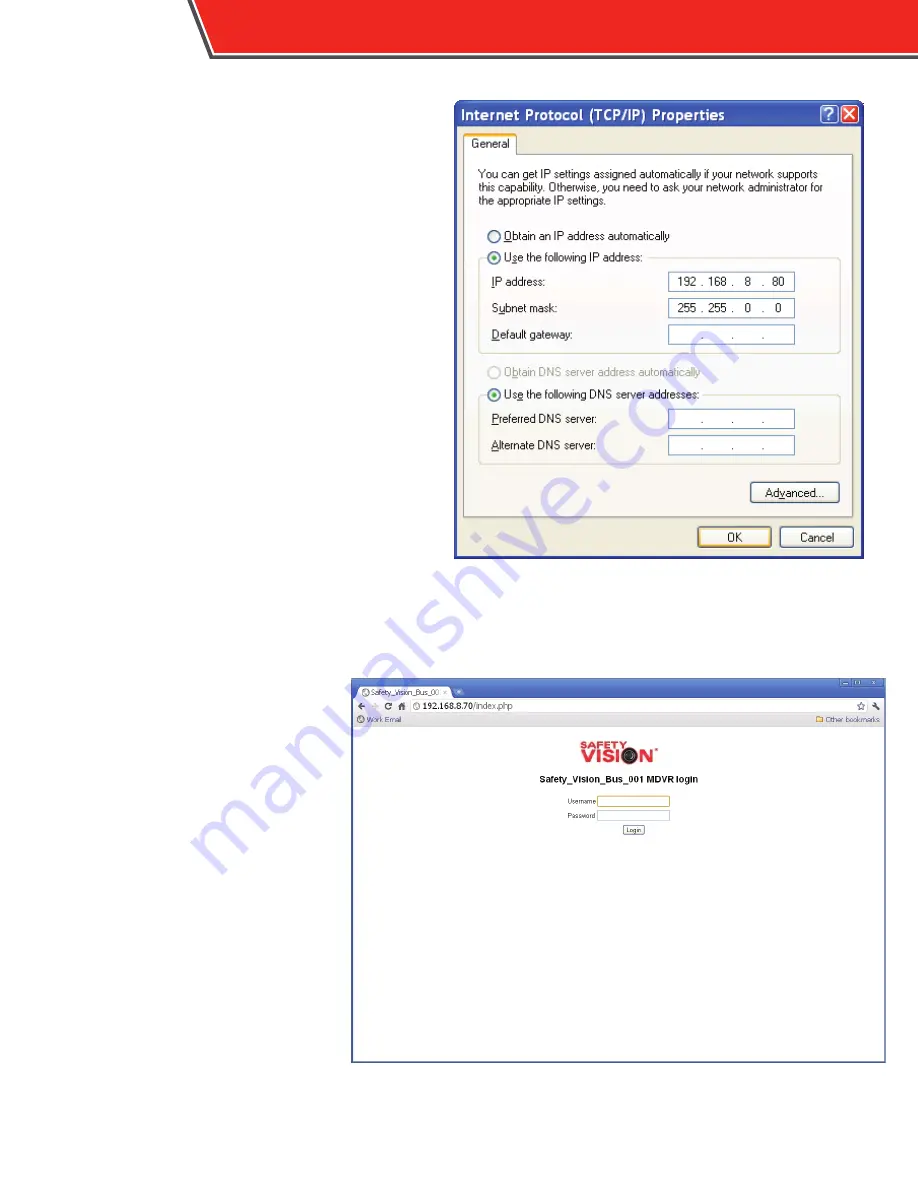
Open the Internet Protocol (TCP/IP) Properties
window for the LAN connection you are using.
In Windows, open Network Connections. Right-click the
LAN connection and select
Properties
. In the list of items,
select
Internet Protocol (TCP/IP)
and then click
Properties
.
4.
Select the
Use the following IP address
option.
5.
Enter
192.168.8.80
in the
IP address
field.
6.
Enter
255.255.0.0
in the
Subnet mask
field.
This field normally defaults to 255.255.255.0.
Ensure the
correct 255.255.0.0 subnet is entered.
7.
Leave all other fields blank.
8.
Click
OK
on the Internet Protocol (TCP/
IP) Properties window and then click
OK
on the Local Area Connection
Properties window.
Your PC’s IP address and subnet mask are
now configured.
9.
On a web browser, navigate to
192.168.8.70
.
The Login screen appears.
The default user name and password are
“admin”. If this has been changed, contact
your system administrator for your login
information.
10.
Enter the user name and password and
click
Login
.
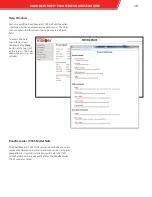
The configuration web interface launches.
Access different pages of the web interface
by clicking on the links on the left side of the
screen.
14
ROADRECORDER
®
7000 SERIES NVR USER GUIDE
Summary of Contents for RoadRecorder 7000
Page 1: ...ROADRECORDER 7000 SERIES DVR USER GUIDE Includes 7000 and 7000S Models...
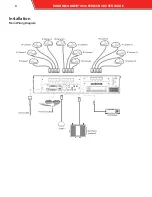
Page 8: ...Installation Main Wiring Diagram 6 ROADRECORDER 7000 SERIES NVR USER GUIDE...
Page 31: ...ROADRECORDER 7000 SERIES NVRUSER GUIDE 29...
Page 34: ...Appendix C Dimensions 17 06 3 40 6 5 32 ROADRECORDER 7000 SERIES NVR USER GUIDE...
Page 37: ...ROADRECORDER 7000 SERIES NVRUSER GUIDE 35...

