Powered by Safety
®
53
Maintenance
01.4IB.77020
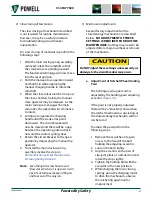
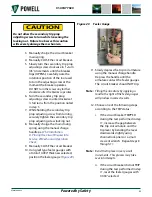
Do not allow the secondary trip prop
adjusting screw to turn while loosening the
locking nut. Failure to observe this caution
will severely damage the mechanism.
CAUTION
3. Manually charge the circuit breaker
main spring.
4. Manually CLOSE the circuit breaker.
5. Slowly turn the secondary trip prop
adjusting screw clockwise in 1/8 turn
(45°) increments until the breaker
trips (OPENS). Carefully note the
rotational position of the tool used
to turn the adjusting screw at the
moment the breaker operates.
DO NOT turn the screw any further
clockwise after the breaker operates.
6. Turn the secondary trip prop
adjusting screw counterclockwise 1
½ full turns from the position noted
in
step 5
.
7. While holding the secondary trip
prop adjusting screw from turning,
securely tighten the secondary trip
prop adjusting screw locking nut.
8. Manually charge the main closing
spring using the manual charge
D. Placing the Circuit Breaker Into
Service, 4) Mechanical Operation
.
9. Manually CLOSE the circuit breaker.
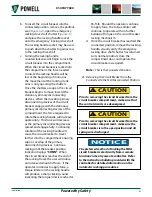
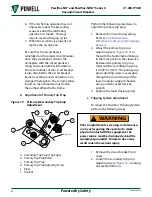
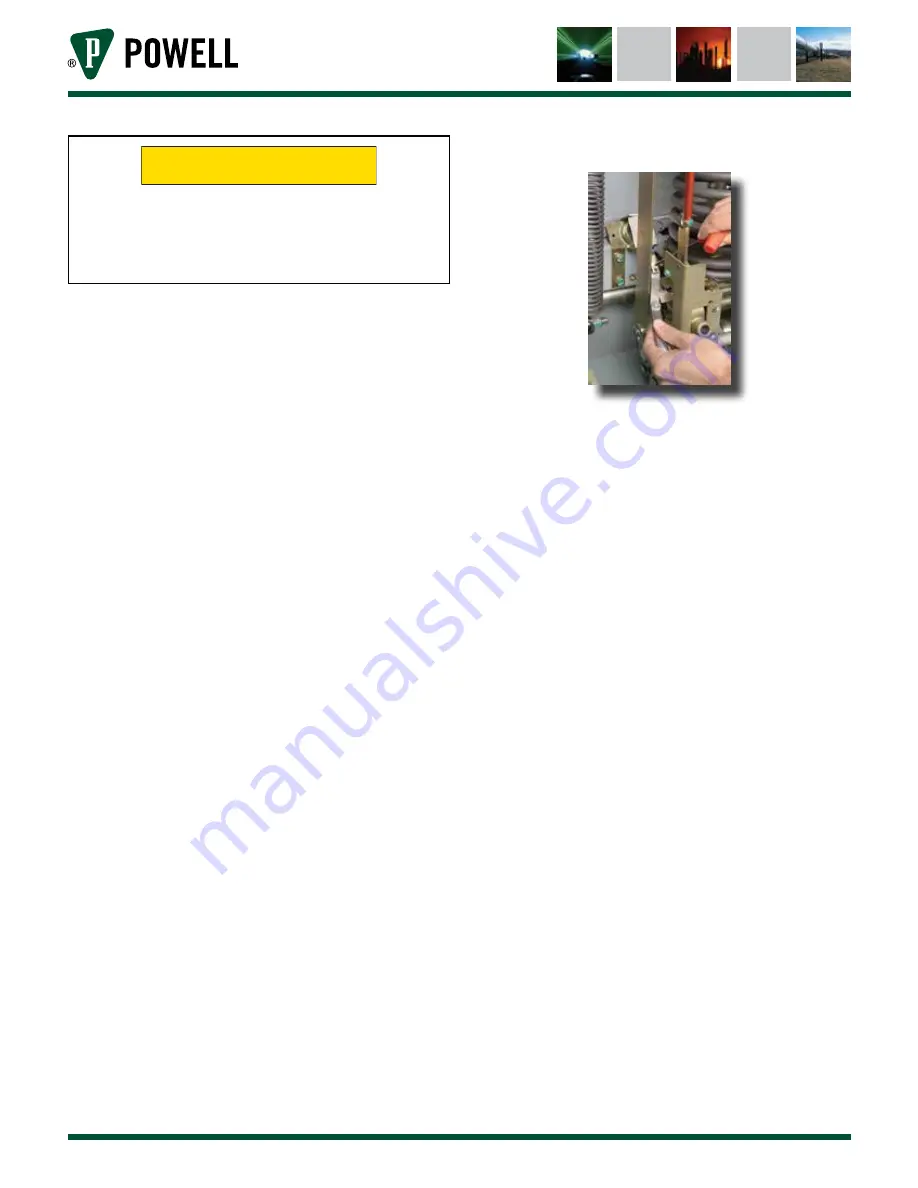
10. Using leaf type feeler gauges with
a total of 0.090” thickness selected,
position the feeler gauge
.
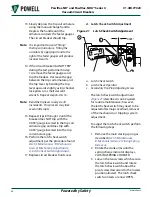
Figure 20 Feeler Gauge
11. Slowly depress the trip coil armature
using the manual charge handle.
Depress the handle until the
armature contact the feeler gauges.
The circuit breaker should NOT trip.
Note:
Tilting the armature by applying a
load to the right of the feeler gauges
will produce incorrect results.
12. Choose one of the following steps
according to the TRIP status:
i. If the circuit breaker TRIPPED
during the test performed in
step
11
, increase the gap between
the trip coil armature and the
trip lever by bending the lever
downwards slightly using
channel lock pliers or a small
crescent wrench. Repeat
steps 8
through 11
.
Note:
Bend the trip lever in very small
increments. This process may take
several attempts.
ii. If the circuit breaker did not TRIP
during the test performed in
step
11
, reset the feeler gauges with
0.030” selected.

