MF 6990dn - Agoris C935
- 53 -
7
-
Fa
xing doc
u
ments
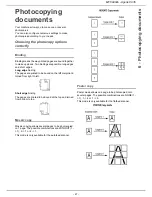
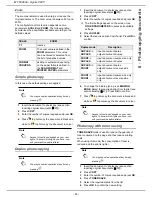
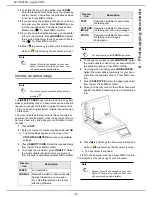
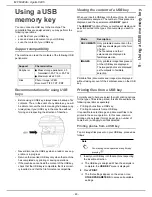
Deferred emission
This function allows you to send a document later.
To plan a deferred emission:
Cancelling an operation
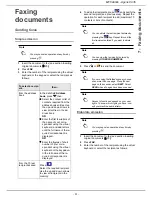
1
Insert the document to fax (see section Inserting
original documents [
20]).
2
Press
FAX
.
3
Enter the number of the recipient using the virtual
keyboard or select the recipient as follows:
4
To add other recipients, press
and specify the
second recipient (see previous step). Repeat the
operation for each recipient to add (maximum 10
contacts or lists of contacts)..
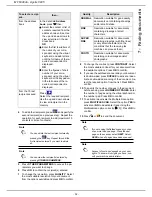
5
Press
OTHER PARAMETERS
to access the pa-
rameters you want to change
6
To modify the send date, press
DATE
. Enter the re-
quired date using the virtual keyboard. Use the
and keys to pass from one character to the next.
In the event of an error, use the
key to delete
a character. Press
OK
to confirm.
7
To modify the send time, press
TIME
. Enter the re-
quired time using the virtual keyboard. Use the
and keys to pass from one character to the next.
In the event of an error, use the
key to delete
a character. Press
OK
to confirm.
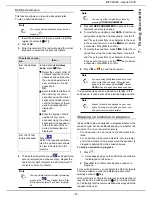
8
Press
or
to send the document.
You document is saved and placed on standby in the
send queue. It will be sent at the planned date and time.
User rights
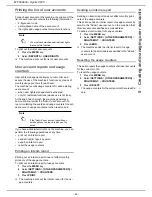
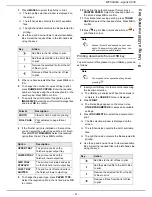
Stopping an emission in progress
It is possible to stop an emission in progress whatever the
emission type, but it will differ depending on whether the
emission is to one or several recipients.
•
For an emission to one recipient, the document is de-
leted.
•
For an emission to several recipients, only the recipi-
ent for the document in progress when the emission is
stopped is deleted from the emission queue.
To stop an emission in progress :
1
Press .
>
A message asking you to confirm the cancellation
is displayed on the screen.
2
Press
OK
to confirm cancelling the emission in
progress.
For several recipients, you can delete the other recipients
from the emission queue (see Deleting a document
awaiting emission [
54]).
If the machine is configured to print out an emission report
(see the section Emission report [
29]), it will be printed
out, indicating that the communication was stopped at the
request of the user.
Note
You may cancel an operation at any time by
pressing .
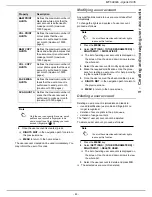
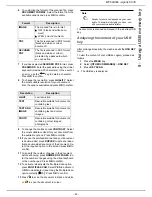
To select a recipi-
ent...
then...
from the address
book
In the data field
Address
book
, press
then:
Select the contact or list of
contacts required from the
address book entries. Use
the up and down arrows to
view all entries in the ad-
dress book.
OR
Enter the first few letters of
the name of your corre-
spondent using the virtual
keyboard, and add letters
until the full name of the re-
quired correspondent is
displayed.
OR
Enter the figures of short
number of your corre-
spondent using the virtual
keyboard or the keypad un-
til the full name of the re-
quired correspondent is
displayed.
from the 10 last
recipients saved.
Press .
Select the required recipient.
Use the up and down arrows
to view all recipients in the
memory.
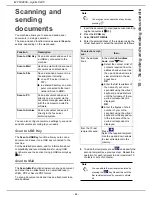
Note
You can delete the last recipient entered by
pressing the
key. Repeat this until the
first recipient entered if you want to delete
all.
Note
You can view the recipient(s) entered by
pressing
OTHER PARAMETERS
.
Note
If you are using the flatbed scanner, you can
scan more than one page. Place the next
page on the scanner, select
NEXT
. Select
SEND
when all pages have been scanned.
Note
Access to functions depends on your user
rights. To know which rights you have, con-
sult your machine administrator.

