ENGLISH
26/27
Fig.6
Fig.7
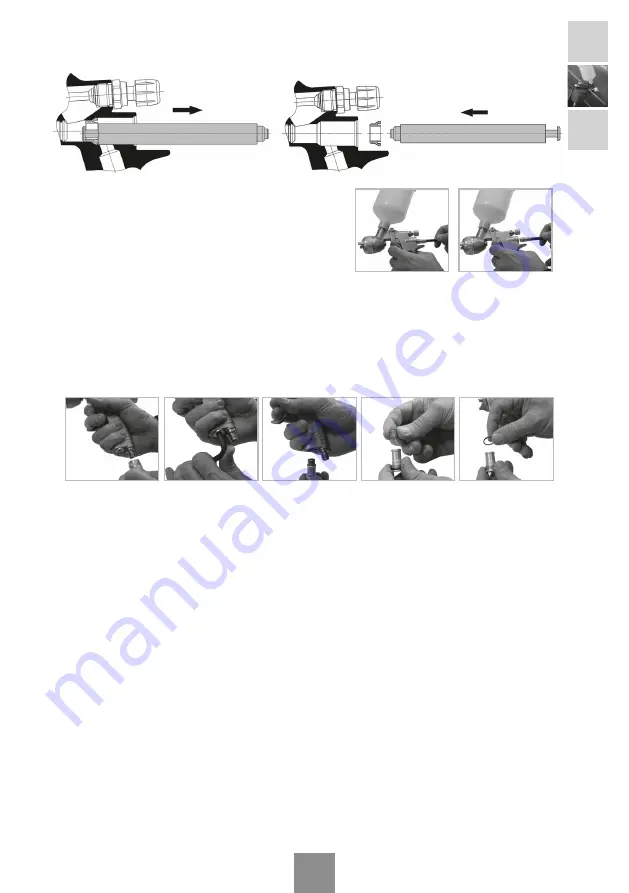
Packing gland of the air valve:
Them with a 6 mm.
Allen wrench, remove the packing gland (No.25) and
extract the gasket (No.24) (see Fig.8). Replace the
packing gland and the washing support gasket
(supplied in the specific kit) (see Fig.9) and follow the
reverse procedure.
12.2. Changing the battery
THE BATTERY MUST NOT BE REPLACED IN HAZARDOUS AREAS.
With a 7 mm Allen wrench, remove the pressure gauge housing plug (No.13) and locking seal
(No.11). Extract the dead battery and replace with a new one. Make sure the polarity is correct!
Replace the gasket with the one supplied with the battery in Kit 56418440. Fit the new gasket in
the plug and fit both in the gun, closing the housing hermetically.
Environmental damage by depositing the battery you have repaced in the battery recycling
container.
12.3. Cleaning or replacement of the product filter
If there is any cleaning liquid or product remaining in the tank, return it to its corresponding
containers. To avoid any spillage, keep the pistol in a vertical position and clean as thoroughly as
possible.
Holding the pistol firmly by the handle,
disassemble the tank by unscrewing it from the body of
the pistol.
Extract the product filter
(No.29) and if there is any cleaning liquid or product remaining in the
body of the pistol, return it to its corresponding container.
Clean or replace the product filter
as needed, taking into account that the impurities will cause
defects in the finish and/or obstructions.
Assemble the product filter again, inserting it all the way into the hole in the input connector.
Fit the tank by screwing it firmly onto the body of the pistol
, to avoid product leaks.
Tighten the filler cap firmly.
In the version with the non-drip cap, tip it forward (paint up) or back (paint down) as necessary.
Check there are no leaks.
Fig.9
Fig.8


