18
Chapter 01: Getting Started
8. Stylus Pen (may not be included with certain touch only
configurations)
Setting Up Your Sahara NetSlate
Please read the following steps to begin using your new Tablet
PC as quickly and easily as possible.
1. Insert the Battery Pack(s)
2. Connect the Sahara NetSlate to an external power source
3. Connect applicable peripherals and networking cables
4. Power on the Sahara NetSlate
5. Complete the Operating System Installation
6. Navigating with the Touch Screen and Digitizer (Pen)
Step 1: Insert the Battery Pack(s)
Turn the system over and place it (optionally), screen down on a
solid, clean, flat surface. You can also insert the batteries while
holding the Tablet PC if you prefer.
CAUTION: When turning over the Sahara NetSlate, be careful not to
place it on a surface that could scratch or damage the screen. You can
place the included slip case on the surface before carefully setting the
computer down to protect the screen.
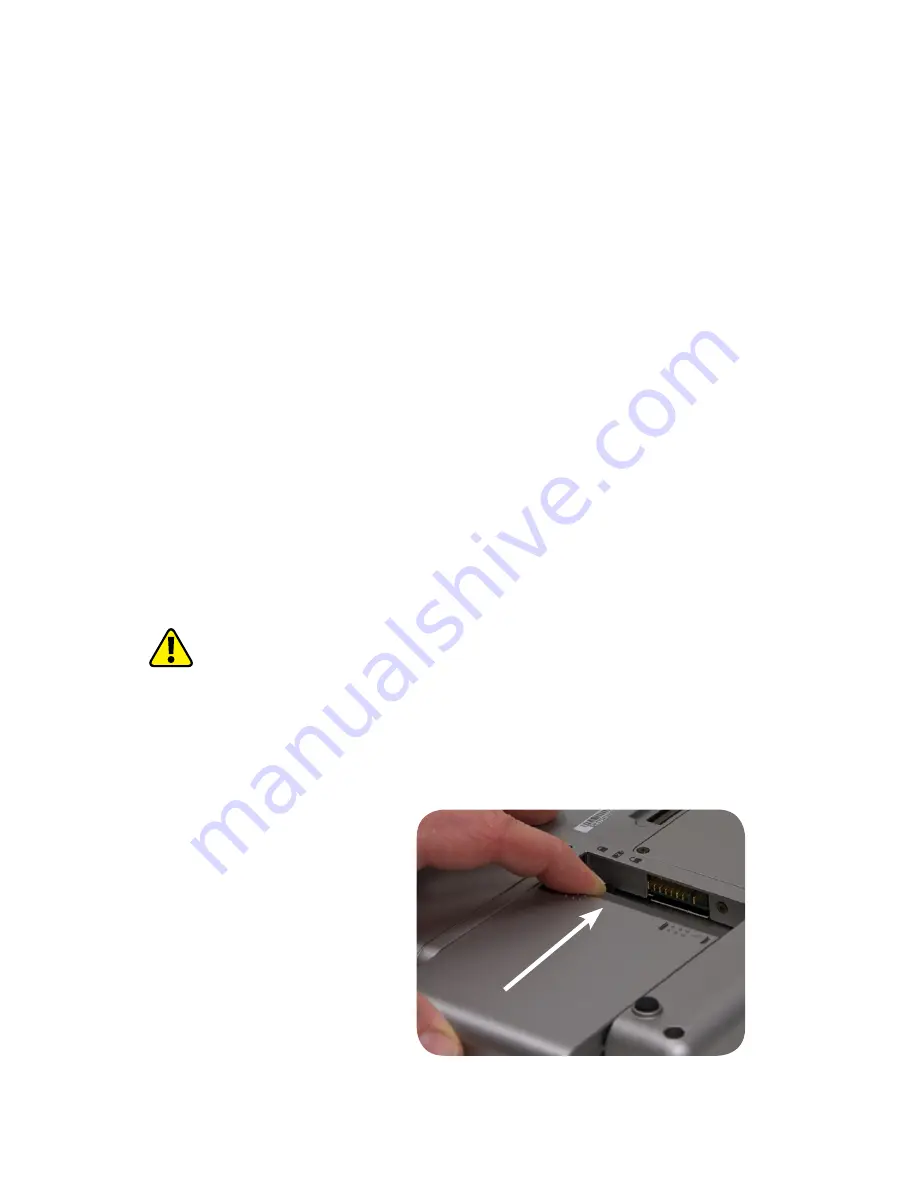
Align the first battery into the battery compartment and then
slide it into the computer until it clicks securely into place.
Align the battery in the bay
and slide it into place. You will
hear a click when the battery is
properly seated.
Summary of Contents for NetSlate a510
Page 1: ...User s Guide Sahara NetSlate a510 12 1 Tablet PC...
Page 9: ......
Page 16: ...Table of Contents xv This page intentionally left blank...
Page 17: ......
Page 26: ...Chapter 01 Getting Started 25 This page intentionally left blank...
Page 27: ......
Page 35: ......
Page 43: ......
Page 97: ......
Page 113: ......
Page 125: ......
Page 137: ......
Page 146: ...Appendix A BIOS Set up 145 This page intentionally left blank...
Page 147: ......
Page 157: ......
Page 158: ...310 782 1201 tel 310 782 1205 fax www tabletkiosk com UG a510 rev 04 25 12...


