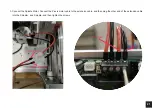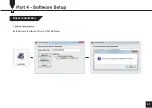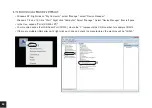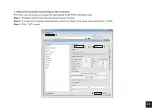
Install the Cable Protector: After finishing all the wiring, use the cable protector to wrap all the cable together and cut the excess
part of the wrap.
Power -
Power +
6.
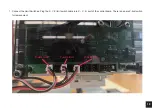
Connect the Power Supply: Connect the power red cable to the Power+ port and the black cable to the Power- port. Then lock the
screws with a screwdriver. (Note: You can check whether the switching power supply is in the correct voltage range by checking
the small window on the side of the power supply. We have adjusted your PSU to match your country's corresponding voltage
range by default at the factory. However, we suggest you have a second check. If that is not the correct voltage range, you could
use tweezers or a small flathead screwdriver to adjust the paddle left and right.)
5.
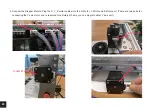
Connect the Emergency Stop Switch: Insert the emergency switch cable into the E-stop port of the motherboard and check
whether the emergency stop switch is in the disconnected state. (Note: Pushing the button will trigger an emergency stop. The
button will stay engaged once pushed. The button can only be released when twisted clockwise. This prevents double pushing the
button from releasing the trigger
.
)
4.
Emergency Stop
22
Step 4
Step 5
Step 6


