background image

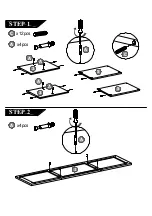
STEP 1

STEP 2

C

A

x12pcs

x4pcs

C

A

A

A

A

A

2

2

5

5

1

A

A

x4pcs

Summary of Contents for BX7000

Page 1: ...mbly Please make sure receive all the parcels to start the assembly For your safety and convenience assembly by two people is recommended Use the parts and hardware lists to identify and separate each...

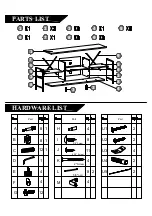
Page 2: ...4 5 6 7 8 9 PARTS LIST 1 2 2 5 5 6 7 3 3 8 8 4 8 1 8 1 5 8 Screw 9 16 Screw 2 Screw U1 U2 U3 U4 U5 2 2 4 2 2 9 9 5 6 nail HARDWARE LIST L M A D B E C F G Part Part Part H I J K 1 12 1 4 12 4 4 8 11 4...

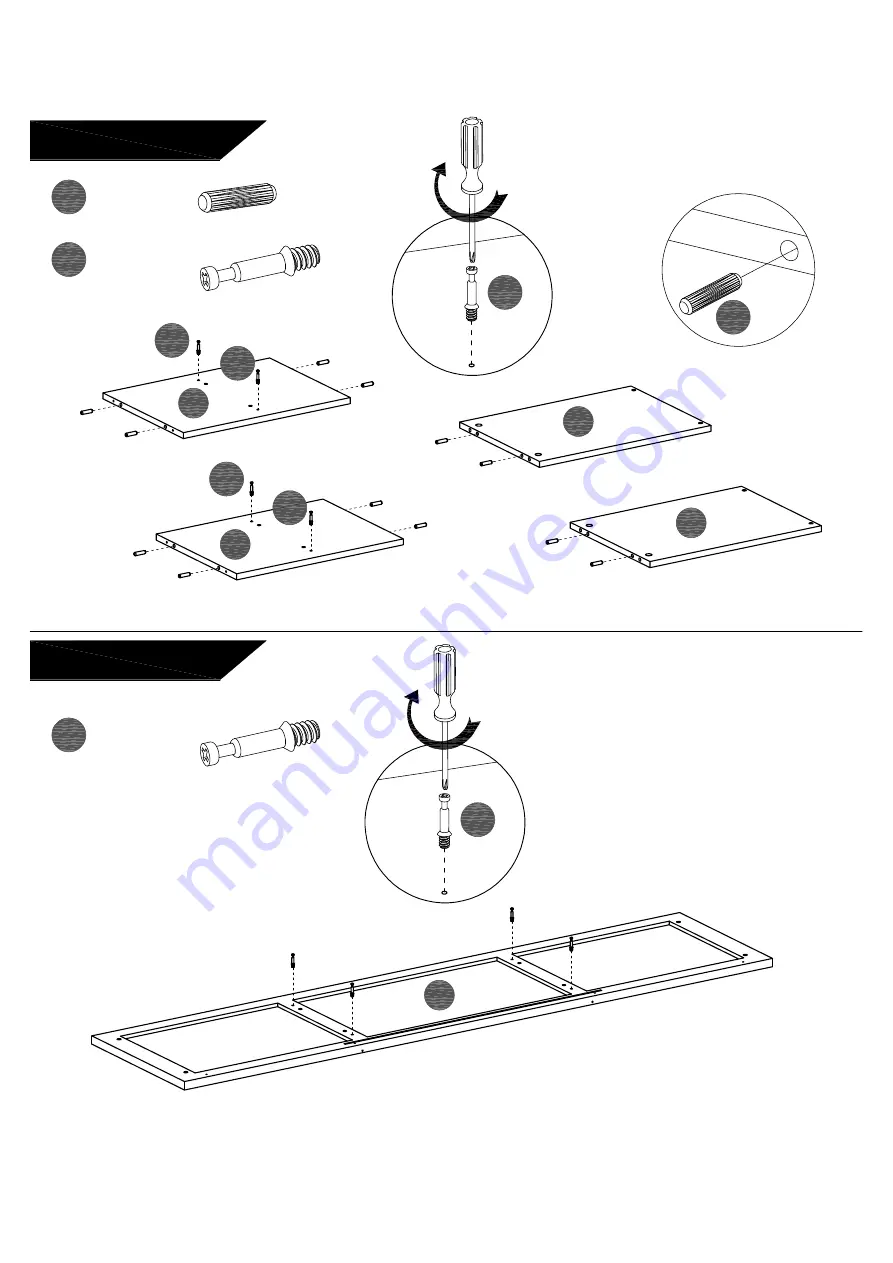
Page 3: ...STEP 1 STEP 2 C A x12pcs x4pcs C A A A A A 2 2 5 5 1 A A x4pcs...

Page 4: ...STEP 3 STEP 4 Tighten 2 2 1 B x4pcs F x4pcs K x4pcs 1 2 2 4...

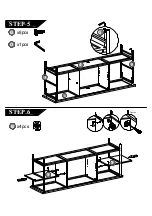
Page 5: ...STEP 5 STEP 6 G x8pcs D x1pcs 4 1 Tighten 5 5 G B x4pcs 8 8...

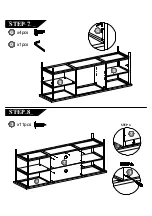
Page 6: ...STEP 7 STEP 8 STEP 1 G x4pcs D x1pcs 5 5 G 7 7 1 1 J x11pcs J...

Page 7: ...STEP 9 STEP 10 I x8pcs 1 4 E x4pcs 3 3 I I 9 9 9 9...

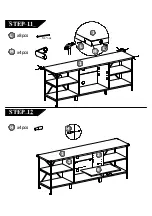
Page 8: ...6 2 2 H x4pcs 1 H STEP 11 L x8pcs 5 6 nail M x4pcs 1 L L M 1 STEP 12...

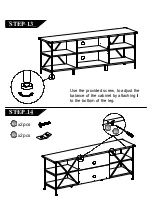
Page 9: ...STEP 13 STEP 14 Use the provided screw to adjust the balance of the cabinet by attaching it to the bottom of the leg U2 x2pcs U3 x2pcs U3 U2...

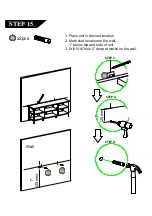
Page 10: ...P 15 U4 x2pcs 1 Place unit in desired location 2 Mark stud location on the wall 1 below top and side of unit 3 Drill 5 16 hole 2 deep at marks on the wall 1 25mm Wall U4 U4 1 25mm U3 STEP 1 STEP 2 STE...

Page 11: ...STEP 16 U1 x2pcs U3 x2pcs U5 x2pcs U1 U3 Pull to verify lock U1 U3 U1 U3 STEP 4 STEP 5...

Page 12: ...always a chance that one of the 800 plus common chemicals and ingredients listed under this law could potentially be on our furniture or packing materials We risk large fines under this law if we don...

Reviews: