


16
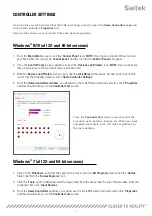
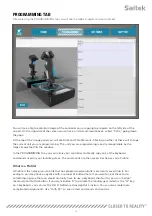
Settings
The settings page will allow you to alter the deadzone and response curves of all axes on both the Stick
and the Throttle.
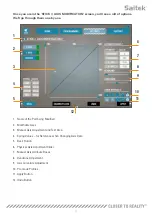
Response Curves
Depending on the type of aircraft that you fly, you may want your joystick to be more or less sensitive
around the middle or end points of the axes. For example, if you’re flying an F/18 on a refueling mission
at 25,000 feet, you will be making very fine movements to get into the correct position. Having a
shallower response curve around the center point of the joystick’s X and Y axes will enable you to make
very fine adjustment to your aircraft.
Deadbands
A deadband, sometimes known as a deadzone or neutral zone, is a part of the range in which an axis
moves, undetected by the drivers and without effect on in-game progress. It may be around the center
point of the axis range, or at either end of the axis range.
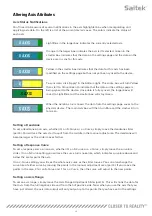
Axis Range Adjustment
The axis range adjustment, or axis saturation to assign its correct name, allows you to shrink the raw
data range of an axis.
Physical Axis Adjustment
The physical axis adjustment, or physical saturation, allows you to shrink the full axis data range into a
small physical stick movement.
S-Curves and J-Curves
There are two types of adjustable curves – S-Curves and J-Curves. J-Curves are linear axes, like throttles
and rotaries. S-Curves are non-linear, like X and Y axes.
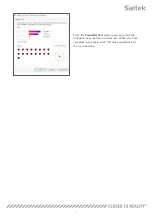
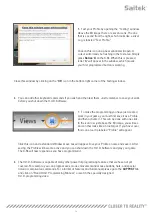
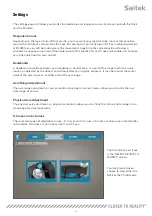
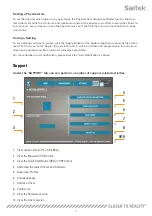
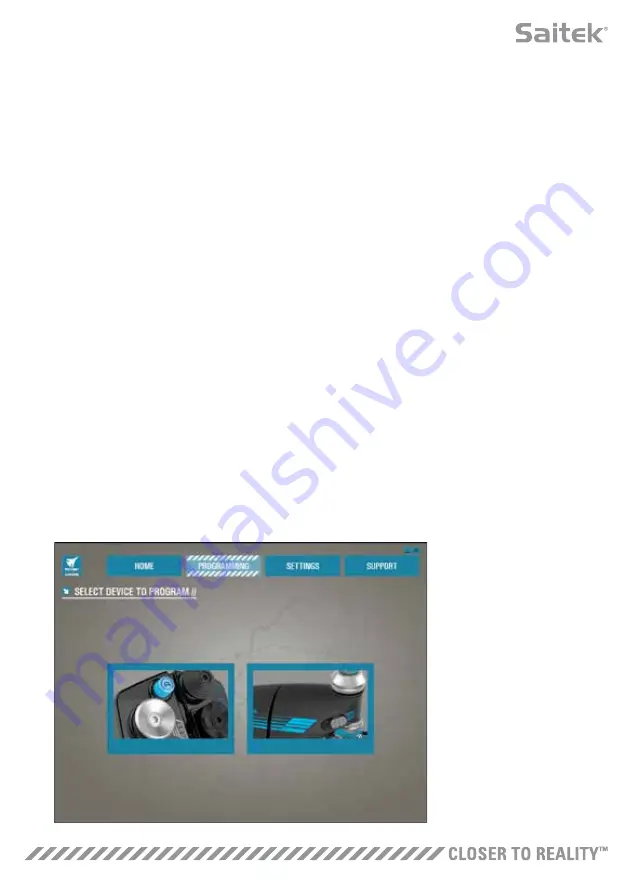
The first screen you’ll see
is the ‘SELECT DEVICE TO
MODIFY’ screen.
You have two choices;
choose to alter either the
Stick or the Throttle axis.


