17
INSTALLATION
SALICRU
5.10.3. AS400 interface (Optional). Not
available for models lower than
1500 VA
This UPS has the AS400 communications as an op-
tion, through a female DB9 connector, which allows to
communicate with other equipments like the standard
RS232+optocouplers simultaneously, but, the AS400 pro-
vides dry contacts from relays instead of optocouplers and
it has a higher quantity of alarms.
Its installation is very easy and not complicated:
1.
Loosen and remove the screws from cover 2, for
models up to 2000 VA or 7 for higher models. This
cover is located in the rear side of the equipment.
2.
Remove the cover and keep it in safe place.
3.
Insert the AS400 card into the guides that are visible
and enter it until is set with the connector of the bottom.
4.
Put back the screws that fix the cover integrated with
the AS400 card.
The following table and diagram, shows the pin-out of fe-
male DB9 connector and its function.
Do not apply values higher than 24 V DC and 1 A to the pins
of the AS400 connector..
Pin#
Description
E/S
1
UPS failure
Output
2
General alarm
Output
7
Low Battery
Output
8
UPS On
Output
9
Mains failure
Output
5
Common
Input
1
5
6
9
Table 7.
DB9 Connector Pin-out and his function
5.11. Software installation
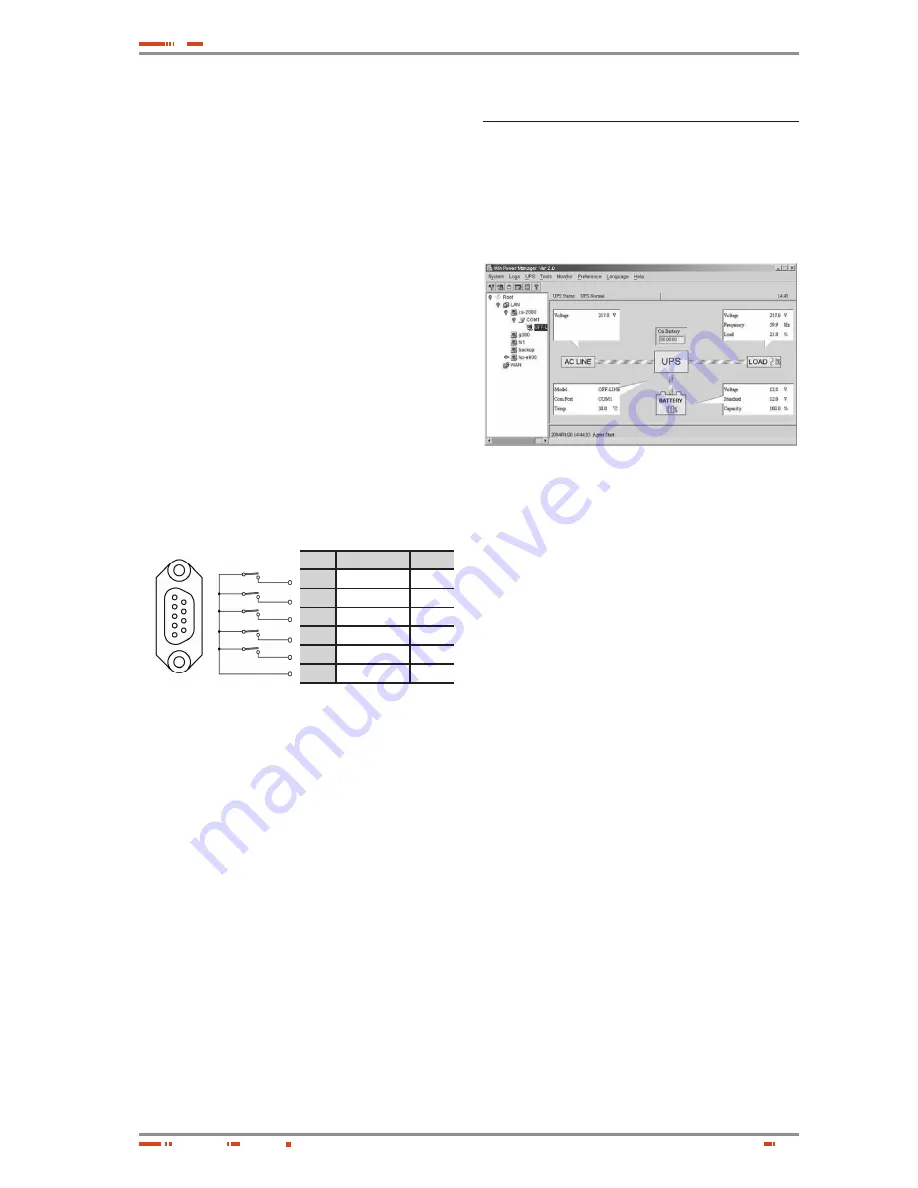
WinPower is a brand new UPS monitoring software, which
provides user-friendly interface to monitor and control your
UPS. This unique software provides safely auto shutdown
for multi-computer systems while power failure. With this
software, users can monitor and control any UPS on the
same LAN no matter how far from the UPSs.
Fig. 36.
WinPower Main menu
Installation procedure:
1.
Insert CD. The installation assistant runs up
automatically. Follow the steps.
2.
When the system requires, tape the serial number:
511C1-01220-0100-478DF2A.
When your computer restarts, the WinPower software will
appear as a green plug icon located in the system tray, near
the clock.


