36
37
EN
5.6 Brake adjustment
If the braking force decreases due to wear of the wheels, the brake must be adjusted.
The brake should be adjusted so that both wheels brake evenly. The distance between
the brake pad and the wheel surface should be approx. 2-3.5 mm.
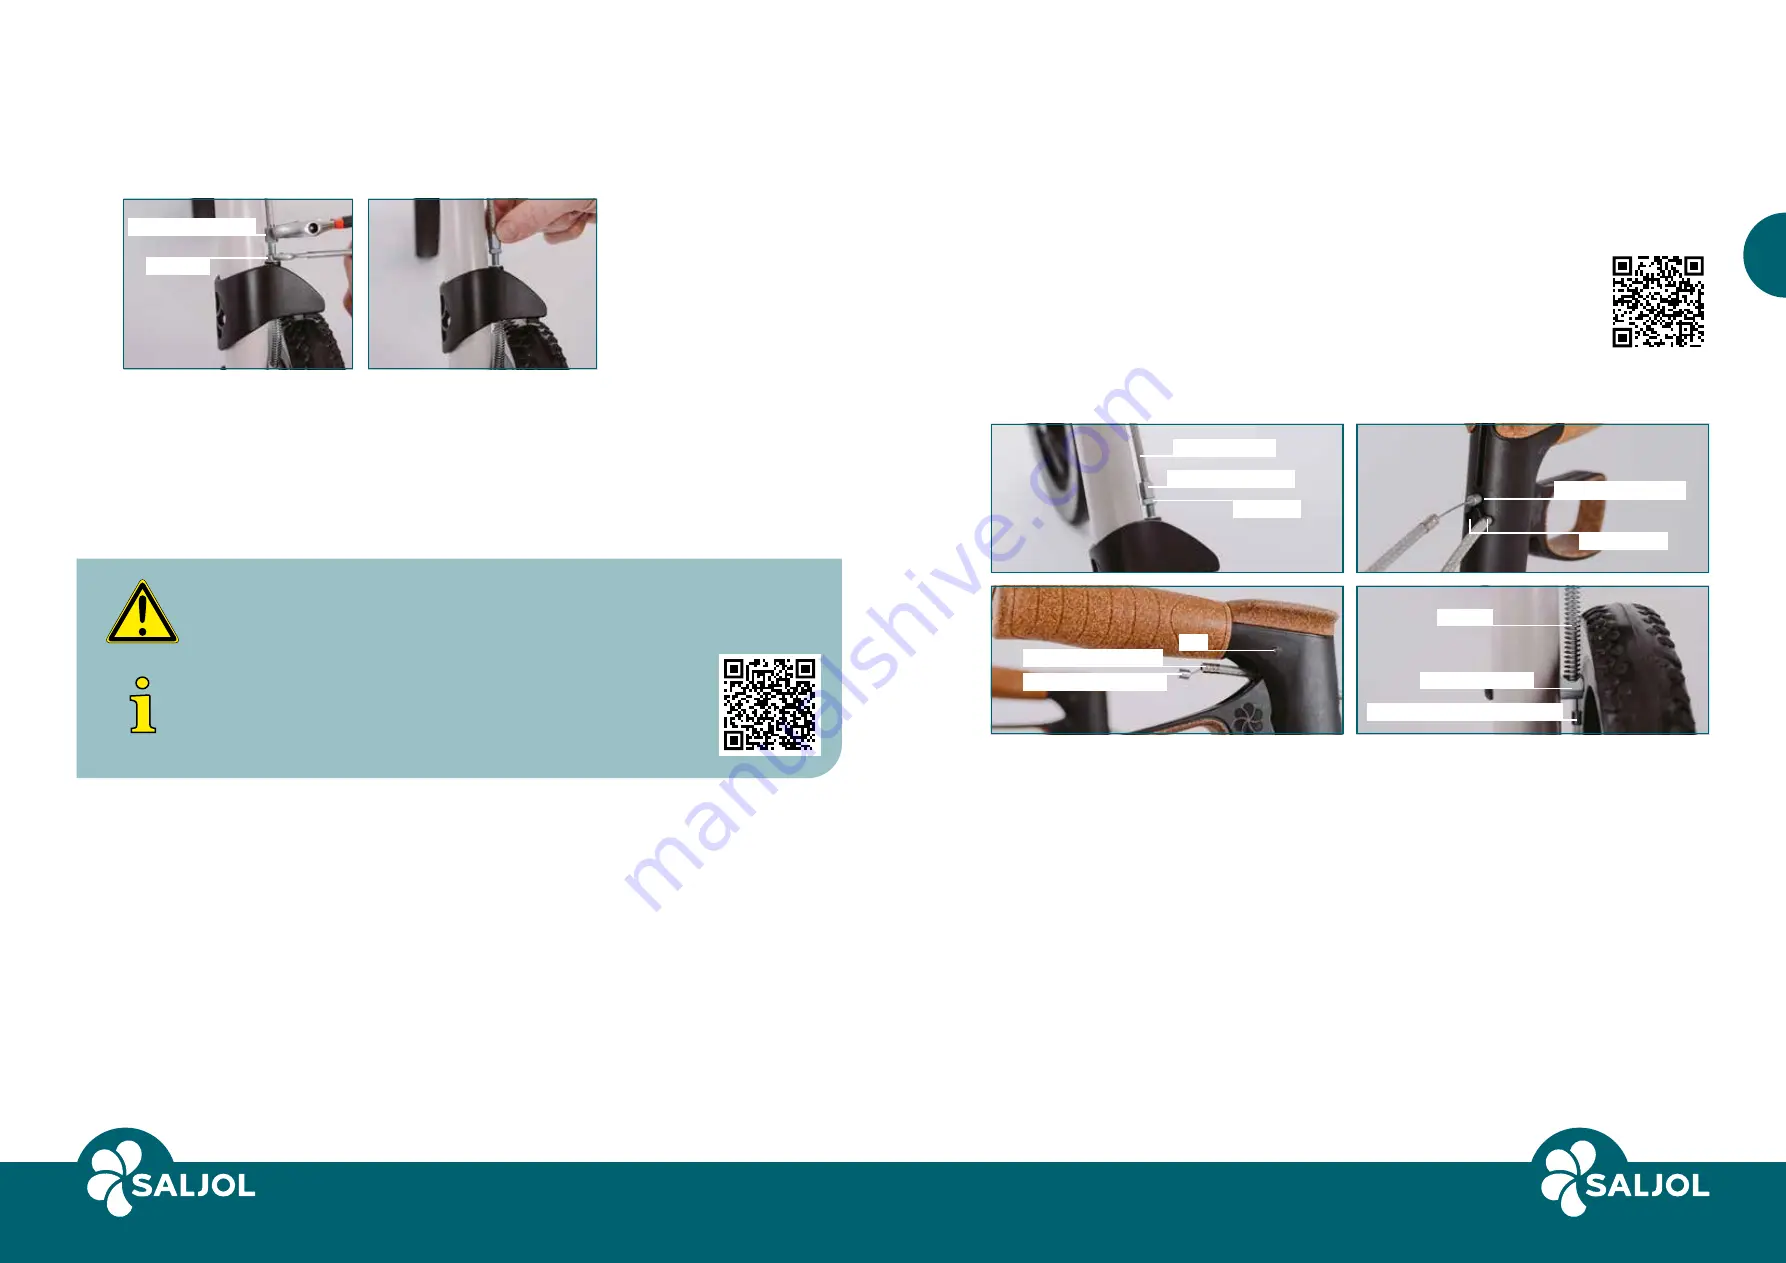
Loosen the lock nut with
a size 8 open-end
spanner and turn it
completely upwards.
Fix the adjustment screw
at the same time.
Adjust the braking force by turning the adjustment screw
inwards or outwards. Check the brake function by
turning the wheels and operating the brake handles.
The wheels should turn freely but stop immediately
when braking. It should not be possible to move the
wheels when the brake is locked. Tighten the lock nut
tightly again.
Lock nut
Adjustment screw
Caution
The brake is correctly adjusted if, when the brake is applied, the rear
wheels lock and do not turn when pushed.
Info
Here you can find a video explaining the brake adjustment:
https://www.youtube.com/watch?v=-k-Ru8oiwFM
or scan the QR code.
5.7 Conversion to one-hand simultaneous brake
To convert the brake system to one-hand simultaneous braking yourself, first consider
whether you need the left or right hand brake. Then prepare the longer Bowden cable
and the double clip included in the delivery. You will need two size 8 open-end
spanners, a pair of pliers and a deflection aid, e.g. a nail, for the conversion.
For a better understanding of the conversion, we have created a video for you.
You can find it at: https://www.youtube.com/watch?v=MGKBGVUJymI
or scan the QR code.
Your medical supply store will certainly be happy to help you with the
conversion to a one-hand simultaneous brake or you can call our
customer service on +49 (0)8141 317740 and we will be happy to
advise and help you further.
Explanation of terms
Spring
Pin
Bowden cable nipple
Bowden cable cover
Lower Bowden cable nipple
Retaining sleeve
Bowden cable
Feed-through hole
Fixing holes
Lock nut
Adjustment screw


