English
94
Salmson 05/2015
NOTE:
The terminals IN1, IN2, AUX, GND, Ext. Off and MP meet the require-
ment for “safe isolation” (in acc. with EN61800-5-) to the mains ter-
minals, as well as to the SBM and SSM terminals (and vice versa).
NOTE:
The control is designed as a PELV (protective extra low voltage) cir-
cuit, meaning that the (internal) supply meets the requirements for
safe supply isolation; the GND is connected to PE.
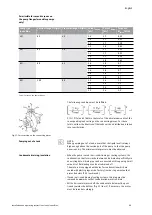
Differential pressure sensor connec-
tion
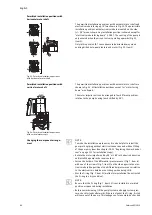
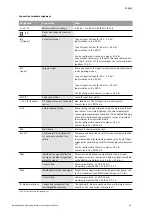
Tab. 6: Differential pressure sensor cable connection
NOTE:
The electrical connection of the differential pressure sensor is to be
fed through the smallest threaded cable connection (M12) on the
electronic module.
For a double pump or Y-pipe installation, the differential pressure
sensor is to be connected to the master pump.
The measuring points of the differential pressure sensor of the master
pump must be on the suction and pressure side of the double-pump
system in the respective collector pipe.
Procedure
• Establish connections observing the terminal allocation.
• Earth the pump/installation in accordance with the regulations.
8
Operation
8.1
Operating elements
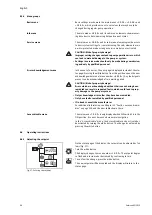
The electronics module is operated using the following operating ele-
ments:
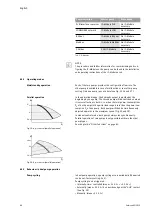
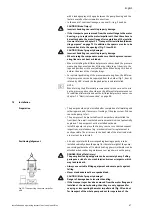
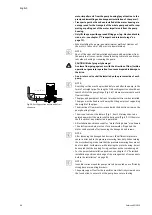
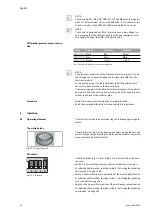
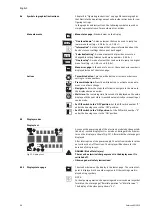
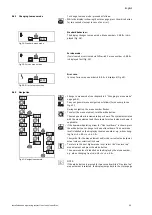
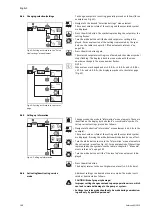
The white button
The white button (Fig. 32) can be turned to select menu elements and
used to change values. Pressing the white button activates a selected
menu element and confirms values.
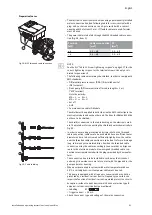
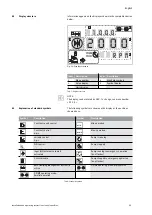
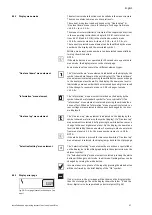
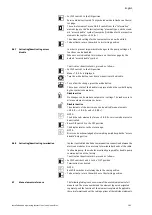
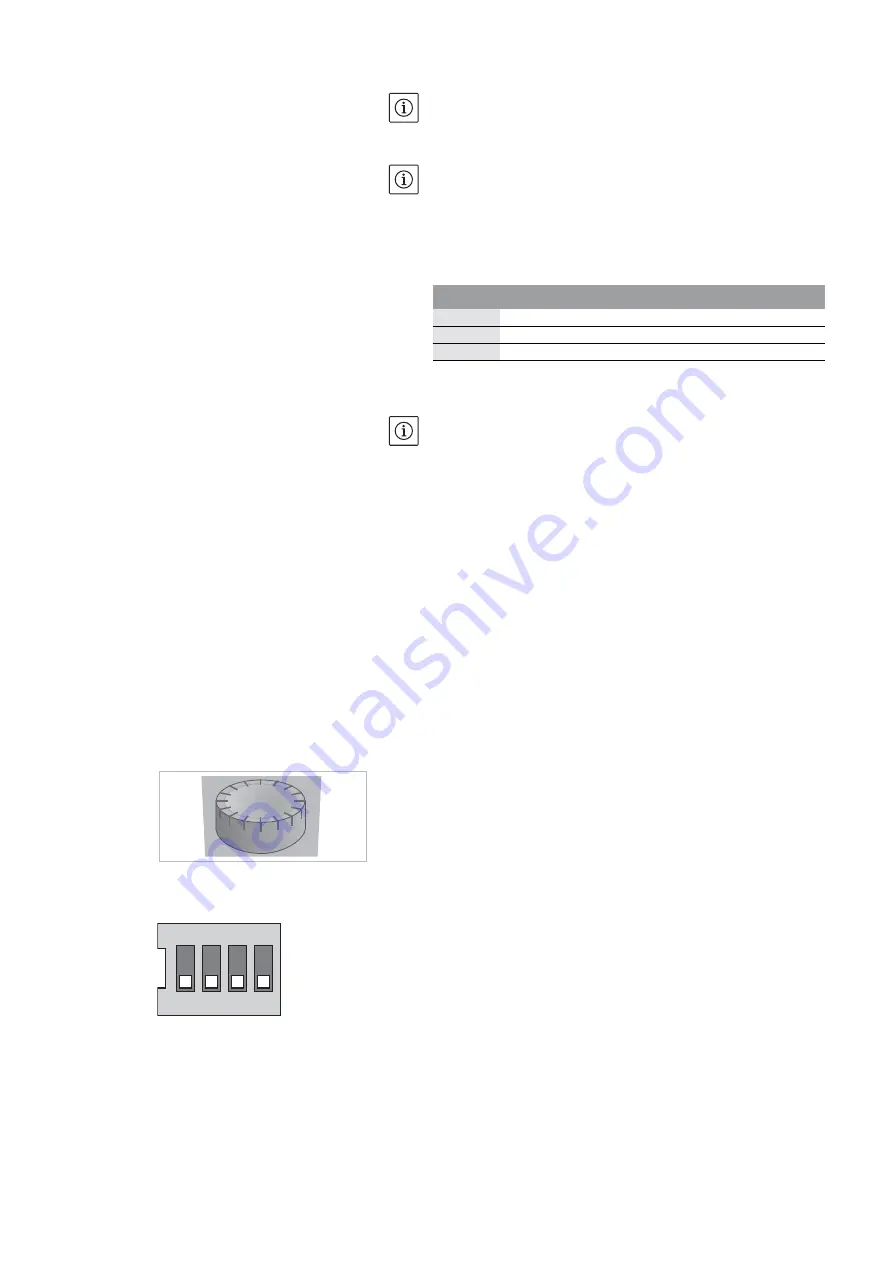
DIP switch
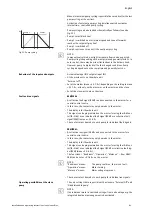
The DIP switches (Fig. 14, Item 6/Fig. 33) are located under the hous-
ing cover.
• Switch 1 is for switching between the standard and service mode.
For additional information, see chapter 8.6.6 “Activating/deactivating
service mode” on page 100.
• Switch 2 allows activations or deactivation of the access disable feature.
For additional information, see chapter 8.6.7 “Activating/deactivating
access disable” on page 101.
• Switches 3 and 4 permit termination of the multi-pump communication.
For additional information, see chapter 8.6.8 “Activating/deactivating
termination” on page 101.
Cable
Colour
Terminal
Function
1
Black
IN1
Signal
2
Blue
GND
Mass
3
Brown
+ 24 V
+ 24 V
Fig. 32: The white button
Fig. 33: DIP switch
1 2 3 4
ON
Summary of Contents for IXENS
Page 2: ......
Page 3: ......
Page 8: ...Fig 7 Ixens 13 20 22 21 15 16 17 18 19 14 13 12 11 10 9 8 7 4 3 2 1 6 5 20b 20a ...
Page 75: ...Français Notice de montage et de mise en service Ixens Ixens Bloc 67 ...
Page 137: ...English Installation and operating instructions Ixens Ixens Bloc 129 ...
Page 203: ...Italiano Istruzioni di montaggio uso e manutenzione Ixens Ixens Bloc 195 ...
Page 335: ......

