English
96
Salmson 05/2015
8.4
Symbols in graphics/instructions
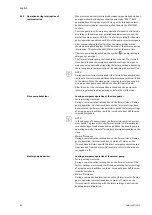
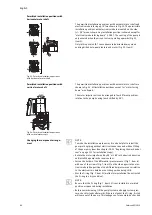
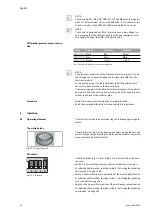
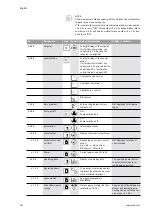
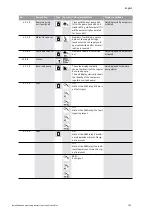
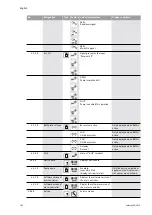
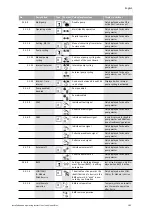
Chapter 8.6 “Operating instructions” on page 98 contains graphics
that illustrate the operating concept and provide instructions for con-
figuring settings.
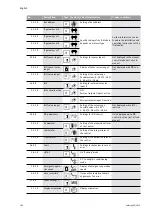
In the graphics and instructions, the following symbols are used as
simple representations of menu elements or actions:
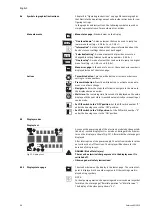
Menu elements
•
Menu status page
: Standard view on the display
•
“One level down”:
A menu element that can be used to jump to a
lower menu level (e.g. <4.1.0.0> to <4.1.1.0>).
•
“Information”
: A menu element that shows information about the
device status or settings that cannot be changed.
•
“Selection/setting”
: A menu element that provides access to a
changeable setting (element with menu number <X.X.X.0>).
“One level up”
: A menu element that can be used to jump to a higher
menu level (e.g. <4.1.0.0> to <4.0.0.0>).
Menu error page
: In the event of an error, the current error number is
displayed instead of the status page.
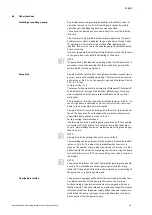
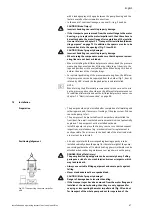
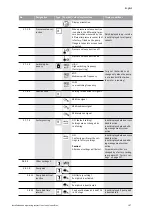
Actions
•
Turn white button
: Turn the white button or increase or decrease
settings or menu numbers.
•
Press white button
: Press the white button to activate a menu ele-
ment or confirm a change.
•
Navigate
: Perform the steps that follow to navigate in the menu to
the displayed menu number.
• Wait time:
The remaining time (in seconds) is displayed on the value
display until the next state is reached automatically or manual input
can be made.
•
Set DIP switch to the ‘OFF’ position
: Set the DIP switch number “X”
under the housing cover to the ‘OFF’ position.
•
Set DIP switch to the ‘ON’ position
: Set the DIP switch number “X”
under the housing cover to the ‘ON’ position.
8.5
Display modes
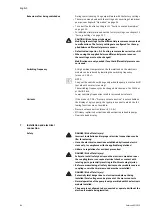
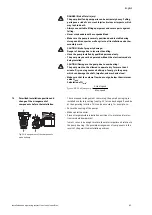
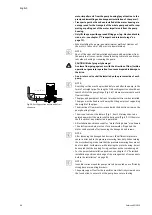
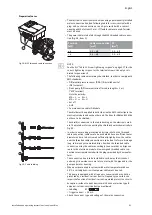
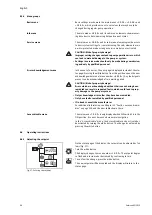
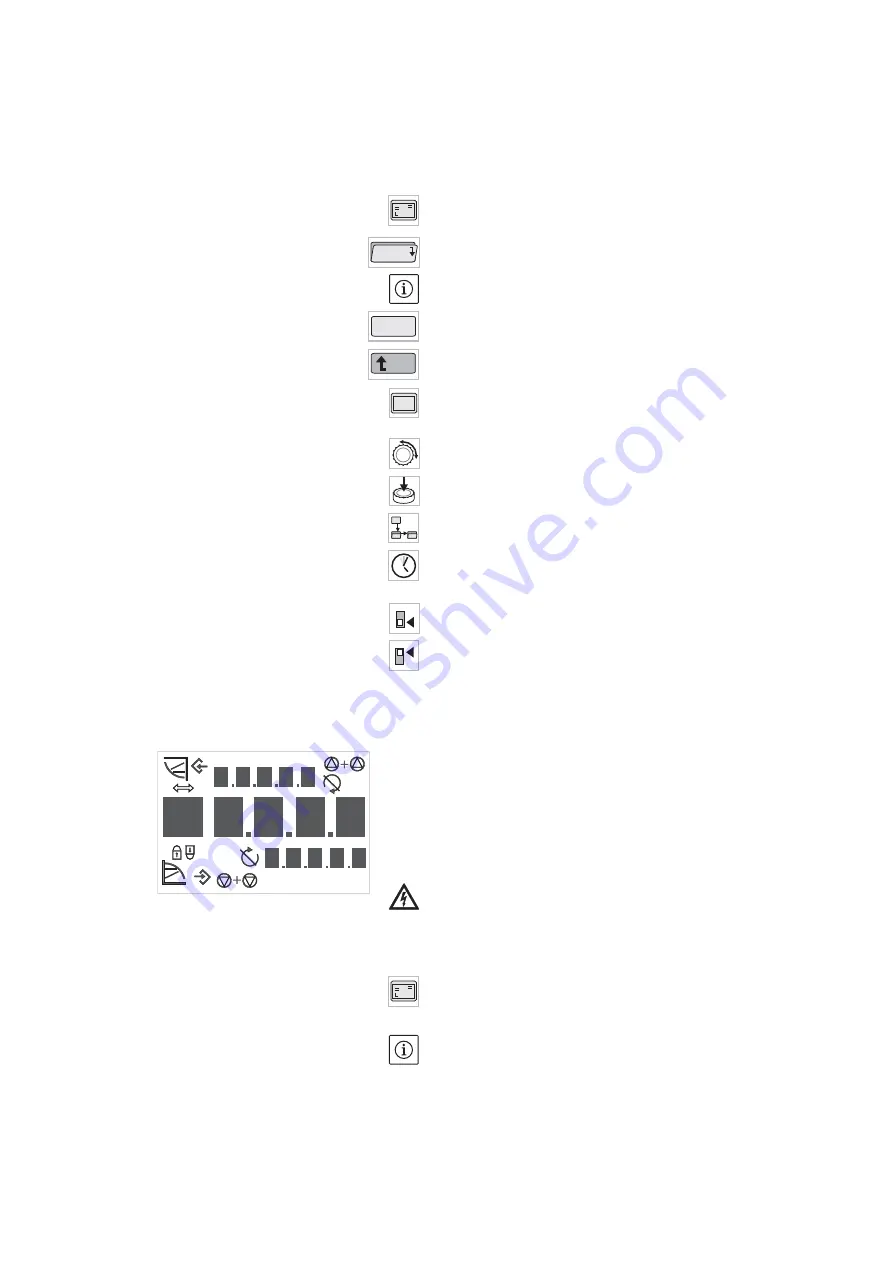
Display test
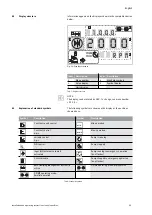
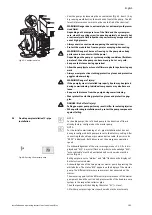
As soon as the power supply of the electronic module has been estab-
lished, a 2-second display test is carried out, during which all charac-
ters on the display are shown (Fig. 35). Afterwards the status page is
displayed.
After interruption of the power supply, the electronic module carries
out various shut-off functions. The display will be shown for the
duration of this process.
DANGER! Risk of fatal injury!
There can be electrical charges present in the display even if is
switched off.
• Observe general safety instructions!
8.5.1
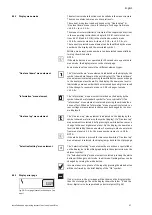
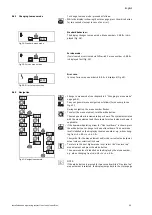
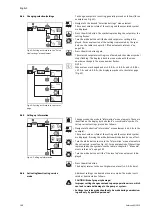
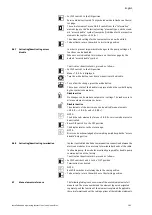
Display status page
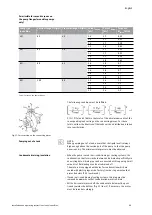
The standard view on the display is the status page. The current set-
point is displayed in the number segments. Other settings are dis-
played using symbols.
NOTE:
For dual pump operation, the operating mode is also shown in symbol
format on the status page (“Parallel operation” or “Main/reserve”).
The display of the slave pump shows “SL”.
12.3
4.1.0.0
4.4.3.0
2.0.0.0
±
E000
ON
X
ON
X
Fig. 35: Display test
max
max
min
min
2
2
12.3
Summary of Contents for IXENS
Page 2: ......
Page 3: ......
Page 8: ...Fig 7 Ixens 13 20 22 21 15 16 17 18 19 14 13 12 11 10 9 8 7 4 3 2 1 6 5 20b 20a ...
Page 75: ...Français Notice de montage et de mise en service Ixens Ixens Bloc 67 ...
Page 137: ...English Installation and operating instructions Ixens Ixens Bloc 129 ...
Page 203: ...Italiano Istruzioni di montaggio uso e manutenzione Ixens Ixens Bloc 195 ...
Page 335: ......

