English
Installation and operating instructions Ixens, Ixens Bloc
115
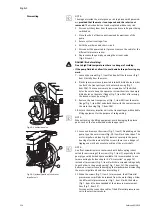
13. Press the motor impeller unit (see Fig. 13) off the pump housing.
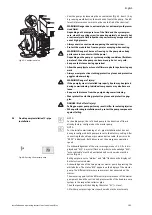
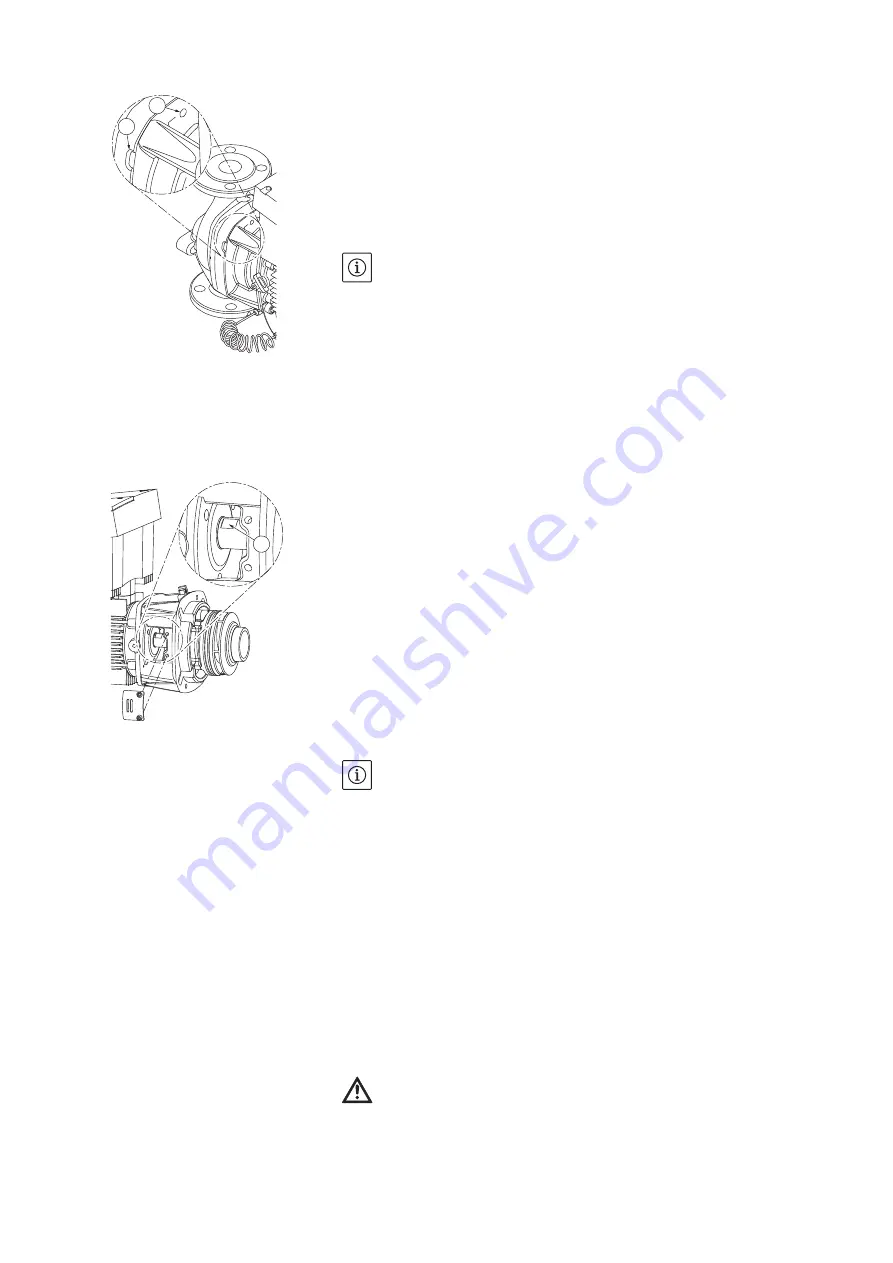
It is a good idea to use two threaded holes (Fig. 51, Item 1) for this;
particularly to loosen the seating. Screw two suitable screws into
the threaded holes to loosen the seating. If the motor impeller
unit can be moved easily, slots (Fig. 51, Item 2) between the pump
housing and the lantern can also be used for pressing off (for
example, use two screwdrivers as levers to do this). After pressing
out about 15 mm, the motor impeller unit will no longer be guided
in the pump housing.
NOTE:
When pressing out further, the motor impeller unit (see Fig. 13) must,
if necessary, be supported by lifting equipment to prevent possible
tipping (especially if no mounting bolts are used).
14. Release the two captive screws (Fig. 7, Item 18) and remove the
protective plate.
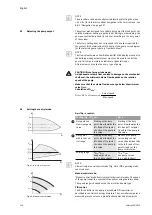
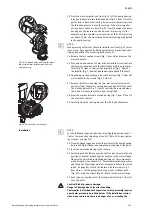
15. Put an open-end wrench (22 mm is the best width across flats) into
the lantern window and hold the shaft steady with the wrench sur-
faces (Fig. 52, Item 1). Unscrew the impeller nut (Fig. 7, Item 15).
The impeller (Fig. 7, Item 16) is automatically pulled off the shaft.
16. Depending on the pump type, loosed the screws (Fig. 7, Item 10)
or alternatively, the screws (Fig. 50, Item 8).
17. Release the lantern by using the two-arm extractor (universal
extractor) from the motor centring device and pull it off the shaft.
The mechanical seal (Fig. 7, Item 12) will also be removed when
this is done. Prevent the lantern from being tilted.
18. Press the mechanical seal's stationary ring (Fig. 7, Item 17) out of
the seat in the lantern.
19. Carefully clean the seating areas of the shaft and the lantern.
Installation
NOTE:
For the following steps, observe the screw tightening torque speci-
fied for the respective thread type (see list “Table 11: Screw tighten-
ing torques” on page 117).
20. Clean the flange support and centring surfaces of the pump housing,
lantern and motor flange to ensure proper positioning of the parts.
21. Insert a new stationary ring in the lantern.
22. Carefully push the lantern over the shaft and position it in the old
position or another desired angular position to the motor flange.
Observe the permitted installation positions of the components
when doing this (see chapter 7.1 “Permitted installations position
and change of the arrangement of components before the instal-
lation” on page 85). Attach the lantern with the screws (Fig. 7,
Item 10)
or
– for the pump/lantern types in accordance with
(Fig. 50) – with the screws (Fig. 50, Item 8) at the motor flange.
23. Push the new rotating unit of the mechanical seal (Fig. 7, Item 12)
onto the shaft.
Caution! Risk of property damage!
Danger of damage due to incorrect handling.
• The impeller is attached with a special nut whose assembly requires
a particular procedure described below. If the installation instruc-
tions are not observed, there is a danger of over-screwing the
Fig. 51: Threaded holes and slots for press-
ing off the motor impeller unit from the
pump housing
1
2
Fig. 52: Wrench flats on the shaft
1
Summary of Contents for IXENS
Page 2: ......
Page 3: ......
Page 8: ...Fig 7 Ixens 13 20 22 21 15 16 17 18 19 14 13 12 11 10 9 8 7 4 3 2 1 6 5 20b 20a ...
Page 75: ...Français Notice de montage et de mise en service Ixens Ixens Bloc 67 ...
Page 137: ...English Installation and operating instructions Ixens Ixens Bloc 129 ...
Page 203: ...Italiano Istruzioni di montaggio uso e manutenzione Ixens Ixens Bloc 195 ...
Page 335: ......

